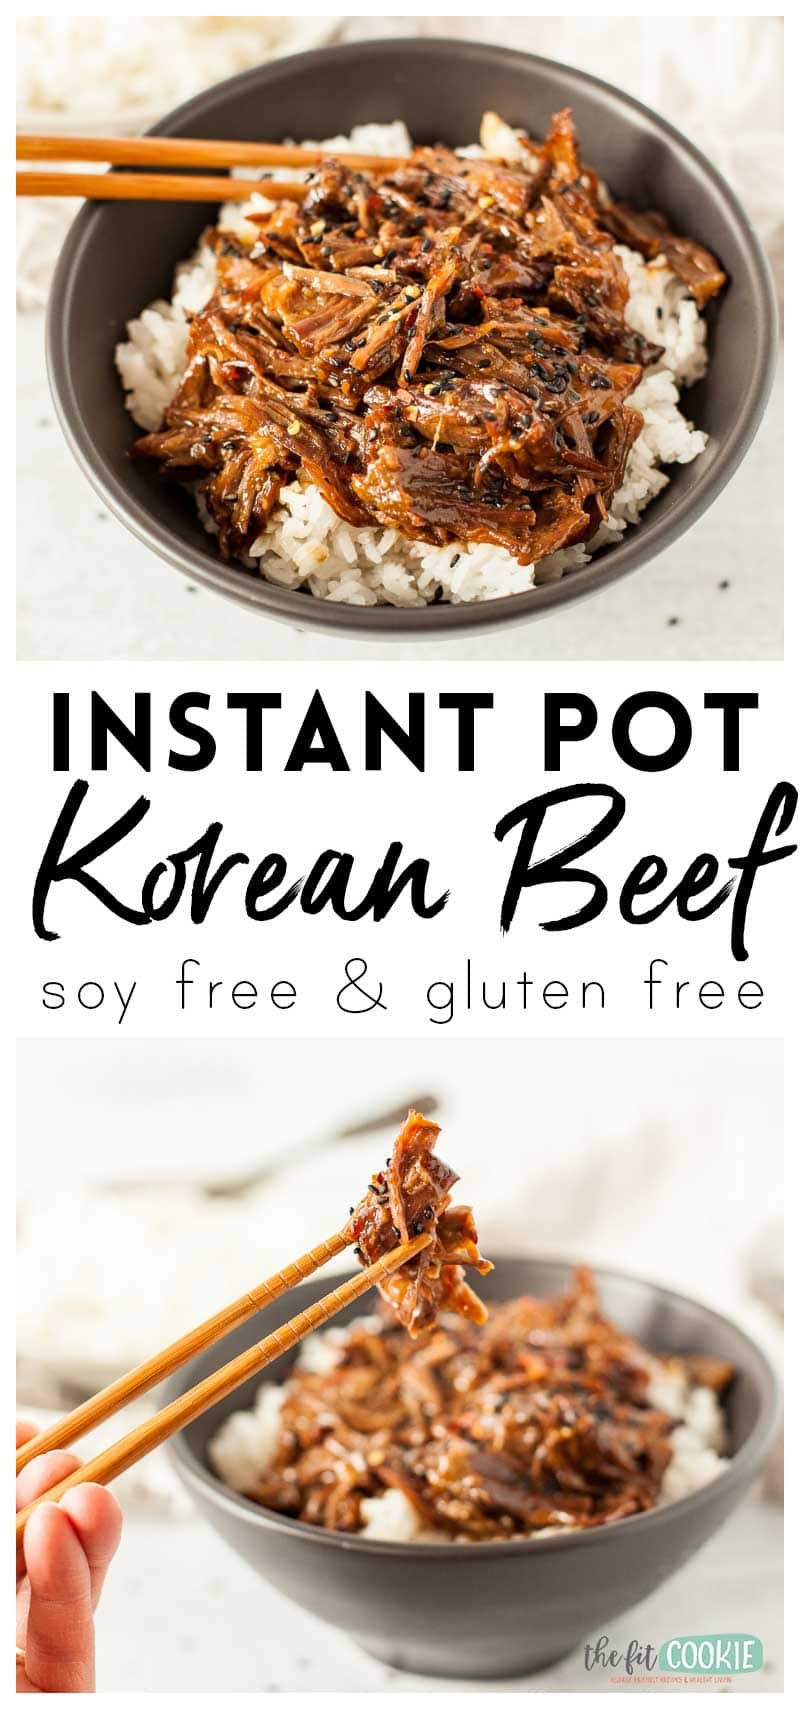
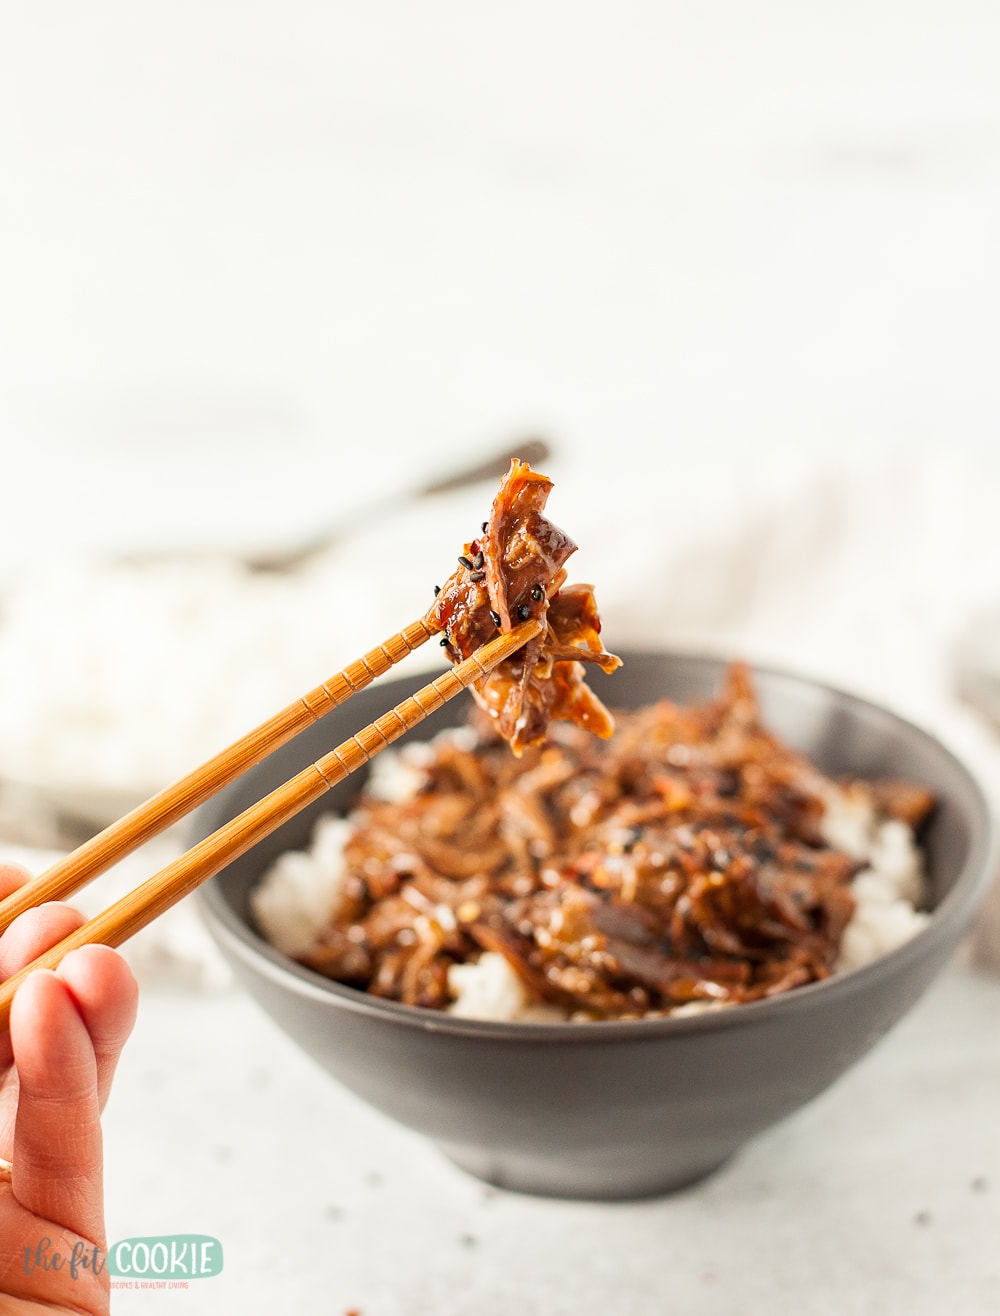
Our easy to make Instant Pot Korean Beef is saucy, spicy, and a bit sweet. Perfect for dinner when you can’t get takeout! Our Korean Beef is dairy free, soy free, and gluten free, and can be made grain free as well.
Hey friends! I don’t post a ton of main dish recipes on The Fit Cookie usually, but I’ve been working on adding more of them lately. Some of our family recipes are just too good to keep to ourselves 😉
We love this Instant Pot Korean Beef recipe! It quickly became a family favorite once I started experimenting with the recipe a couple months ago.
This recipe takes about an hour and half to make, so it’s not a quick recipe. But it tastes amazing and is worth the time it takes to make it!
My kids are huge fans of this Korean Beef recipe as well (we love Asian flavors and cooking). It’s dairy free, soy free, and gluten free, plus it’s easy to make grain free as well if needed.
For those wondering, our recipe is Korean inspired and not authentic Korean cooking. If you’re looking for truly authentic Korean cooking and recipes, check out my friend JinJoo’s blog Kimchimari.
How to make Instant Pot Korean Beef
Our Instant Pot Korean Beef recipe is pretty easy to make! To keep our recipe more simple and easier to make, we skipped searing the beef before cooking in the pressure cooker.

Here are the steps for making this Instant Pot beef recipe (don’t forget that the full recipe card is at the end of the post, this is just a quick overview of the steps):
- Place your beef country ribs in the pressure cooker.
- Prepare the sauce by mixing together all the sauce ingredients (the coconut aminos through the garlic), don’t add the cornstarch yet.
- Cover the beef with the sauce, close pressure valve, then cook on “meat” setting for 40 minutes.
- Once it’s done cooking, turn off the “keep warm” feature if it automatically turns on. Allow natural pressure release until completely depressurized (about 25-30 minutes).
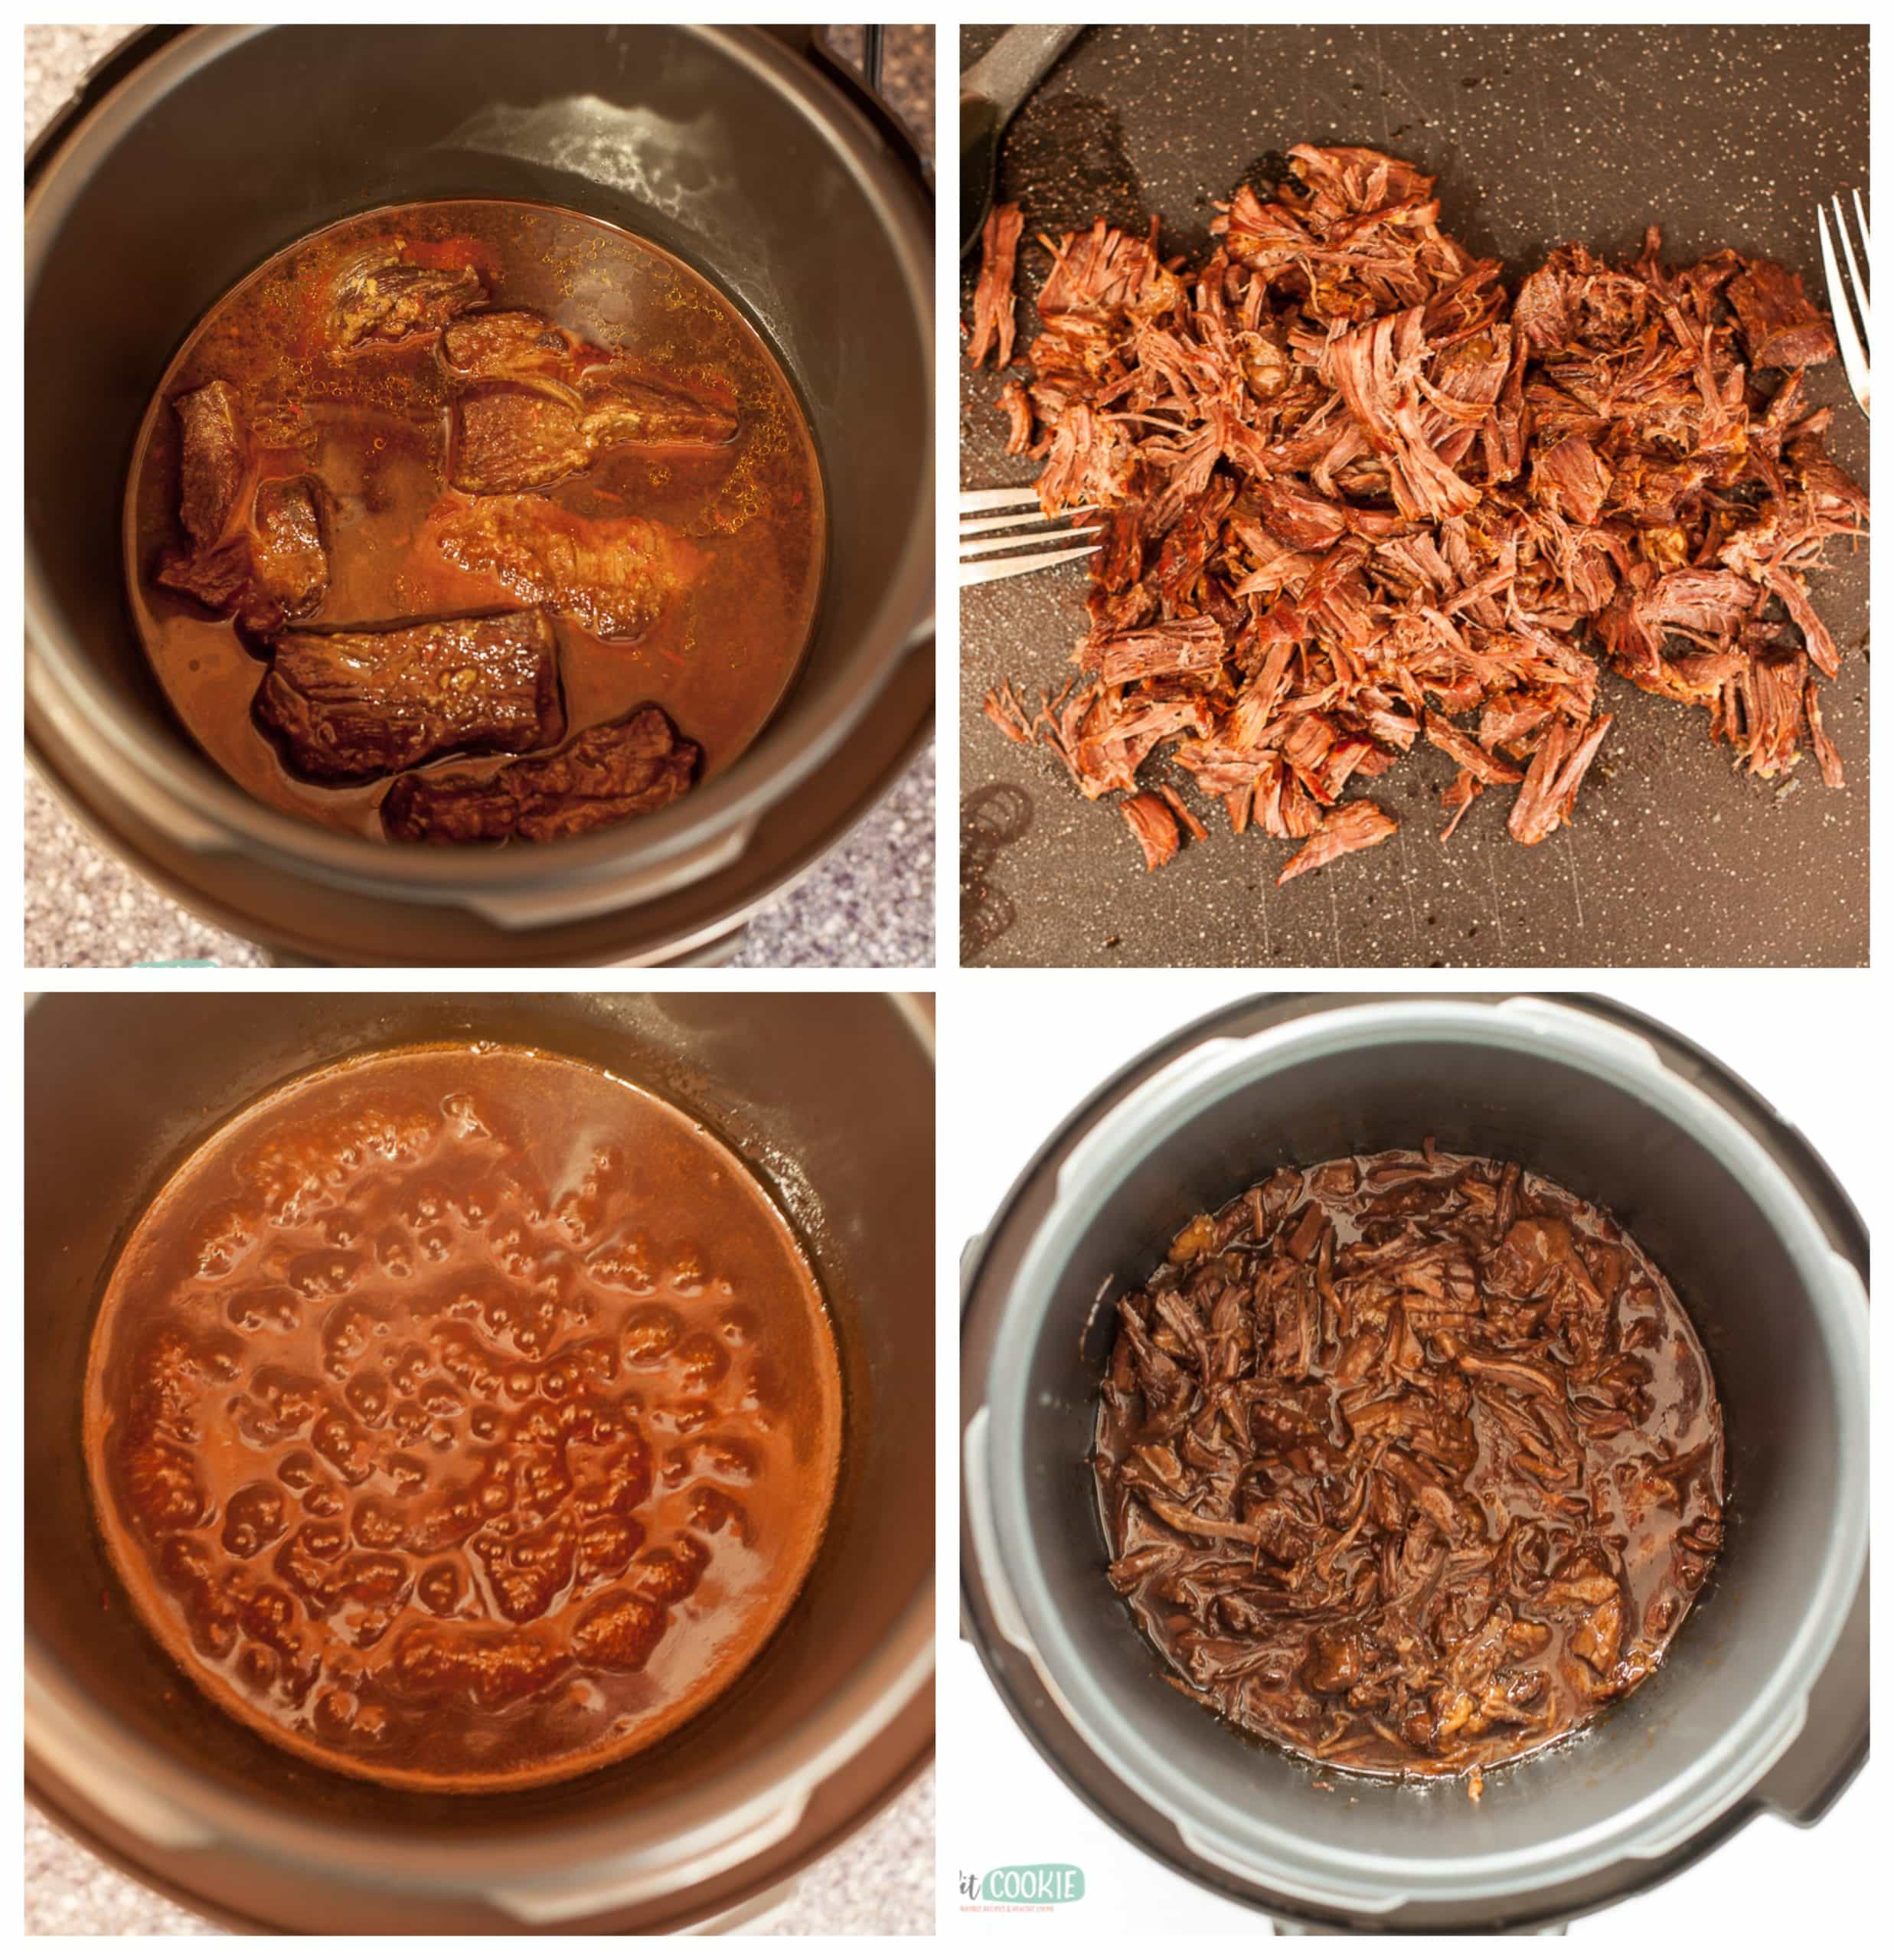
- Once the pressure is gone, remove the beef onto a cutting board and shred. Cover with some foil to help it keep warm.
- Turn the pressure cooker onto “brown/saute”. Take out some sauce, whisk in the corn starch, then add it back to the sauce to thicken it.
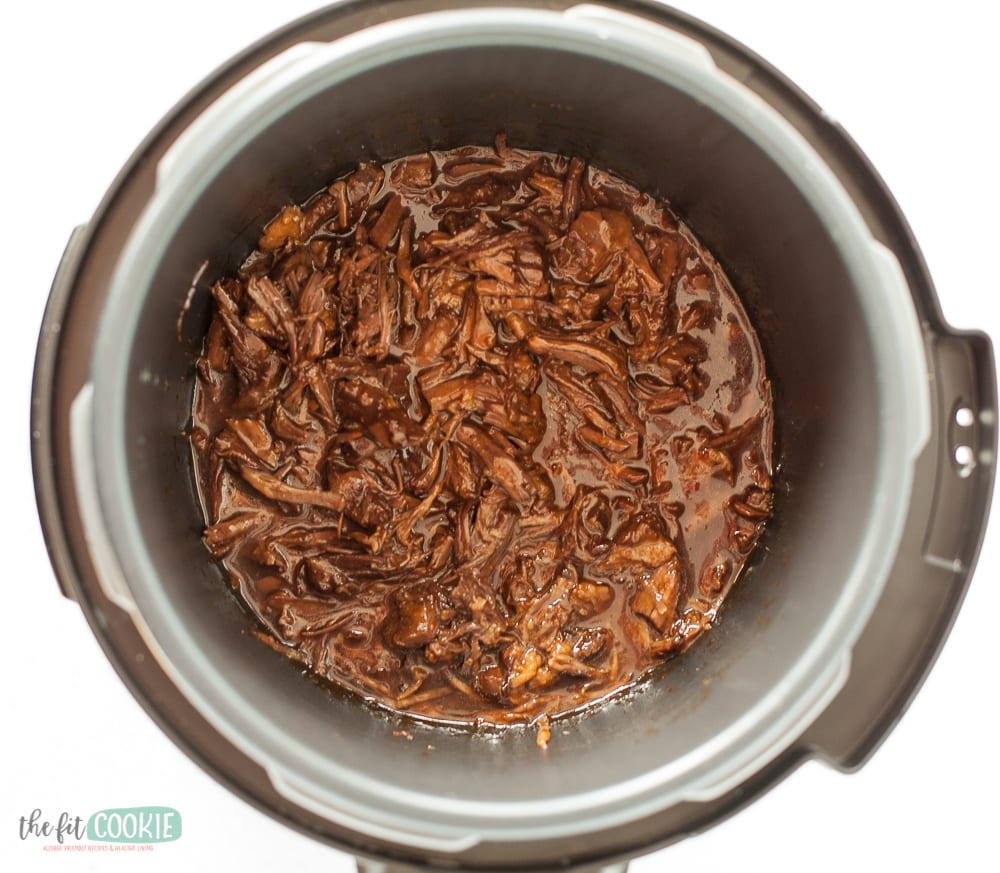
- Once it’s thickened how you like, add your shredded beef back to the post with the sauce.
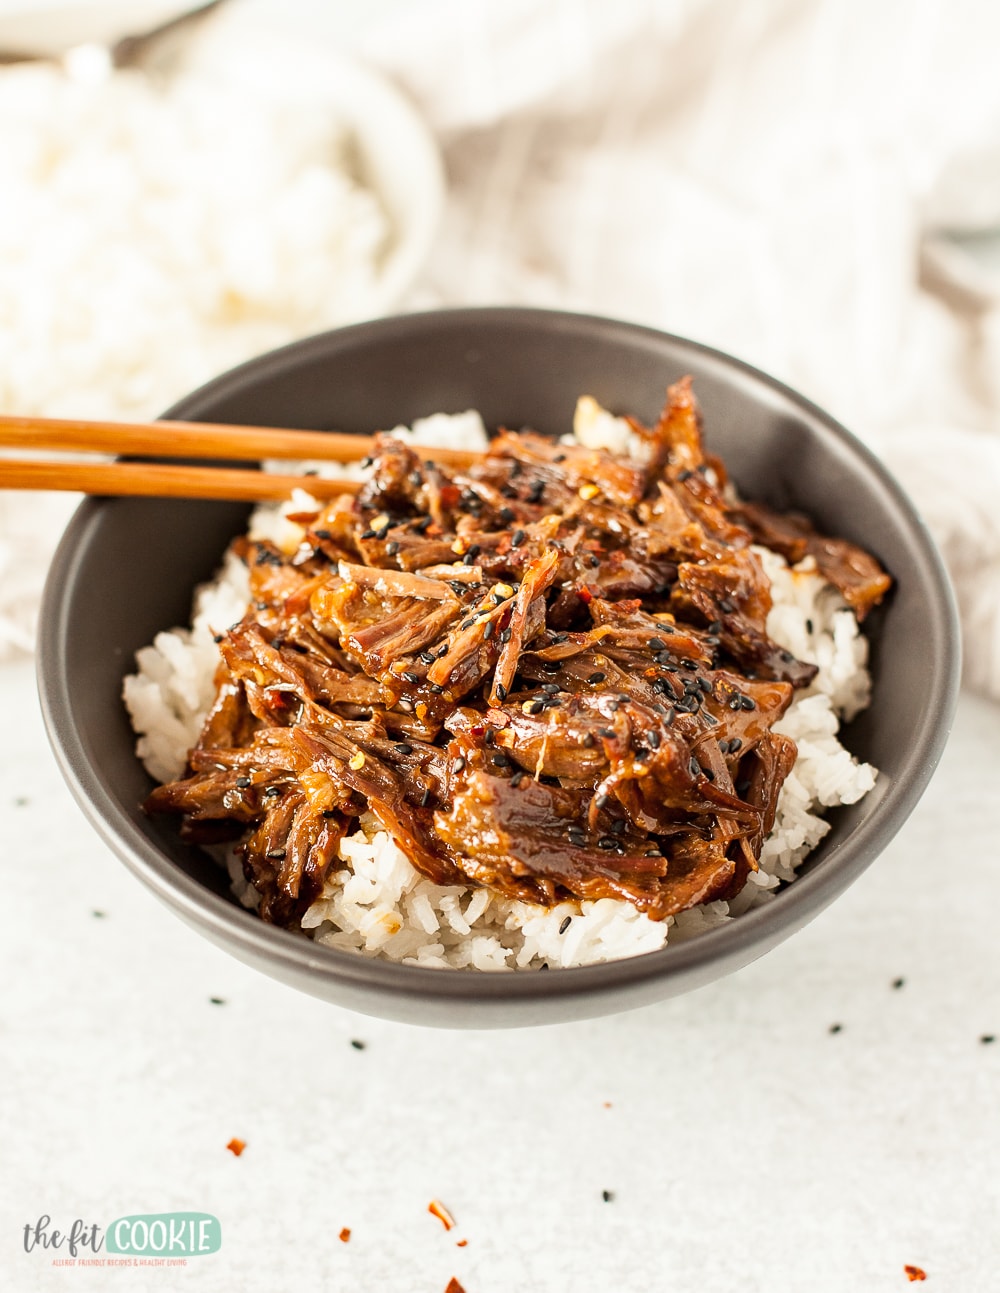
- Serve over rice, cauliflower rice, or our sesame orange quinoa and top with sesame seeds and green onions.
Using fresh ginger and fresh garlic in this recipe makes a world of difference in flavor.
But if you can’t get fresh ginger or garlic, you can always use powdered ginger or garlic powder. It just won’t have the vibrant flavors or depth of flavor that fresh ingredients bring to the table.
Should I brown the beef before cooking it?
Some Instant Pot/pressure cooker beef recipes call for searing the meat on all sides first before cooking it to seal in flavor and moisture.
While I find that searing/browning meat before cooking it in the oven and slow cooker is a great idea, I haven’t noticed a big difference in meat tenderness or quality when searing meat before cooking in a pressure cooker.
So for this Korean beef recipe, I don’t call for browning the beef before cooking in the pressure cooker. But if you prefer browning the meat first, you definitely can. It will just add extra cooking time to the recipe if you choose to do that.
I have found that what does make a difference in meat tenderness and quality is natural pressure release after cooking. If you want the best texture and flavor, don’t do a quick pressure release after cooking meat!
It takes a bit longer, but your Korean beef will turn out much more tender and flavorful if you opt to do a natural pressure release until the pressure is completely gone (about 25-30 minutes).
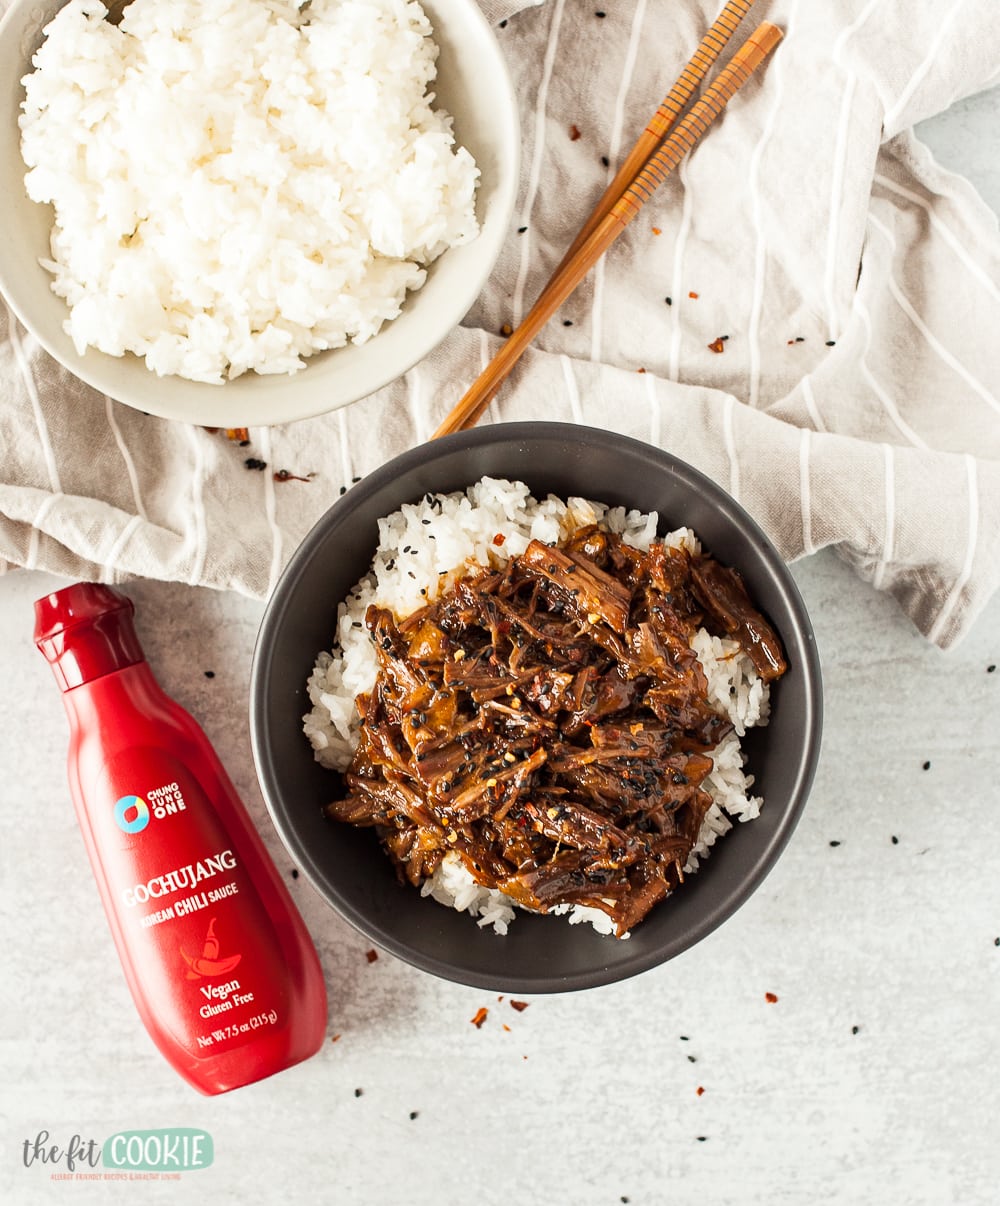
What kind of gochujang should I use in this recipe?
There are several brands of commercial gochujang on the market, but many of them have soy sauce and gluten in them. So if you have food allergies, you’ll want to look for ones that are soy free and gluten free.
The brand we use is the Chun Jung One brand that is organic and both soy and gluten free (yay!). There might be some other brands of soy and gluten free gochujang brands out there, but this is the only one that I found in our town.
We love the flavor of gochujang (it tastes amazing in BBQ chicken wings, too), but If you don’t have access to gochujang, you can use some red chili paste or sriracha instead.
If using a substitute, just use the amount you normally use to reach your level of spiciness. You can always taste test and add more to the recipe after you add the shredded beef back to the sauce.
Instant Pot Korean Beef (Soy Free and Gluten Free)
Ingredients
- 1 ½ pounds beef country ribs or beef short ribs
- ½ cup coconut aminos
- ¼ cup sweet chili sauce
- ¼ cup beef broth
- 1 tablespoon sesame oil
- ½ teaspoon gochujang*, soy free and gluten free (or 1 teaspoon if you like it more spicy)
- ½ teaspoon onion powder
- ¼ teaspoon black pepper
- 1 inch piece of ginger, peeled and finely grated
- 3 cloves garlic, pressed or minced
- 1 Tablespoon cornstarch (or arrowroot starch or tapioca starch for grain free)
- Red chili flakes and sesame seeds, for garnish
- White rice, brown rice, or cauliflower rice for serving
Equipment
Instructions
- In a small measuring bowl, whisk together the coconut aminos, sweet chili sauce, beef broth, sesame oil, onion powder, and black pepper.
- Peel and finely grate the ginger into the sauce mixture and add the pressed or minced garlic.
- Place the beef in the pressure cooker and pour the sauce over it.
- Close the pressure cooker, close the pressure valve, and cook on "Meat" setting on high for 40 minutes.
- Once it's done cooking, turn off the "keep warm" feature if it turns on automatically and allow the pressure to release naturally for 20 minutes. Releasing pressure naturally after cooking meat helps to keep it tender.
- Once the pressure is released, open the pressure cooker and remove the beef and set it on a cutting board.
- Turn on the brown/saute setting and simmer the sauce in the pressure cooker for 5 minutes to reduce the sauce a bit.
- Scoop out about 1/4 cup of the sauce into a small dish and whisk in 1 tablespoon of cornstarch until smooth, then add it back to the sauce in the pot.
- Simmer sauce for another 4-5 minutes or until thickened, whisking regularly to prevent scorching or lumps.
- Shred the beef and add it back to the hot and thickened sauce.
- Serve over hot rice and garnish with red chili flakes, chopped green onions, and sesame seeds.
Notes
Nutrition

Sarah Jane Parker is the founder, recipe creator, and photographer behind The Fit Cookie. She’s a food allergy mom and healthy living blogger based in Wyoming. Sarah is also an ACSM Certified Personal Trainer, ACE Certified Health Coach, Revolution Running certified running coach, and an ACE Certified Fitness Nutrition Specialist
Could you modify this for a slow cooker?
Hi Katie, I think you could modify this for a slow cooker by adding the ingredients (minus the cornstarch) to the slow cooker and cook for 4 hours on high or 6 to 8 hours on low. I’d brown the meat on each side first before adding to the slow cooker to help lock in moisture. You can add the juice to a saucepan to thicken it with the cornstarch if you like once the meat is cooked.
Very easy instructions for an absolute amazing dinner!
Thank you so much Julie! <3
Quick and easy. My husband is still swooning.
Thank you Jean!