
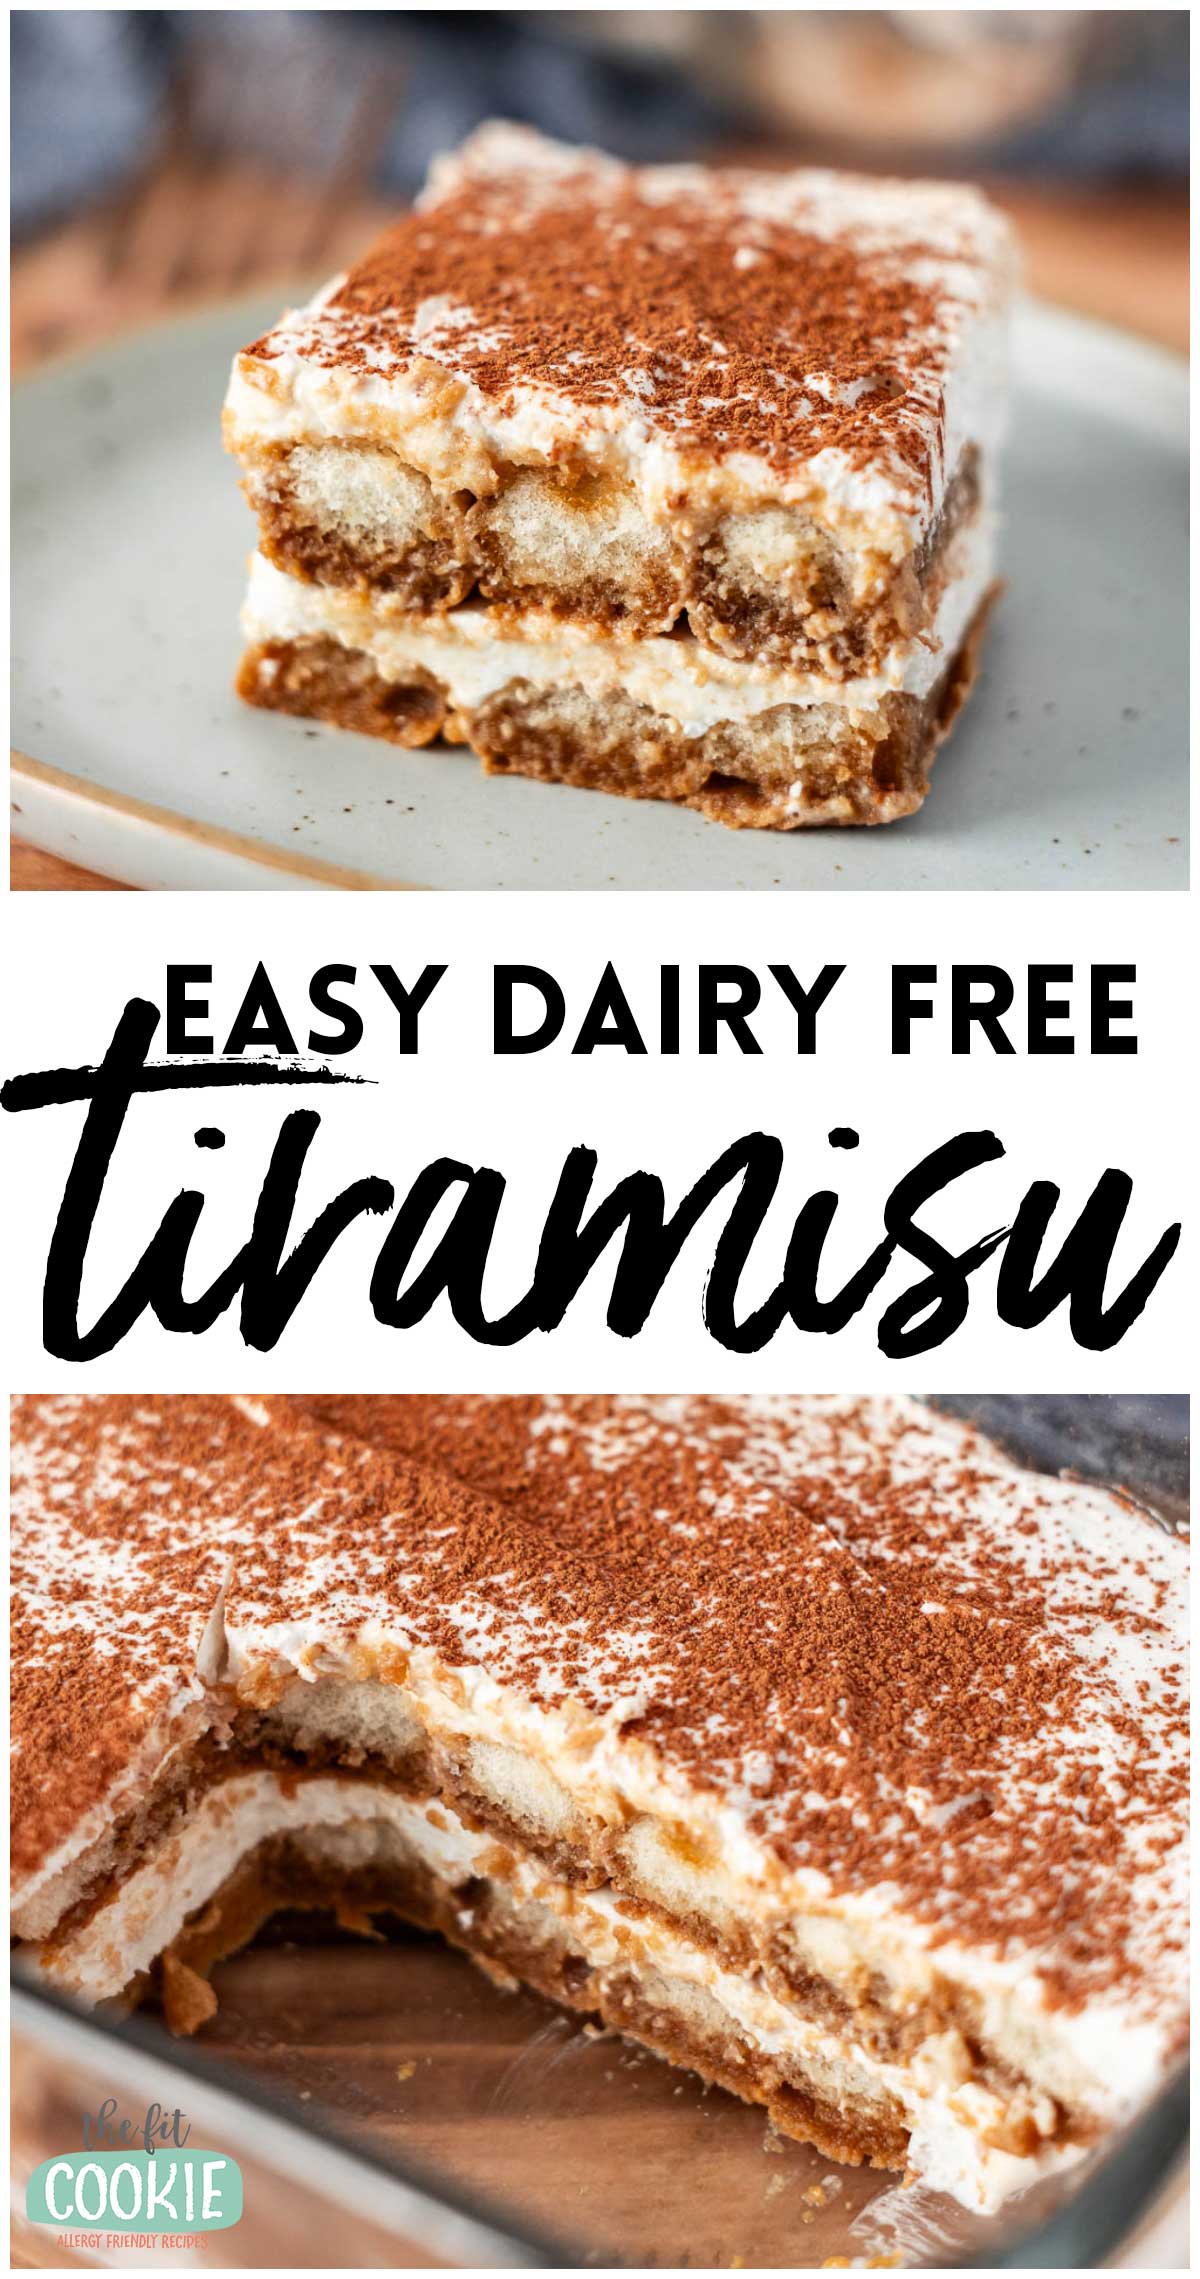
Missing decadent tiramisu due to food allergies? We have an easy dairy free version that is creamy and delicious, and we include gluten free and egg free cookie options as well!
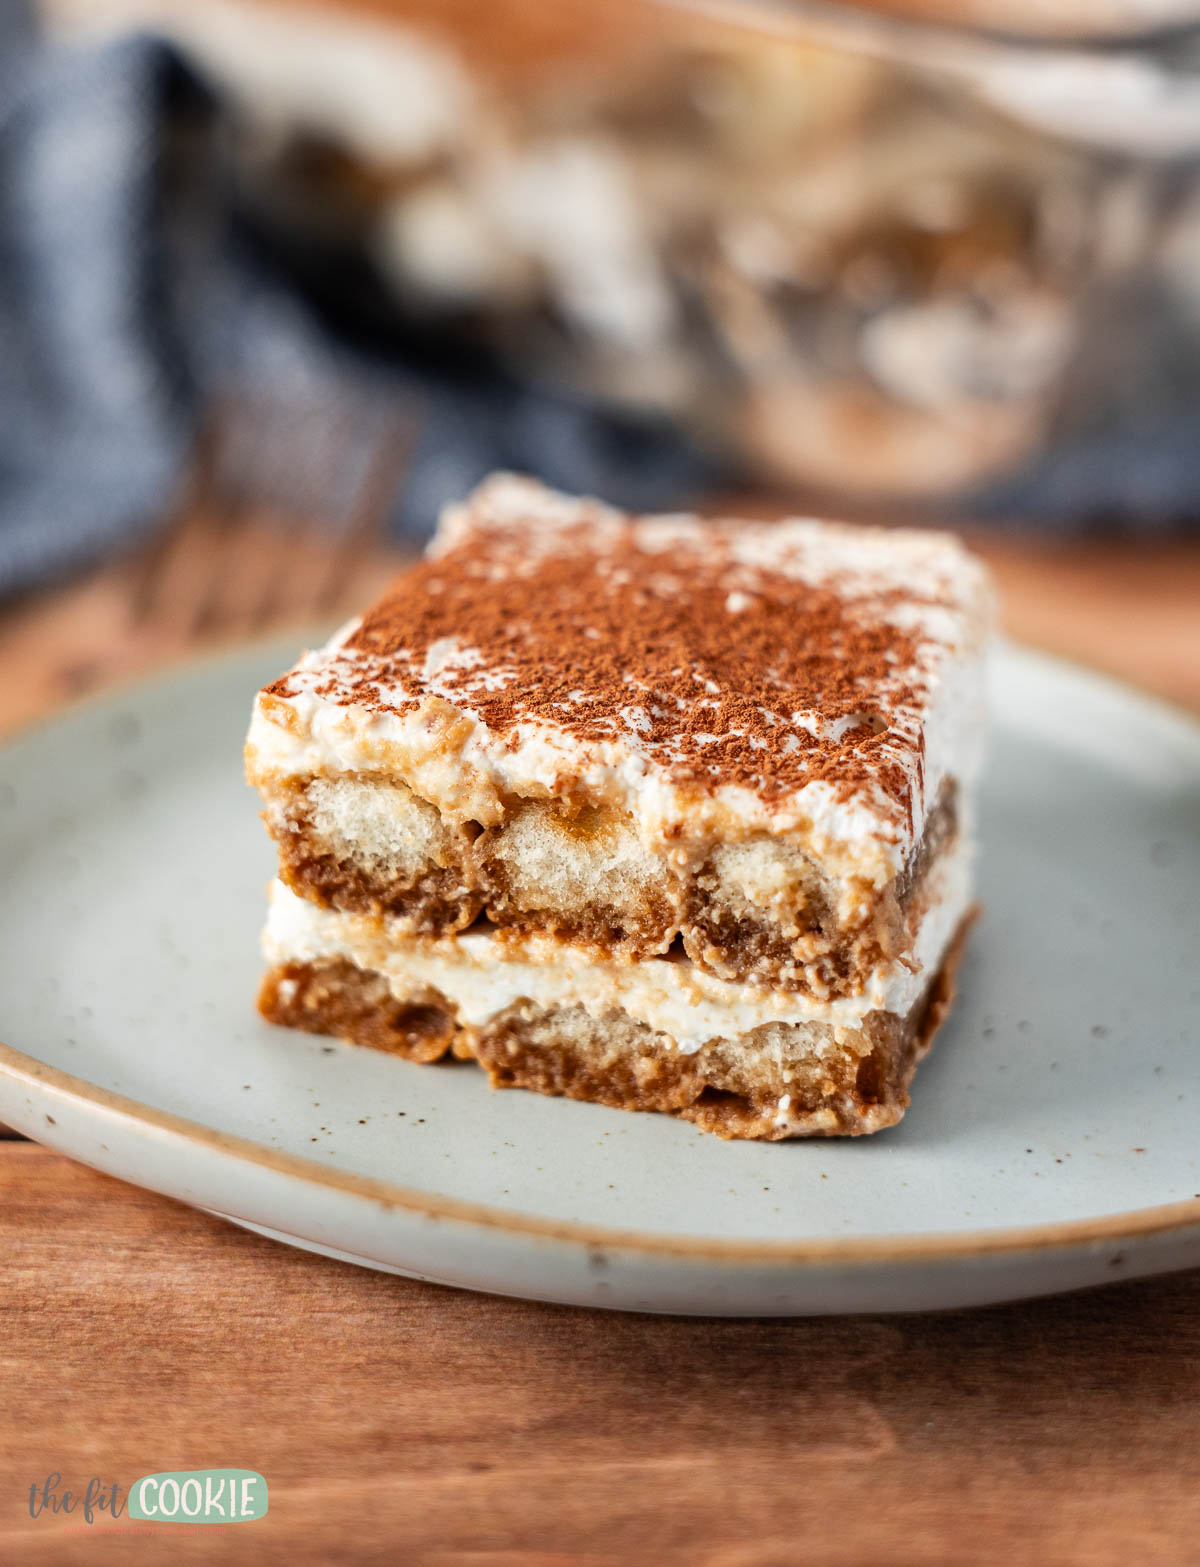
Most of the recipes on The Fit Cookie are built from a little bit of “selfish” pursuit: we have a craving for something that we can’t have or haven’t had in years, I tinker in the kitchen, and if the recipe turns out, I end up posting the recipe here for others to love 🙂
We decided to give dairy free tiramisu a try over Christmas break when my daughter was home from college since she hasn’t been able to try it, and our batch tasted so yummy, we are sharing it here.
I wasn’t able to get my hands on gluten free ladyfinger cookies for this, so I made ours with regular ladyfingers, but swapping them for a gluten free version is super easy. And if you can’t find gluten free ladyfingers, vanilla wafer cookies work just as well I think!
Why we love this recipe
While our recipe is not traditional (it doesn’t include eggs or mascarpone), it is still delicious, decadent, and incredibly easy to make!
We made this recipe dairy free, but we also have options for easily making this recipe gluten free, as well as ways to make this egg free/vegan as well since most ladyfinger cookies use eggs.
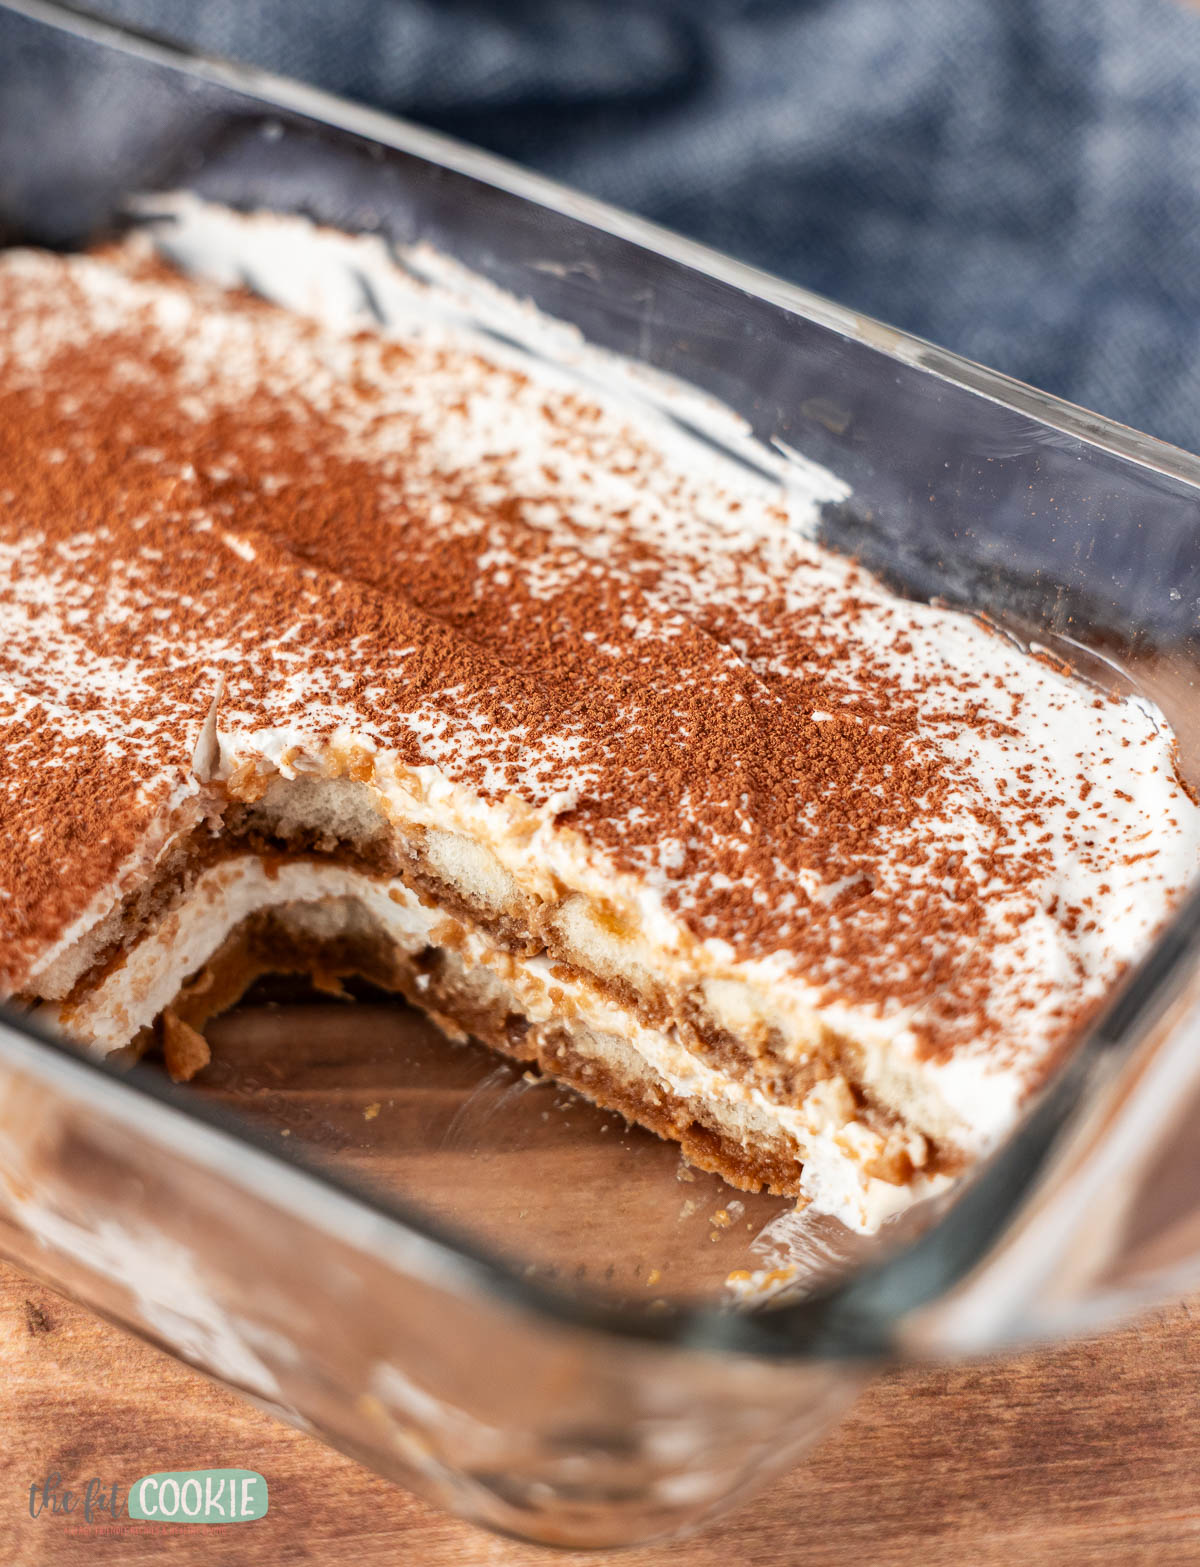
How to make easy dairy free tiramisu
Our recipe for tiramisu is really easy to make! Here are the steps for our recipe, this is just an overview, the full recipe card is at the end of the post.
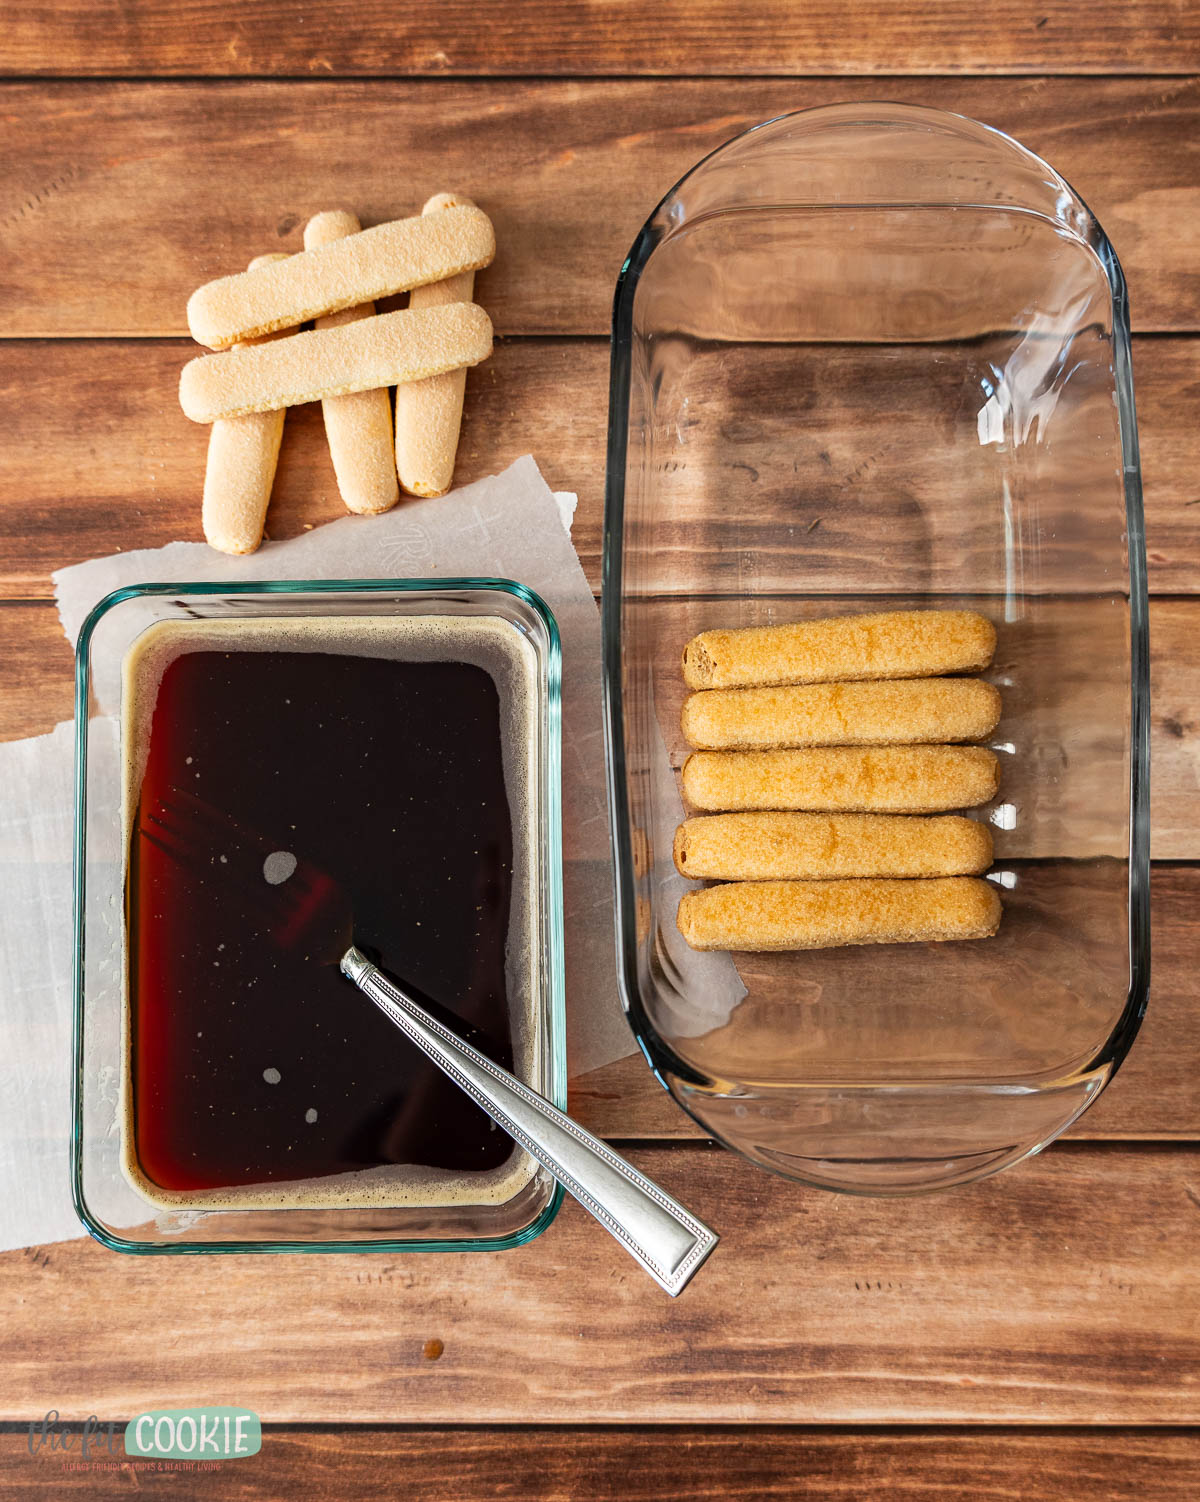
- Brew your espresso and allow it to cool to room temperature. I usually brew it into a frozen chiller cup to help it cool down faster without diluting it.
- Soften the dairy free cream cheese in a bowl by using a hand mixer and beating it until it is soft and creamy.
- Add the vanilla and the powdered sugar and beat again until it mixed.
- Scrape the sides and divide the Cocowhip (or other dairy free whipped cream) into 2 parts. Mix the first half of the whipped cream into the cream cheese until mixed, then add the rest of the whipped cream until it is all mixed together. Set aside.
- Dip the ladyfinger cookies in the espresso on each side and place it in your 9×5-inch glass loaf pan along the bottom of the pan in one layer. This should be about half the cookies if your package has 15 cookies. You’ll want to dip them and place them in the pan, don’t leave them to soak.
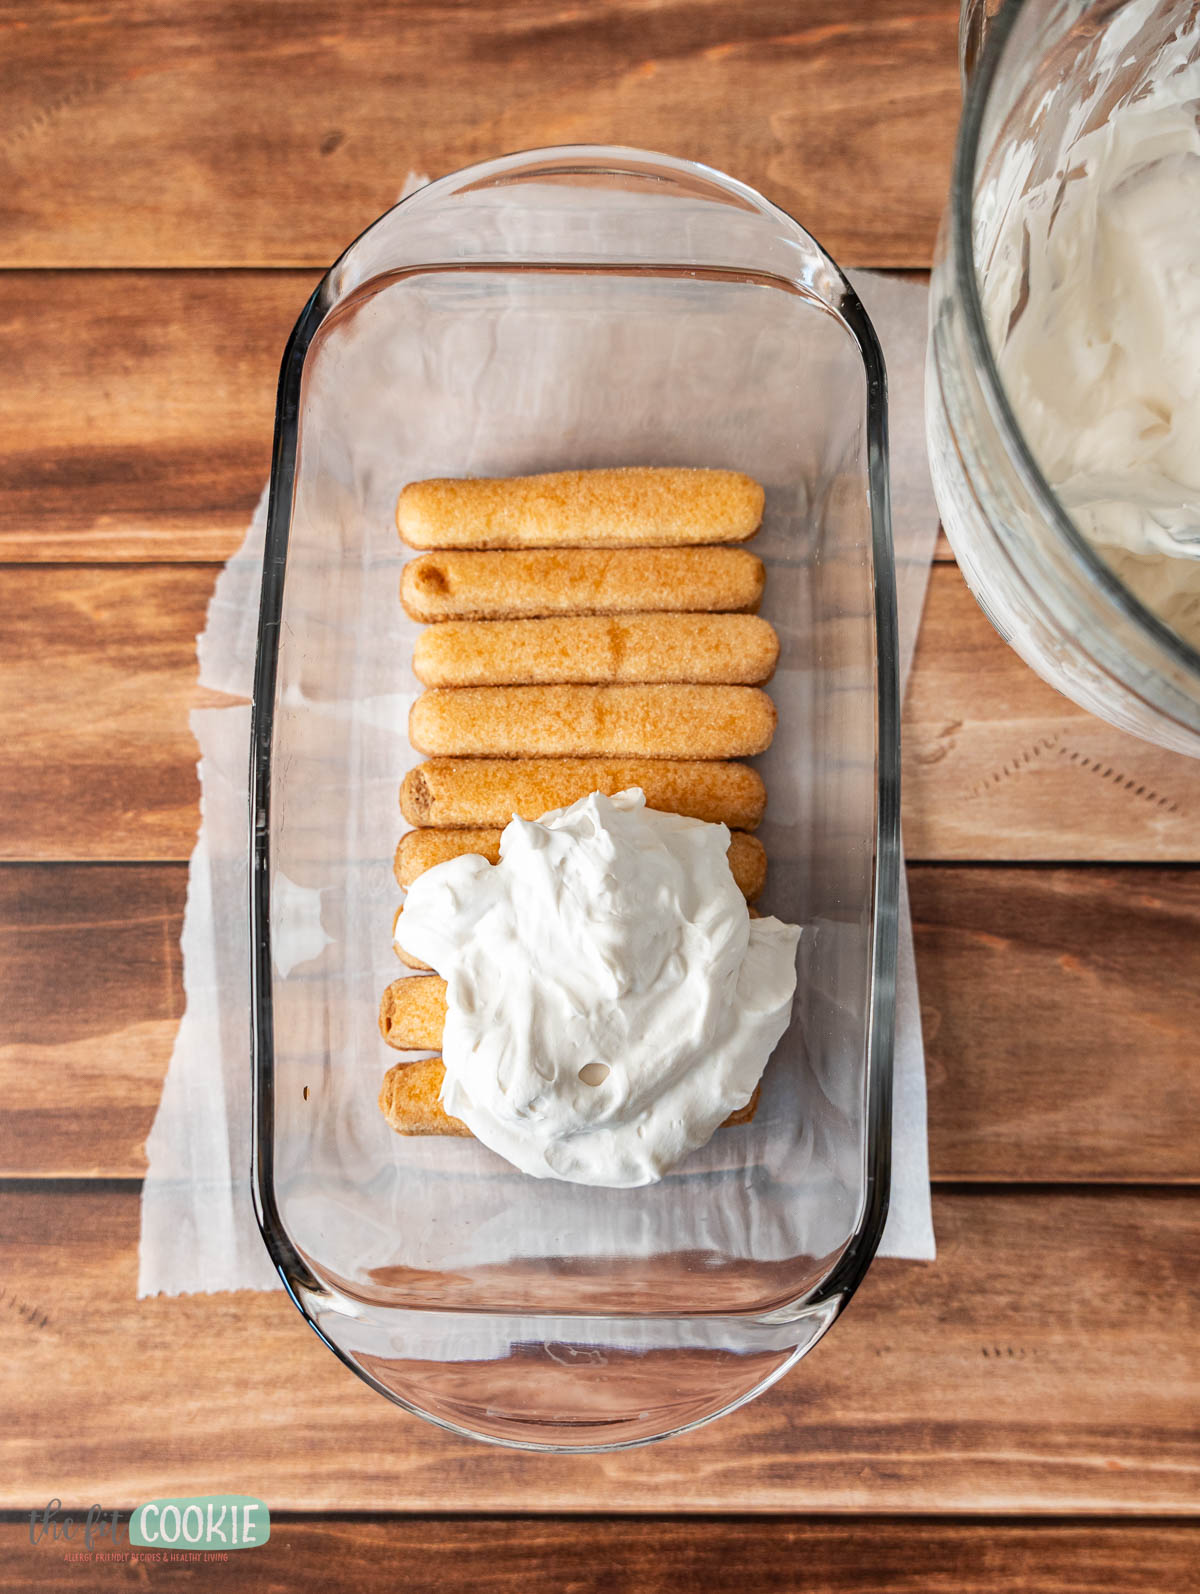
- Divide the cream cheese mixture in half, and spread half the cream cheese mix evenly over the dipped cookies.
- Dip the remaining cookies in espresso and lay them on top of the cream cheese mixture evenly until it is covered.
- Spread the remaining cream cheese mixture evenly on top of the second layer of dipped cookies.
- Use a mini sifter or tea strainer and sift cocoa powder over the top of the cream cheese. Cover and chill for several hours or overnight.
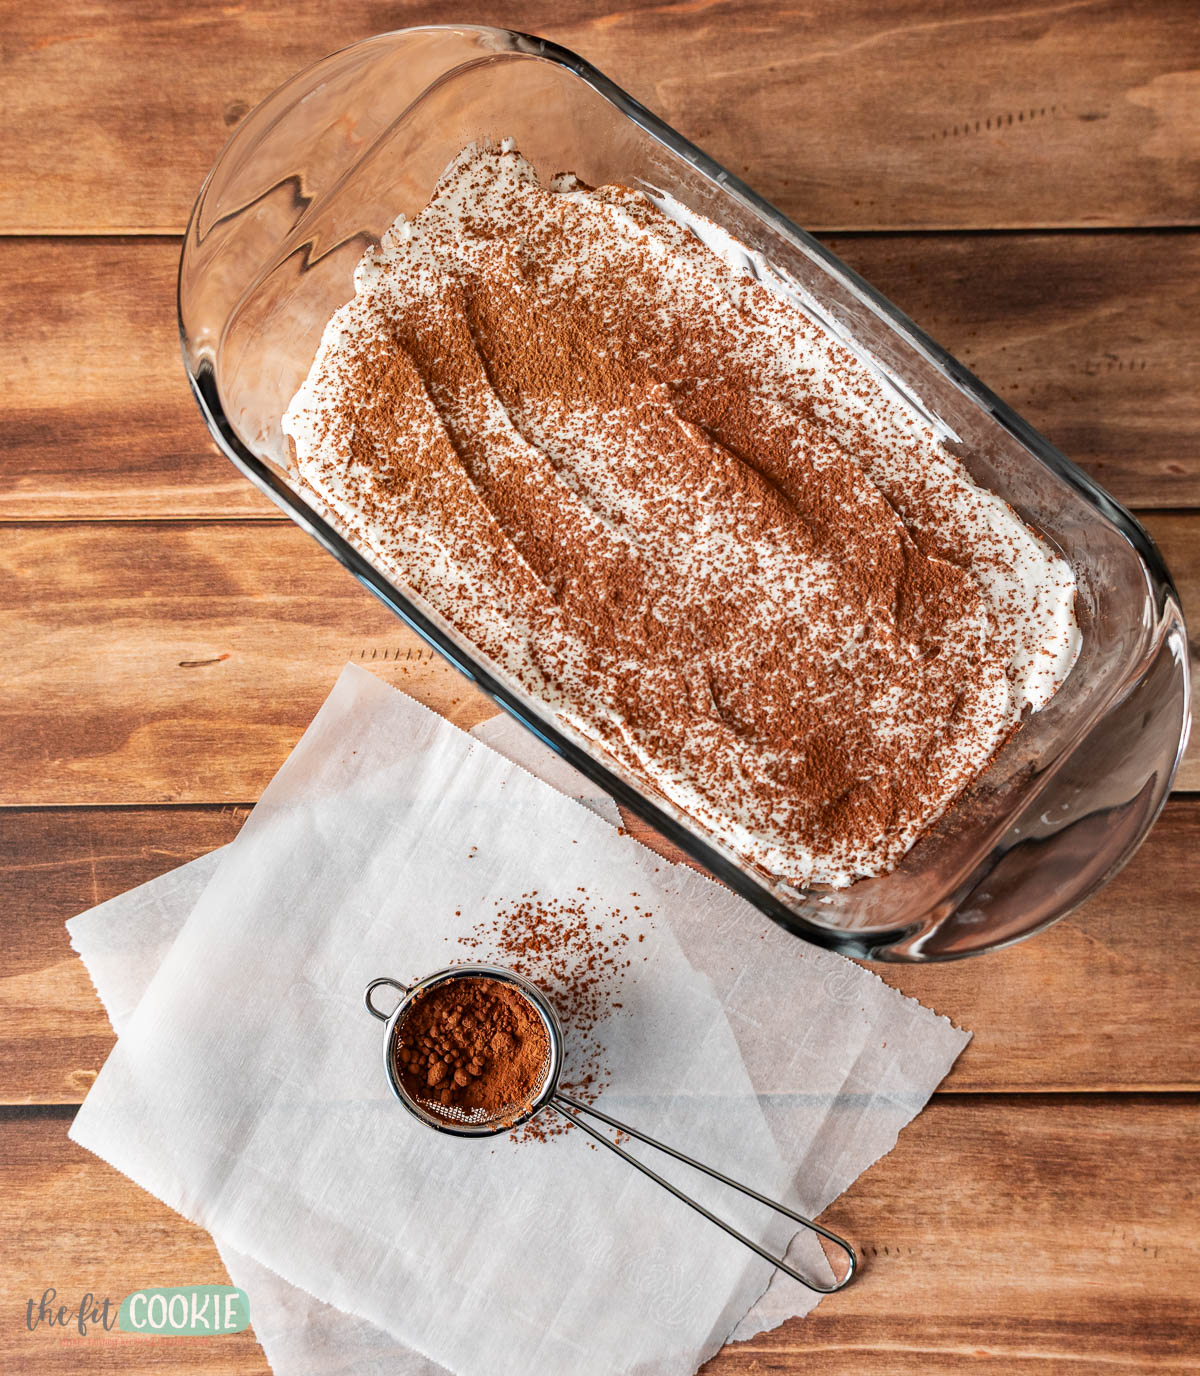
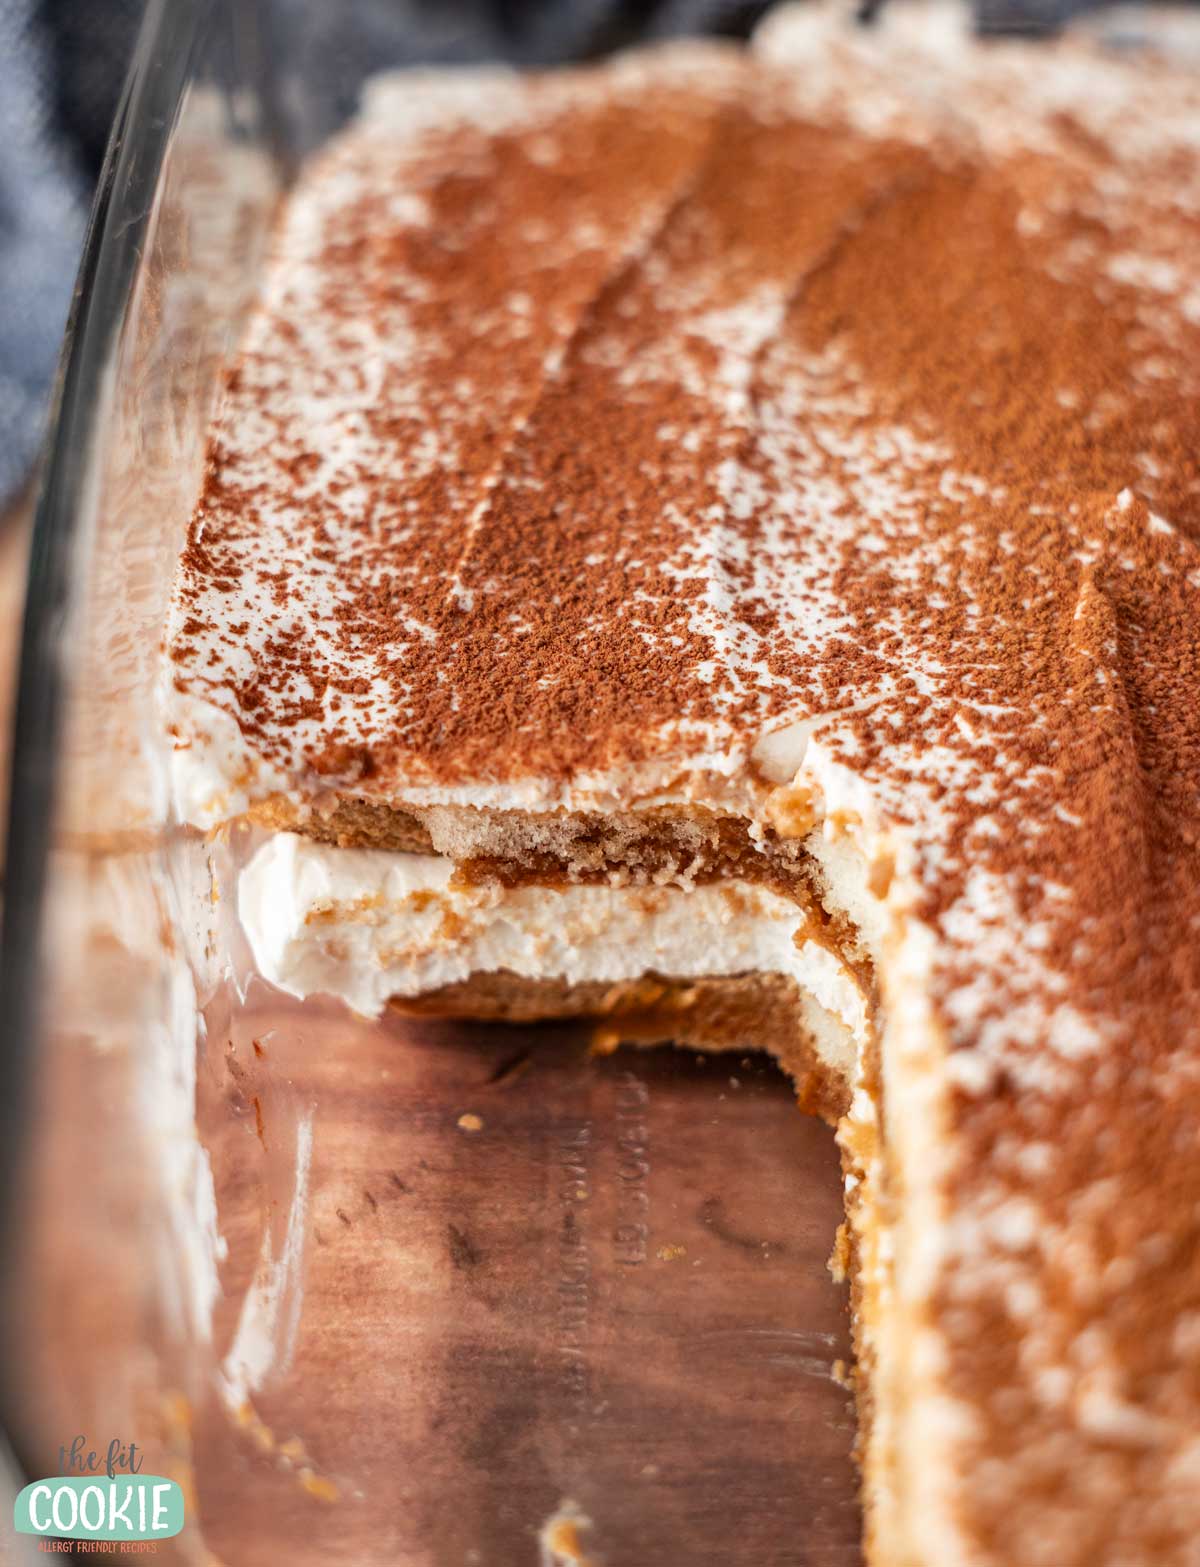
- Slice and serve!
- Store this tightly covered in the fridge for up to 4 days.
Chilling this tiramisu overnight is preferred. You can chill for a few hours if that is all the time you have, but the texture of the cream cheese and cookies is thicker and better when they can chill overnight before serving.
I love the cookie-to-cream ratio in this recipe, but if you want a taller tiramisu with more dairy free cream cheese filling, you can double the cream recipe and follow the same directions, just using more of the cream for those layers.
Recipe notes
Ladyfinger cookies: You’ll want to use crispy ladyfinger cookies for our recipe. I have seen some brands that make soft ladyfingers, and you don’t want to use the soft cookies or they will get too soft and soggy in this recipe. We have notes below on making this recipe gluten free.
Dairy free whipped cream: We used the Cocowhip dairy free whipped cream from So Delicious in this recipe and it works really well. You can use another brand of dairy free whipped cream in this recipe if you want, such as whipped cream made from the Silk or Country Crock dairy free heavy whipping cream, which are not sweetened.
If you use an unsweetened dairy free whipping cream, add 2-3 Tablespoons powdered sugar to the cream cheese mixture. Or leave the extra sugar out if you prefer a less sweet dessert.
Coffee: You can use espresso or very strong brewed coffee, or even some instant espresso powder mixed with water. If you want a decaf version, you can use high-quality decaf espresso or coffee for the cookies instead.
Gluten free cookie options for this recipe
Since I had a hard time finding gluten free ladyfinger cookies at the stores I went to, I made this with regular ladyfinger cookies. But the method and recipe should work the same with gluten free ladyfinger cookies as well.
Schar makes a gluten free ladyfinger cookie as well as Matile Vincenzi.
If you are having a hard time finding gluten free ladyfingers, you can use the Kinnikinnick vanilla wafer cookies instead, or you can make your own gluten free ladyfingers.
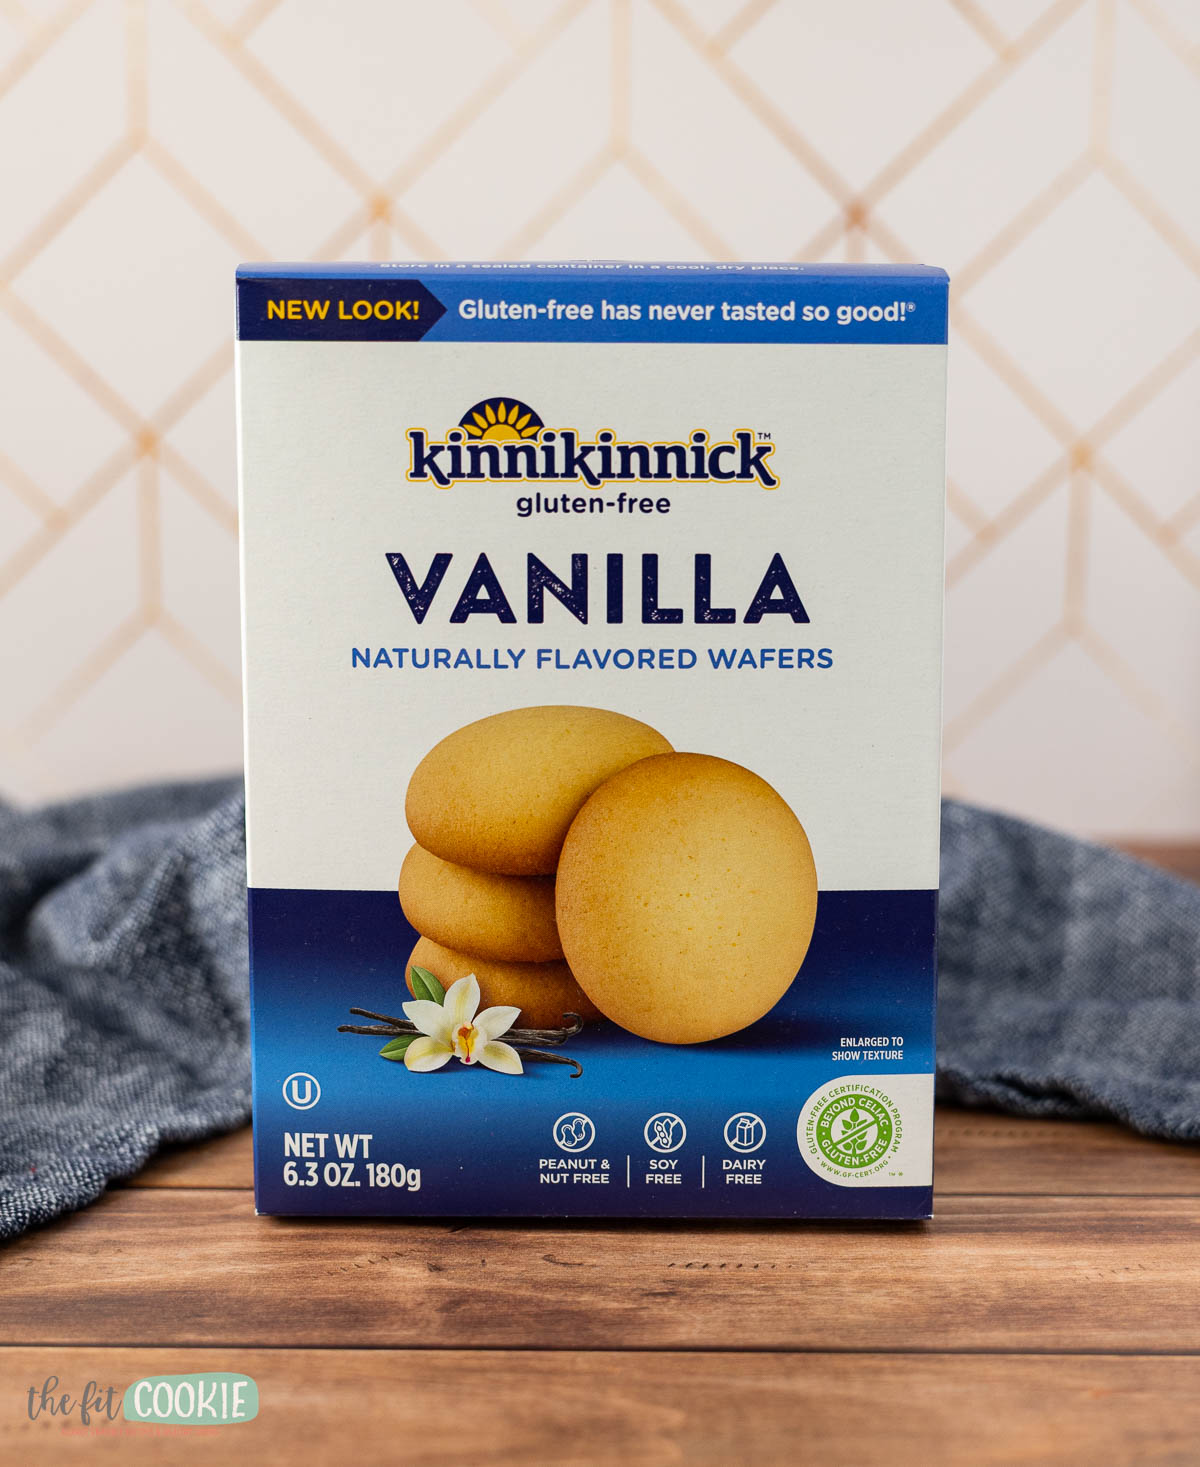
I made this recipe with both the regular ladyfingers and the Kinnikinnick vanilla wafer cookies, and I think I prefer the taste and texture of this made with the wafer cookies since they are denser and it makes a thicker and richer tiramisu.
Note that these are cookies similar to Nilla wafer cookies, not sugar wafer cookies.
For the vanilla wafer cookies, you can do the same process and just dip them briefly in espresso and place them in the dish, and follow all the same steps for making your tiramisu.
Making this recipe vegan or egg free
While our tiramisu doesn’t use eggs in it like traditional recipes do, the ladyfinger cookies do have eggs in them. Pretty much all of the ladyfingers I have found have eggs in them (both gluten free and regular), but most are made without dairy.
So if you have an egg allergy, it will be difficult to find a packaged ladyfinger cookie to use. The Kinnikinnick gluten free vanilla wafer cookies I mentioned earlier work great in this recipe but they also contain eggs.
Other good options for vanilla wafer cookies that don’t have eggs, dairy, or gluten include Partake, Made Good, or Home Free. We haven’t tried these cookies in this recipe, but I think they would make good options for this tiramisu if you give the cookies enough time to chill overnight to soften.
Check out our dairy free cheesecake recipes!
Easy Dairy Free Tiramisu (with Gluten Free Option)
Ingredients
- 7 to 8 ounces dairy free cream cheese (we used Violife)
- 2 Tablespoons powdered sugar
- 1 teaspoon vanilla extract
- 4.5 ounces (1/2 container) So Delicious Cocowhip* (Cocowhip comes in a 9 ounce container)
- 1 cup brewed and cooled espresso
- 15 ladyfinger cookies or gluten free ladyfingers** (3.5 ounces of cookies)
- 1 Tablespoon cocoa powder
Equipment
Instructions
- Brew your espresso and allow it to cool to room temperature. I usually brew mine into a frozen chiller cup to help it cool down faster without diluting it like adding ice can.
- Soften the dairy free cream cheese in a medium sized bowl by using a hand mixer and beating it until it is soft and creamy.7 to 8 ounces dairy free cream cheese
- Add the powdered sugar and the vanilla and mix again, scraping down the sides as needed.2 Tablespoons powdered sugar, 1 teaspoon vanilla extract
- Divide the 4.5 ounces of Cocowhip (or other dairy free whipped cream) into 2 parts. Mix the first half of the whipped cream into the cream cheese, then add the rest of the whipped cream until it is all mixed together. Set aside.4.5 ounces (1/2 container) So Delicious Cocowhip*
- Dip the ladyfinger cookies briefly into the espresso, making sure to get all sides, and place it in your 9×5-inch glass loaf pan along the bottom of the pan in one layer. This should be about half the cookies if your package has 15 cookies like mine did. You'll want to dip them and place them in the pan, don't let them soak in the coffee too long.15 ladyfinger cookies or gluten free ladyfingers**, 1 cup brewed and cooled espresso
- Once the cookies are in a single layer in the pan, divide the cream cheese mixture in half, and spread half the cream cheese mix evenly over the coffee-dipped cookies.
- Dip the remaining cookies in espresso and lay them on top of the cream cheese mixture until it is covered.
- Spread the remaining cream cheese mixture evenly on top of the second layer of dipped cookies.
- Use a mini sifter or tea strainer and sift the cocoa powder over the top of the cream cheese as thick or as thin as you like. Cover and chill for several hours or overnight.1 Tablespoon cocoa powder
- I prefer letting this chill overnight to thicken up the cream cheese and soften the cookies more, but you can serve this within a few hours of assembling if you are short on time.
- Scoop and serve. Store this tightly covered in the fridge for up to 4 days.
Notes
Nutrition
Pin this for later!

Sarah Jane Parker is the founder, recipe creator, and photographer behind The Fit Cookie which she founded in 2011. Sarah is based in Wyoming and has been managing food allergies for herself and her 2 children for over 20 years. Sarah was also a certified personal trainer for 12 years, as well as a group fitness instructor, health coach, running coach, and fitness nutrition specialist.