If you’re a food blogger on a budget, then finding great backgrounds can be tough. But no worries: you can make your own photo backgrounds with chalk paint!
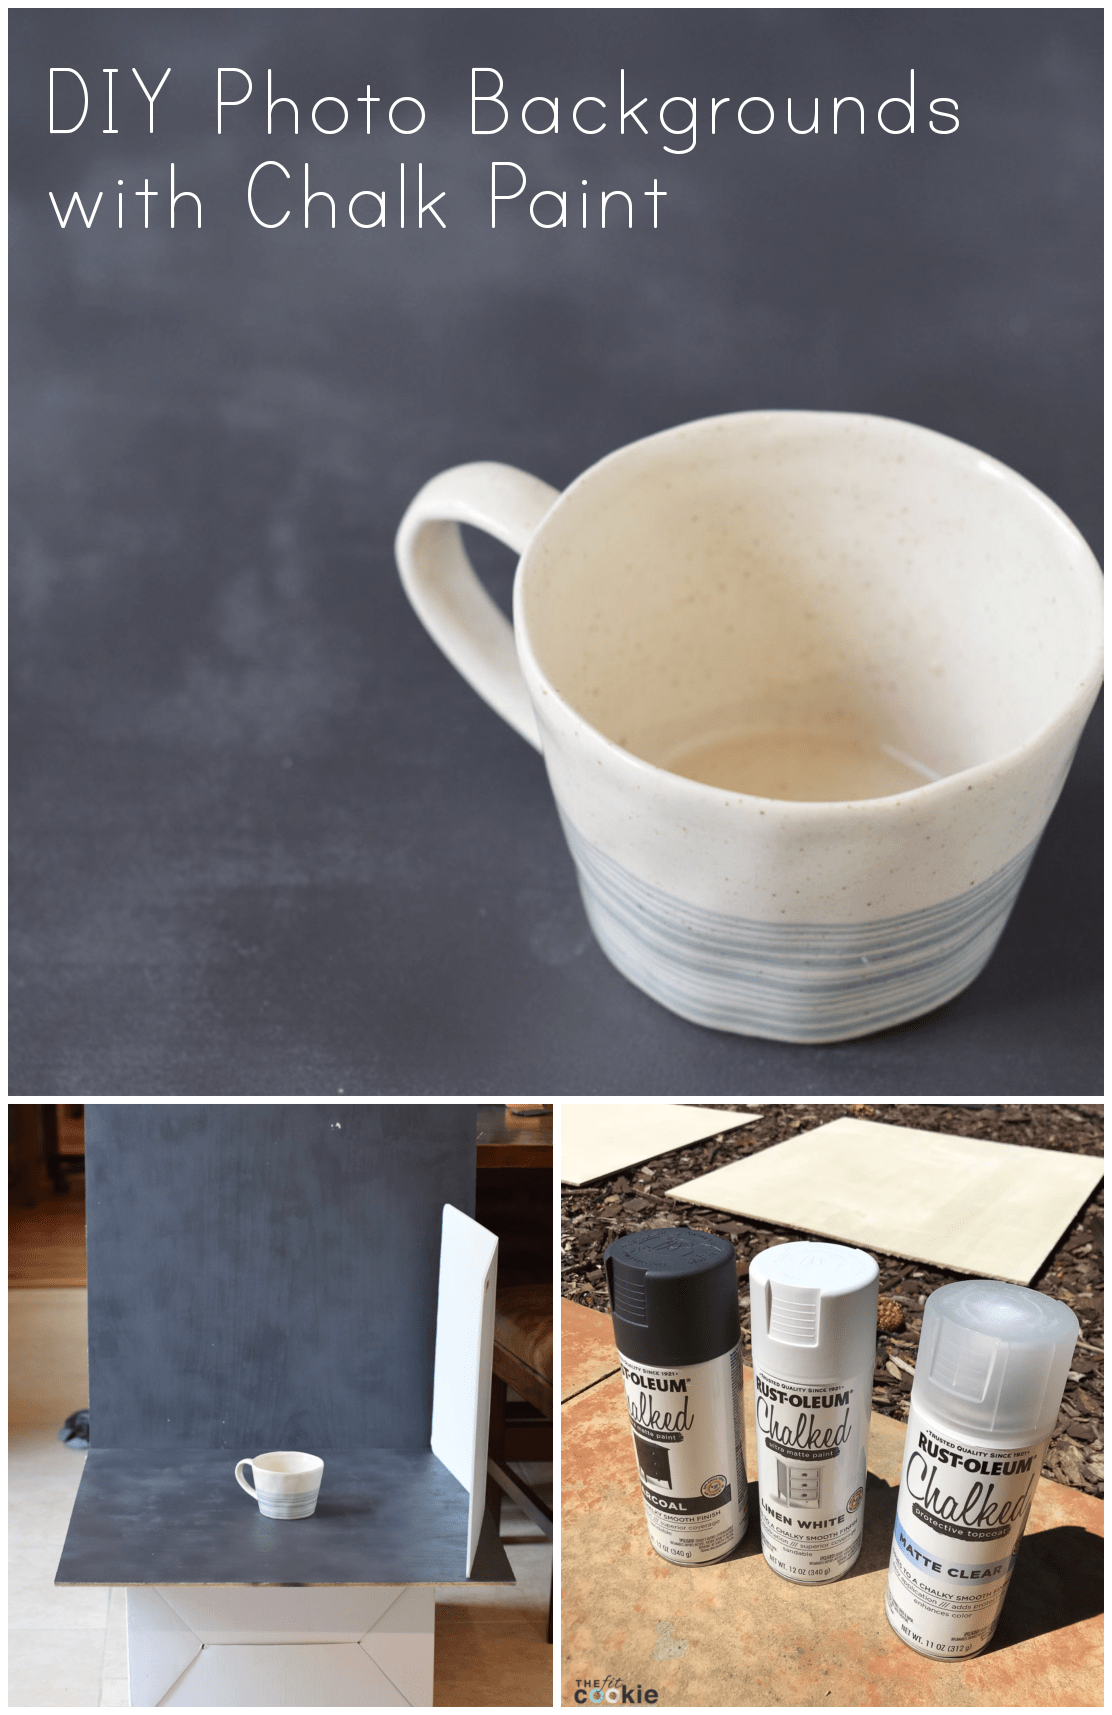
Hey friends! It’s been a little while since my last DIY post since I don’t do too many DIY posts on The Fit Cookie. But since I’ve been super un-busy since my surgery, I had plenty of time on my hands to try out my idea for photo backgrounds using chalk paint. And since it turned out really cool, I wanted to share it with you!
Scroll down toward the bottom of the post for our update on how to do color washed photo backgrounds!
One of the reasons I even did this project to begin with was that I needed some new photo backgrounds for my blog, but I didn’t want to spend $300-400 ordering a set of boards online. I really love some of the companies that sell backgrounds online, but we’re on a budget with all of our expenses and our upcoming trip to Haiti, so I couldn’t spare the money at the time and decided to make my own.
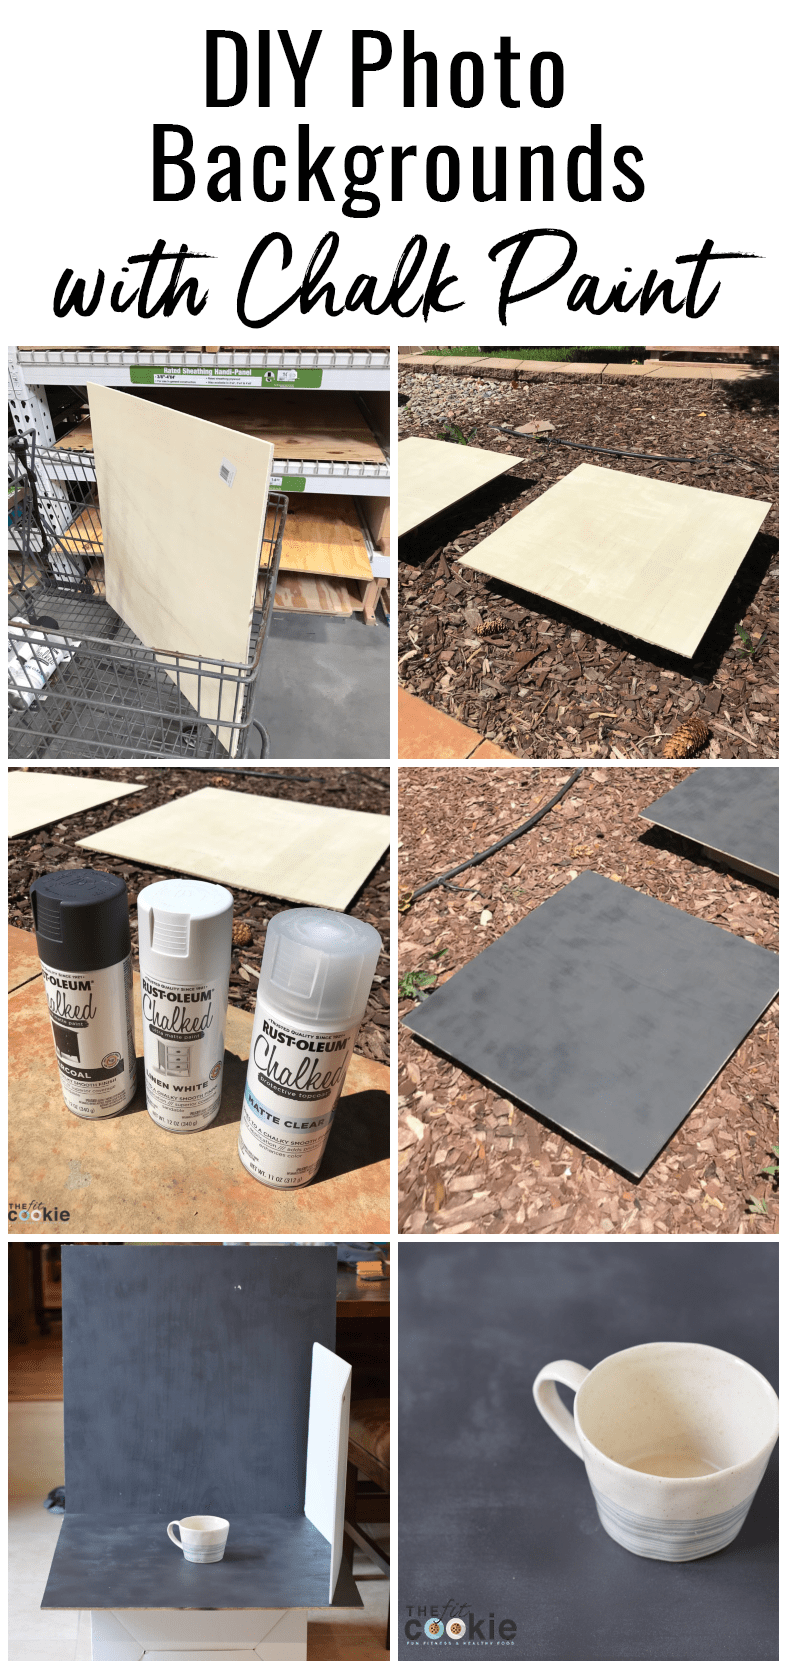
My DIY photography boards cost me a total of $28.22 for 2 double-sided backgrounds: the wood was $8.78 ($4.39 each), and the chalk paint and clear top coat cost $19.44 ($6.48 each). That was all I really needed for these backgrounds, just the wood and paint! I also got a free wood pallet at a local hardware store last year and I plan on pulling it apart and making some backgrounds out of that too, so stay tuned!
Solid color photo backgrounds
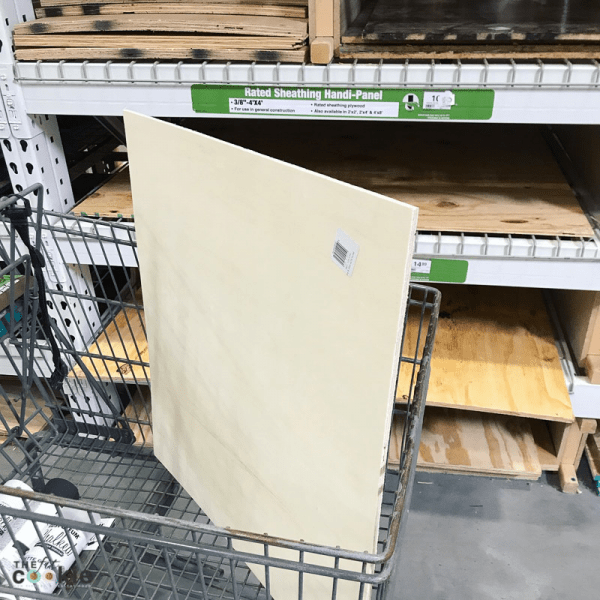
Pick and Prep Your Board
For the photo background boards, I used ACX birch plywood, 1/4″ thick and already pre-cut to 2’x2′, which is the perfect size for a food background. Since these were thin pieces, they were lightweight and easy to carry around.
I chose plywood pieces that looked good on both sides so I could paint both sides to make the most of my backgrounds! Both boards had two sides: a charcoal side and a white side.
You can use a thicker board if you want (like a 3/8-inch or a 1/2-inch), but I really wanted to have lightweight boards since I store my boards in our basement, and bring them upstairs for photos. If you choose a 1/4-inch board like I did, make sure that it’s not bowed, but nice and flat (or as close to flat as possible).
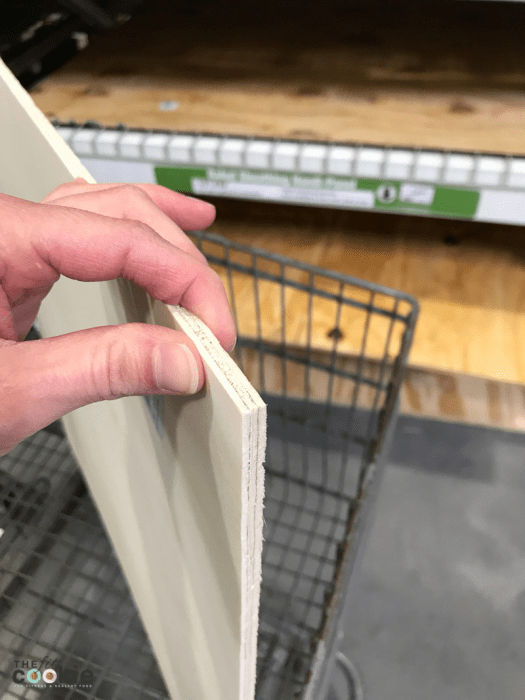
The type of wood shouldn’t matter too much since you’re covering it in paint. I used an inexpensive birch plywood, and it worked perfect. Each piece of board only cost me $4.39 each at our local Menard’s home store (some of the higher-end hardwoods cost more).
Just make sure you check both sides of the board and choose ones that have no blemishes (or fewer blemishes) on each side of the board. I wanted to make two-sided boards, so I had to pick through several boards to find ones that looked good on the back side of the board as well.
As for prep, I really didn’t do much to the board at all. The pieces I picked up at the home store were already sanded smooth on one side, but the other side was un-sanded and a little rough. I left the rough side as-is since I wanted some texture on the board. Less work and more texture, win-win 😉
Pick Your Chalk Paint
For these photo backgrounds, I decided to go with a chalk paint since it’s super matte. Nothing ruins a good food photo more than shiny backgrounds or dishes! I also bought a matte clear coat finish made for chalk paint to help seal the chalk paint without adding gloss.
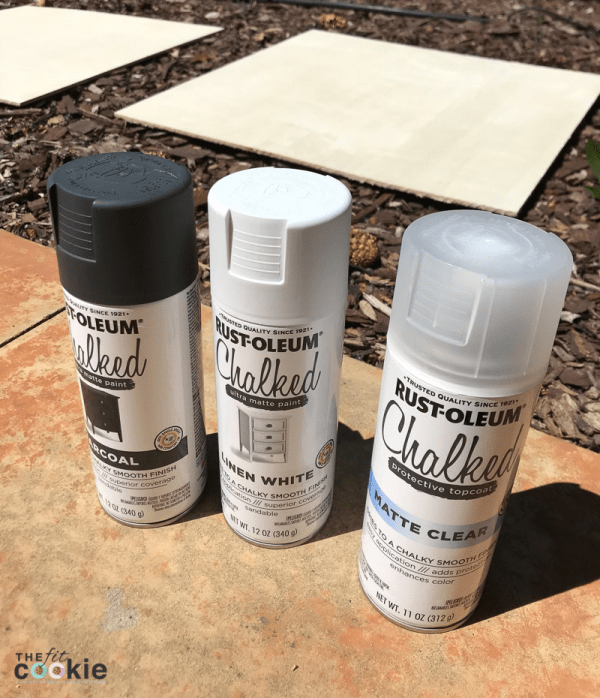
Since it was a little cheaper and more convenient, I decided to use the spray cans of chalk paint. I could have used a can of paint with a roller or brush for more even coverage, but the unevenness of the charcoal spray chalk paint also looks really cool on the boards. I used the Rust-Oleum chalk paint, but you can use any brand that you like (I haven’t tried this with any other brand yet).
It has a nice mottled appearance adding some interest to the background and photo. Spray chalk paint is a nice way to get that mottled look if you like that (I love it!). I used an entire spray can of the charcoal chalk paint on this project since I put more than one coat on it, and I used probably 2/3 can of the white since I only laid down one coat of white.
Paint your Backgrounds
While I painted my boards, I opted to do these outside to reduce overspray on my things and to stay better ventilated. The chalk paint dried very quickly since it was warm outside and not humid (it’s typically dry here), so I was able to get these backgrounds done from start to finish in one day.
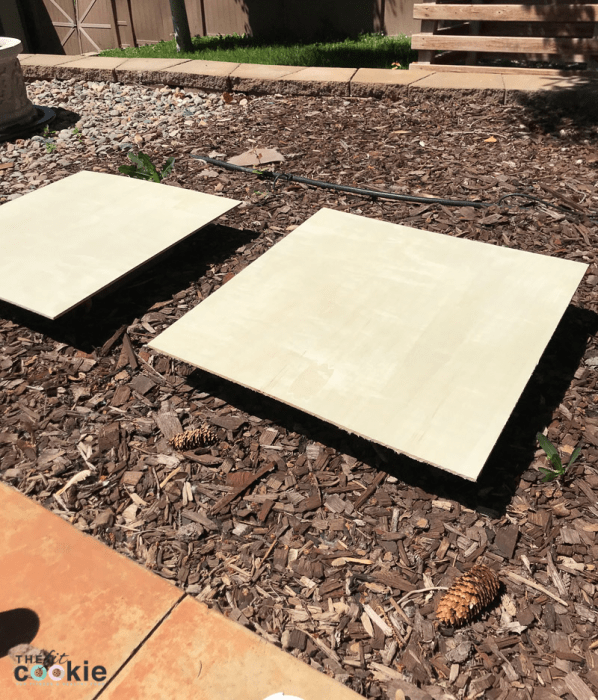
The white chalk paint in the spray can didn’t cover very well either, but it actually looked great with the light single coat. I had been aiming for a solid white matte finish, but the white-wash look with the wood grain looked even better than my original idea, so I just went with it. 🙂

I found that after 2 coats of the charcoal chalk paint, I needed to lightly sand the board a bit before applying the final chalk matte clear coat. I think it was just a slight build-up of chalk on the rough parts of the wood, and it came off with a light brushing from a rough dishwashing sponge.
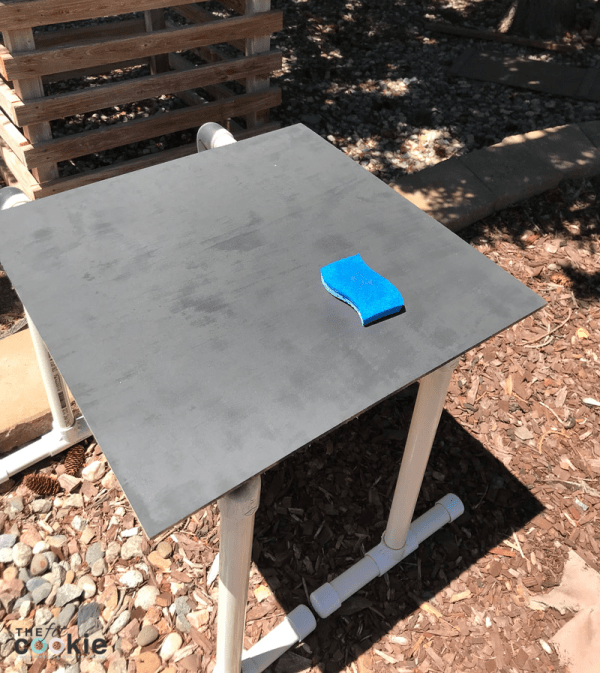
The excess chalk came off nicely and my paint was still there. I don’t think this would have been an issue with a paint brush, but the spray-can laid out some extra chalk that needed brushed off, but it was easy to remove.
The Finished Photo Backgrounds
Here are some final close-ups of my backgrounds with my good camera and a few lighting edits:
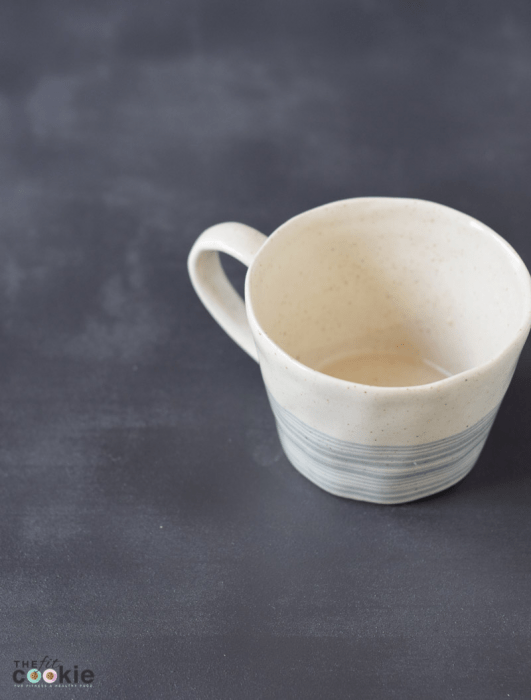
The photo background with charcoal chalk paint. I thought there would be a little bit of glare from the multiple coats of paint, but there was no glare on the camera at all. The unevenness of the paint looks great!
My photo background with white chalk paint. The thin coat of white paint looks like whitewash!
Textured/color wash photography boards
After I did the solid color backgrounds, I experimented with color washed ones and even some textured ones with plaster (I’ll post some more on those later!). I used the cans of chalk paint this time instead of the spray chalk paint like the other ones.
All the steps for how to do the color wash backgrounds are in the video near the top of the post. Here are a few notes that I couldn’t fit into the video:
- If you lose the place in the video, color wash ratios are 1 part paint to 4 parts water (example: 1 Tablespoon paint to 4 Tablespoons water)
- If you leave your color wash out for a bit and come back to it later, make sure to stir it well since the chalk settles to the bottom
- I tried this technique a couple times, once with damp crumpled up cheesecloth instead of the rough sponge like I show in the video. I liked how the texture looked with the cheesecloth better than the sponge. But whichever method you use is up to you.
- You won’t notice the brush strokes as much once it dries after the final color wash, but if you want to see less of the brush strokes, you can use a slightly damp crumpled up cheesecloth to blot the color wash right after your last coat.
- You can also customize the how much texture you see on your board by adding more or less color wash layers on top of the darker color.
- Have fun with the colors! I used white and charcoal, but you can use other colors you like, or sponge on both charcoal and blue chalk paint for example if you want some hints of other colors on your board. I’d like to experiment some more with other paint colors and textures.
Paints and tools I’m using in the video:
- Linen white Rustoleum chalk paint
- Charcoal Rustoleum chalk paint
- Rustoleum clear matte chalk paint top coat
- Painters textured sponge
- Painters cheesecloth (if you want to use instead of the sponge)
- Disposable paint brushes
- Paint mixing cups (for mixing chalk paint color wash)
Photo Background Care and Storage
Because these use chalk paint with a matte clear coat, I would be careful adding anything very dark, powdery, or liquid (like cocoa powder or wine) directly onto your whitewashed side of the board. I don’t know how it would stain (if it would at all), I didn’t experiment with how these boards would handle drips and stains.
Just like chalk painted furniture, these boards should be fine to wipe clean with a damp cloth if needed. If for some reason you did get stains or scratches on your board, it is very easy and inexpensive to make new ones!
Also, I would store these boards with like colors facing each other: black sides together or white sides together so the black doesn’t make marks on the white side. I haven’t tested it out to see if the black would even make marks on the white side, but since I put a clear coat on top, it should probably be fine. But just to be on the safe side, I’ve been storing these with like colors against each other.
You can also store these with a piece of foam board or fabric between them, too, to keep your boards looking nice.

Sarah Jane Parker is the founder, recipe creator, and photographer behind The Fit Cookie which she founded in 2011. Sarah is based in Wyoming and has been managing food allergies for herself and her 2 children for over 20 years. Sarah was also a certified personal trainer for 12 years, as well as a group fitness instructor, health coach, running coach, and fitness nutrition specialist.
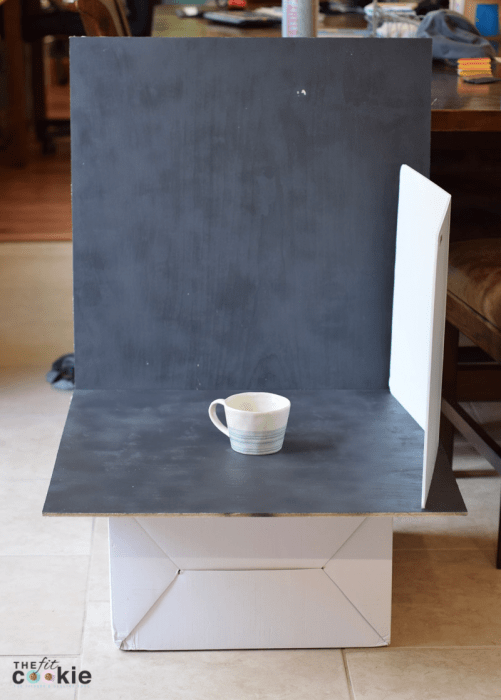
Hi! How did you get the boards to stay together while shooting?
Hi Courtney! I just leaned my back board against a table and snugged it up against the edge of my other board on the bottom that I placed on a box. You can see my setup here: https://www.instagram.com/p/B7cE3I-notm/ and here https://www.instagram.com/p/B3u6HSnAAaG/. It usually works good for me to do that, I also use store bought surfaces that come with stands and I never use the stands that come with them.
Love these! They look great! One question, what are you using for your reflective board? The white bi-fold piece on the side of the pictures?
Hi Christi! I use the Lowell Ego-Flector that came with my Lowell Ego Light. It works great, but I bet you can also use a piece of white foam board that’s bent down the middle, too
What a great idea! Thank you so much for this post.
You’re welcome Vayia! Let me know if you give this a try 🙂