Looking for a fun home project you can tackle in a day or two? See how we made a couple sets of rustic industrial wall hooks for our home!
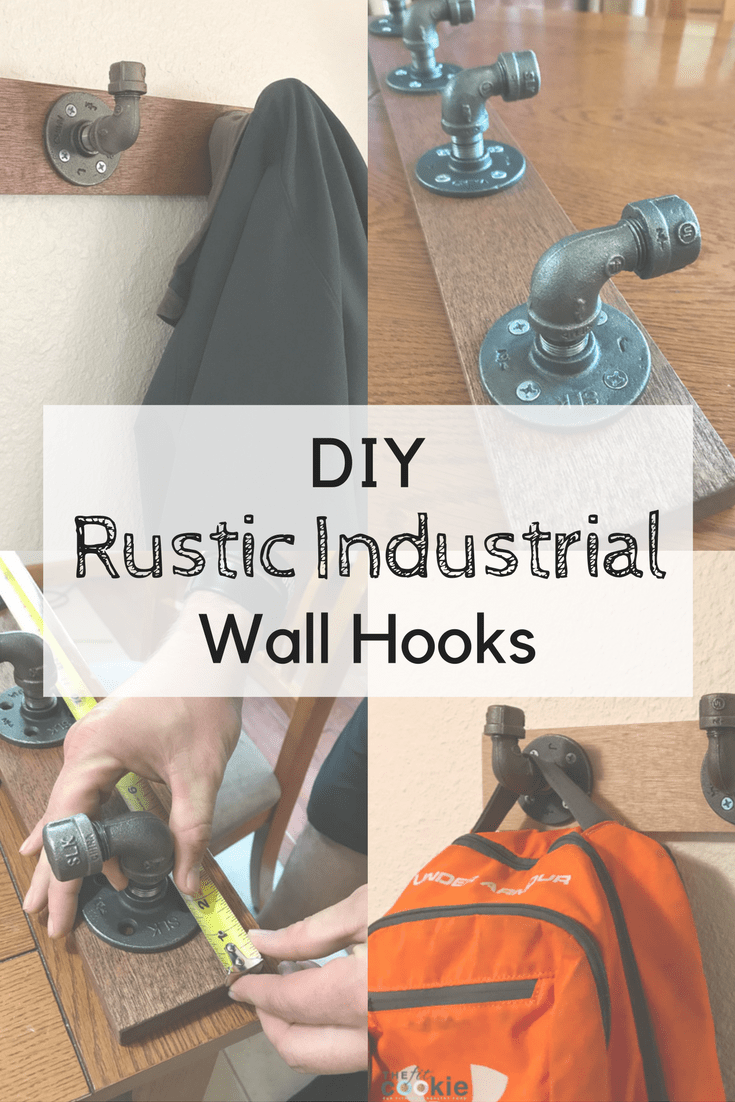
We’re doing a unique type of post today! I don’t usually post home or DIY projects much, but we did a fun weekend project a few days ago that I wanted to share on the blog today.
I’ve been wanting coat hooks by our garage door for a while, but my husband didn’t like how flimsy some of the ones at the store were, so we decided to make a wall hook set our own. Some friends of ours had similar hardware in their house, so we got some pipe fittings and made up a cool wall hook set, then loved it so much we made another set for our son’s room.
The photos on this post aren’t super spectacular, I used my iPhone so these don’t look like pretty home-magazine photos sadly, but this is a fun and fairly easy project.
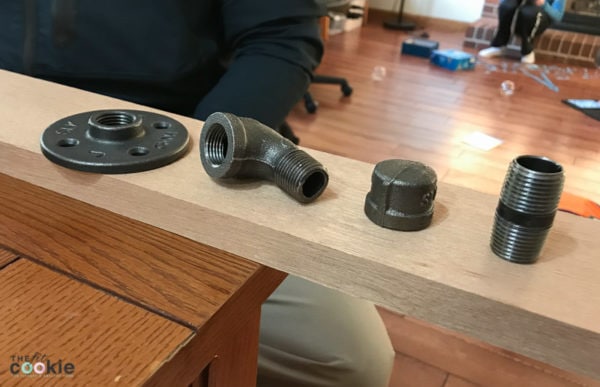
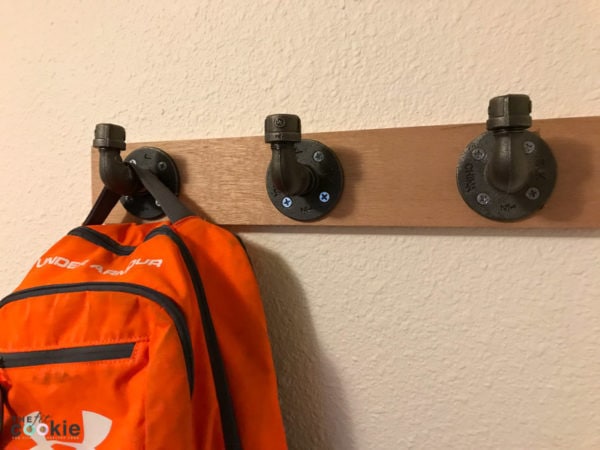
We used some standard black pipe fittings from the hardware store that are all 1/2-inch fittings. Each hook is made from 4 pipe fittings. From left to right, they are:
- Floor flange
- Street elbow
- Cap
- Pipe nipple
Since our hook set had 4 hooks, we got 4 of each pipe fitting to make the hooks.
How to assemble your wall hooks
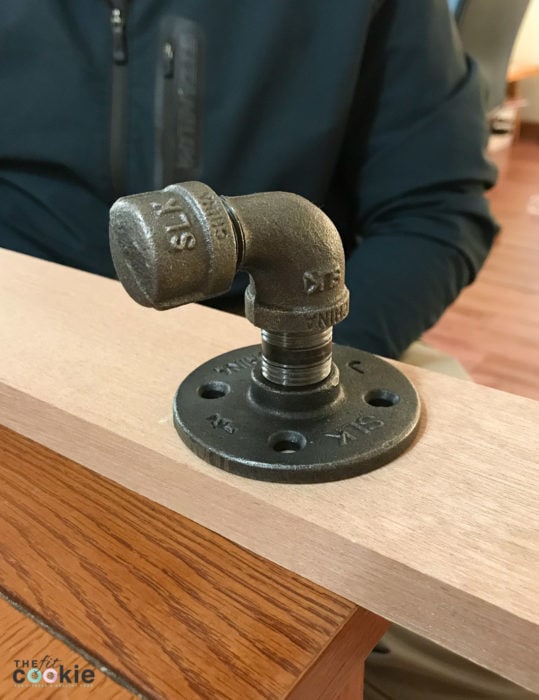
The pipe nipple connects the larger end of the street elbow to the flange, and the cap covers the smaller end of the street elbow.
Important: make sure you wipe these off really well! Pipe fittings have some oil on them so you need to make sure that these are wiped off very well to make sure you don’t get oil or black on your coats.
After assembling the hooks and wiping them down, we set them aside to prepare the wood.

For our base wood, we used a piece of mahogany. You can use any wood you want, like oak, pine, etc. We bought a piece of solid wood that was 1″x4″x4′, and cut it shorter to about 28 inches. We used the shorter leftover piece to make a smaller set of wall hooks for my son’s room.
We cut the wood down, sanded the edges and everything smooth, then we stained the wood. After 15 minutes with the stain, we wiped off the excess stain, then let it sit overnight. The next day, we wiped it again to remove any excess stain, and started adding our wall hooks.
You can put a clear coat on top of the stain, or you can leave it with just the stain (just make sure you have wiped off any excess stain thoroughly so it doesn’t get on coats). For the second smaller hook set in my son’s room, we skipped the stain and left it natural so it matched his wood floor.
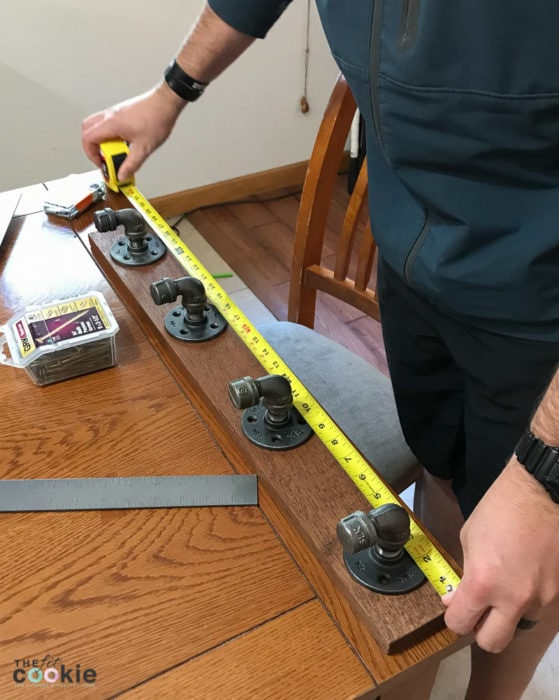
After we prepped the wood, we decided how far apart we wanted the hooks to sit. Zach marked where we wanted the hooks, and attached them to our wood piece.
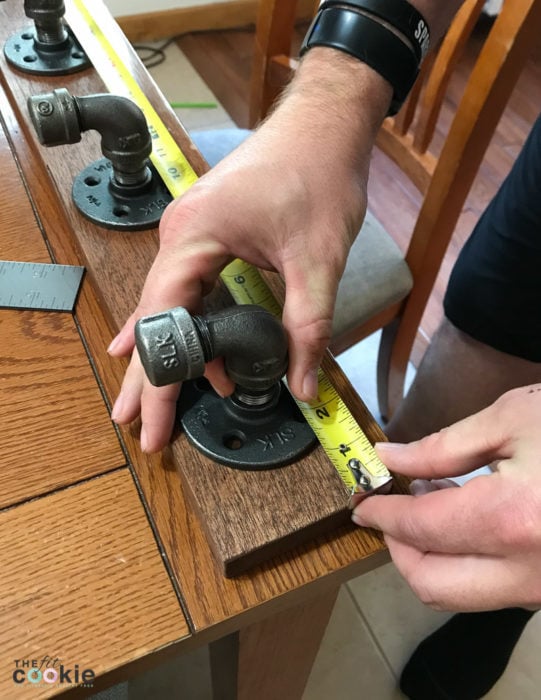
If you want the screws to match the color of the pipe fittings, you can use black screws or paint over the silver colored ones. We just decided to leave the screws the silver color on our hooks.

We ended up backtracking a little bit after this. After we added the hooks to the wood, we decided to hide the wall screws under 2 of the hooks. So we checked where our wall studs were, marked where we wanted the wall hook set, removed a couple of the hooks and attached the wood to the wall into the studs.
Then we added the wall hooks back onto the wood so the screws were covered up by the flanges. Perfect!
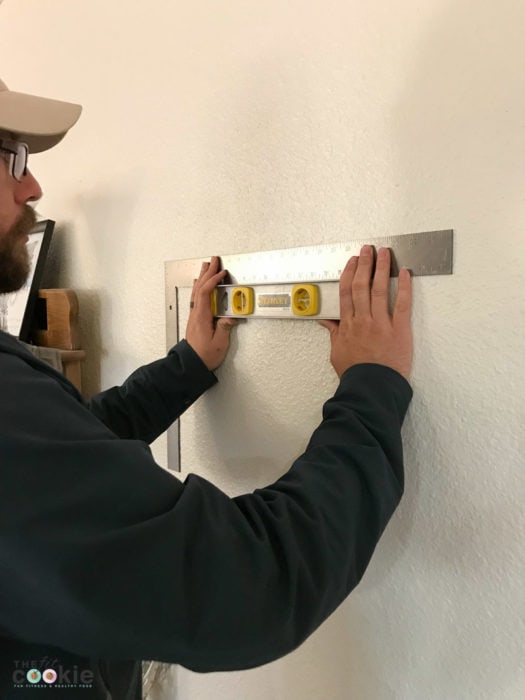
Adding a line to make sure our coat hooks are level.
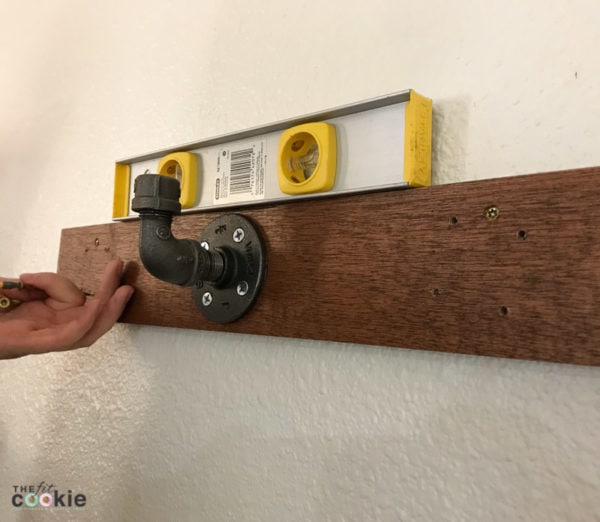
Checking level again while attaching this to the wall. We removed a couple hooks so we could hide the wall screws behind them.
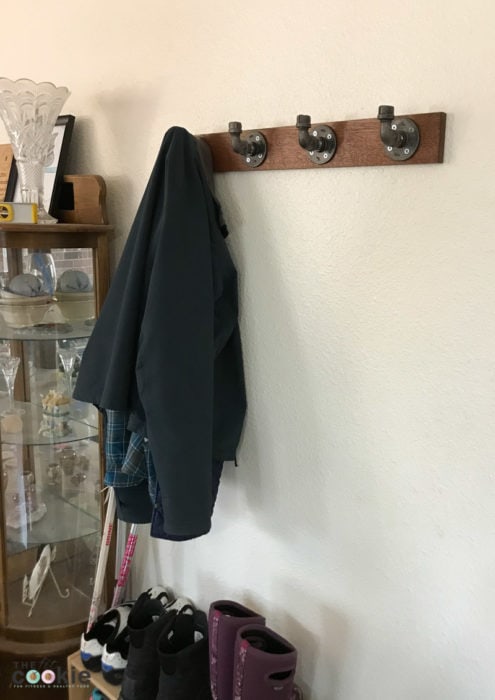
Voila, all done! Super sturdy wall hooks in a style we all love, with one hook for each of us 🙂
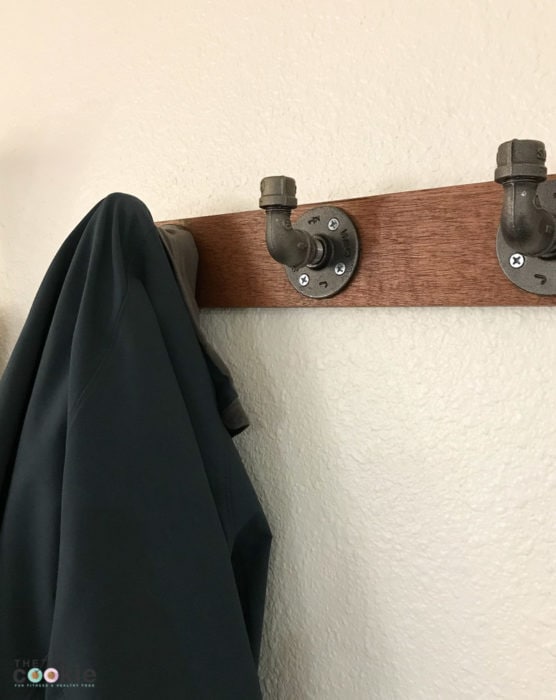
This wall hook set is very strong, so it will last a while and won’t tear out of the wall. We loved the longer one we made in the living area, so we made another smaller one for our son’s room. It’s perfect!

Sarah Jane Parker is the founder, recipe creator, and photographer behind The Fit Cookie which she founded in 2011. Sarah is based in Wyoming and has been managing food allergies for herself and her 2 children for over 20 years. Sarah was also a certified personal trainer for 12 years, as well as a group fitness instructor, health coach, running coach, and fitness nutrition specialist.
Thanks for sharing this! All the best!
Thanks Cole!
Hi there can you please tell me the length of pipe nipple you used in this project?
I think it was about 1 inch or 1-1/4 inches long, I don’t quite remember since I didn’t write down the length.