Hot summer days call for easy, no bake desserts like our Oreo Icebox Cake! This is completely dairy free and gluten free, and is made with only 2 ingredients. We include some fun variations, including allergy friendly Oreo fluff!
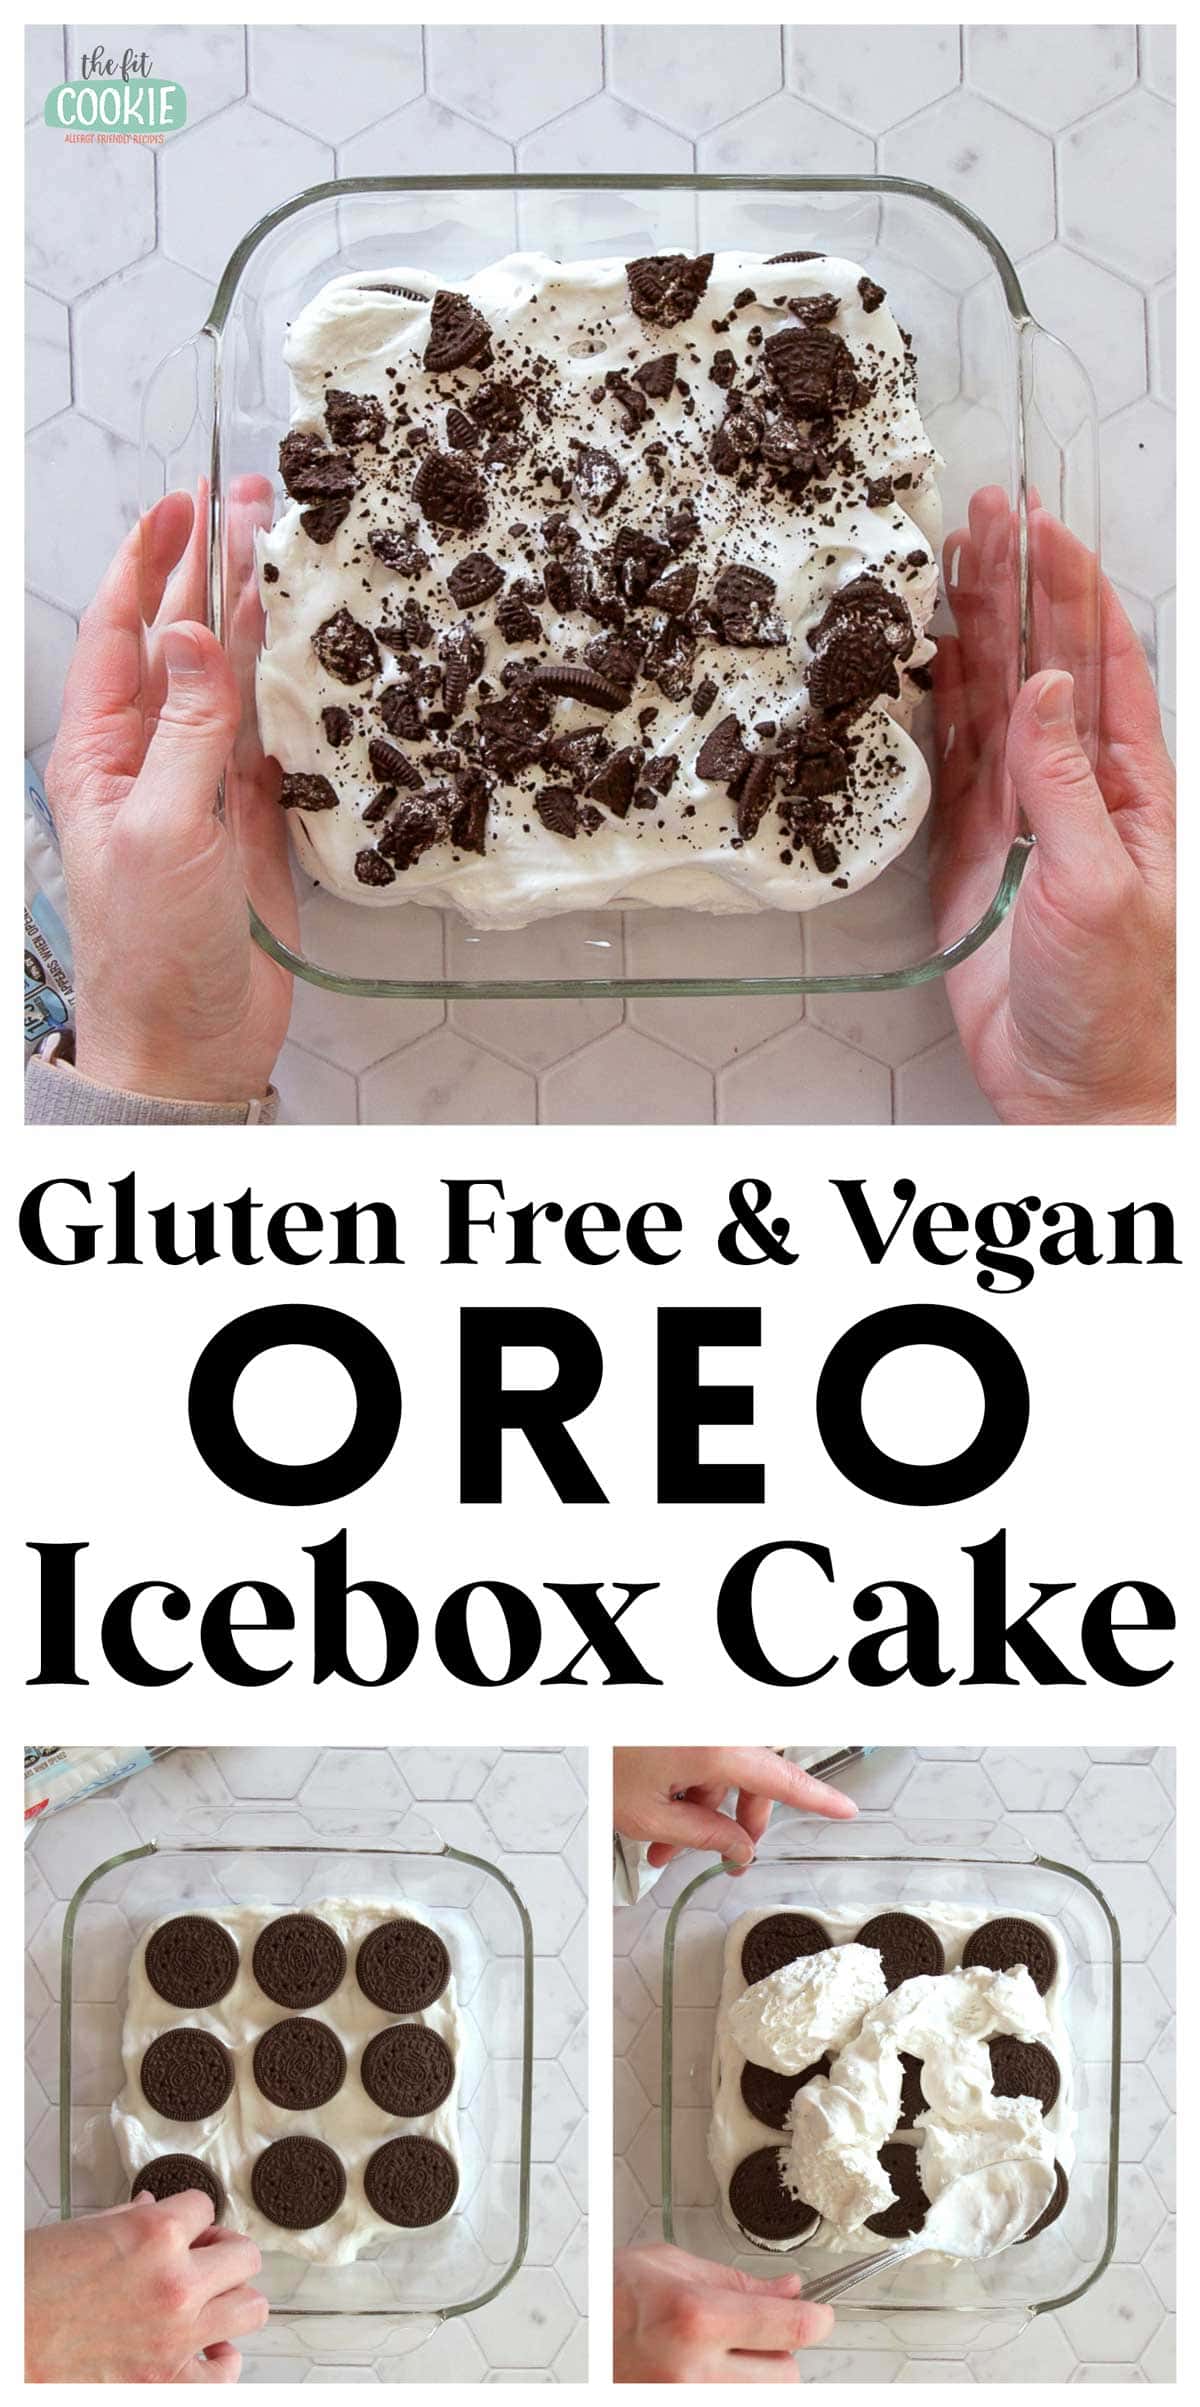
Looking for a creamy and cool dessert for summer that doesn’t require an ice cream maker and only has 2 ingredients? Our allergy friendly Oreo Icebox Cake (and Oreo Fluff) recipe is just for you!
This is a twist on our icebox cake that’s made with Nilla wafer-style cookies and fruit. This includes America’s favorite sandwich cookie (the gluten free version) and dairy free whipped cream for a super easy dessert.
You’ll only have to wait for this to soften up in the fridge for a while, so the hardest part about this recipe is waiting to eat it. If you opt for the Oreo fluff version, you won’t have to wait as long!
Allergy notes (when made with the suggested ingredients):
- Dairy free
- Vegan
- Gluten free
- Peanut free
- Tree nut free (except for coconut)
- Please contact individual product manufacturers for cross contamination information
How to make a dairy free Oreo icebox cake
Just like our other icebox cake made with Nilla wafer style cookies, this recipe is super simple and made with only a few ingredients (just 2).
Here’s how to make this recipe (the full instructions are in the recipe card at the end of the post):
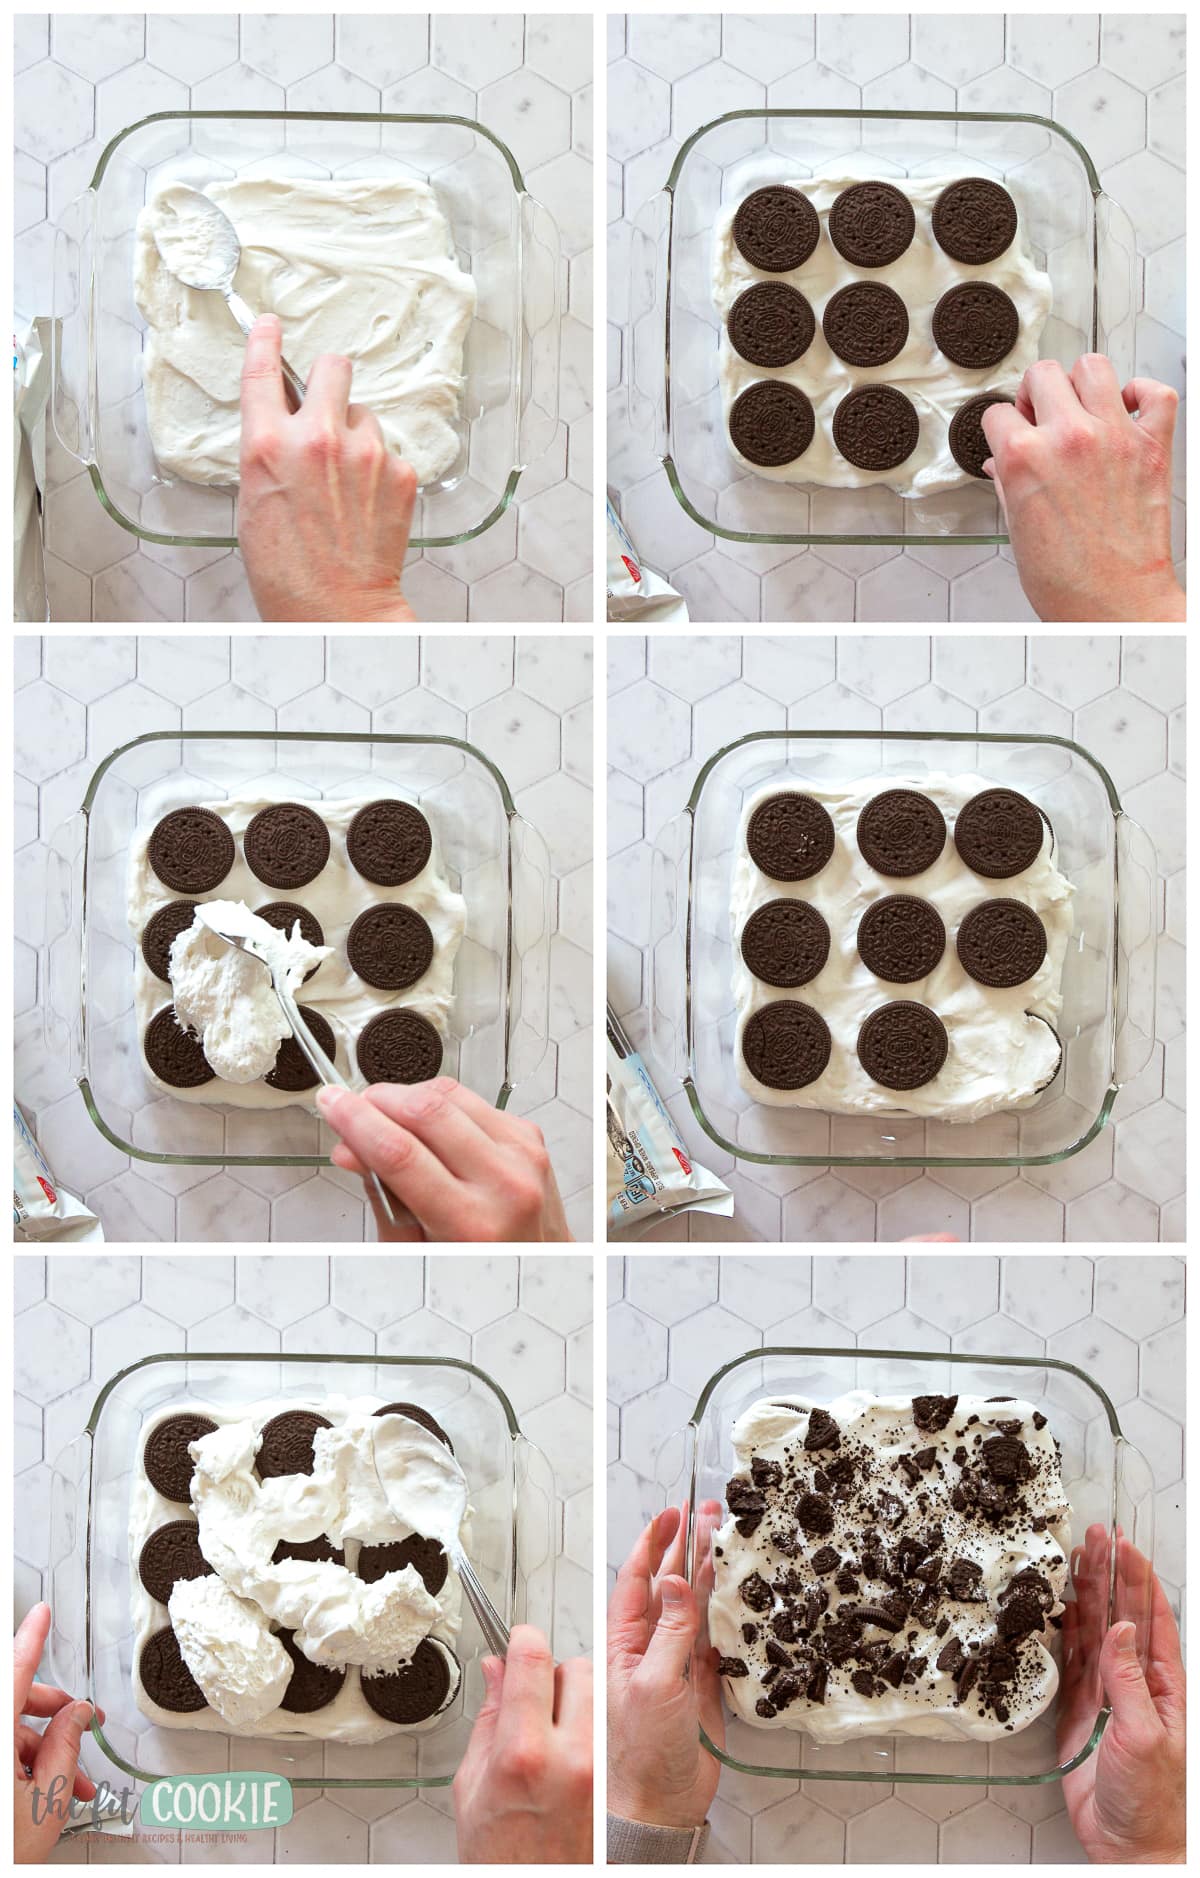
- In an 8×8-inch square glass pan, spread a thin layer of dairy free whipped cream in the bottom of the pan.
- Add a single layer of Oreo cookies on top of the whipped cream, it will end up being about 9 cookies (3×3) for an 8 inch square pan.
- Add half the whipped cream on top of the cookies.
- Repeat the cookie layer and then add the rest of the whipped cream on top.
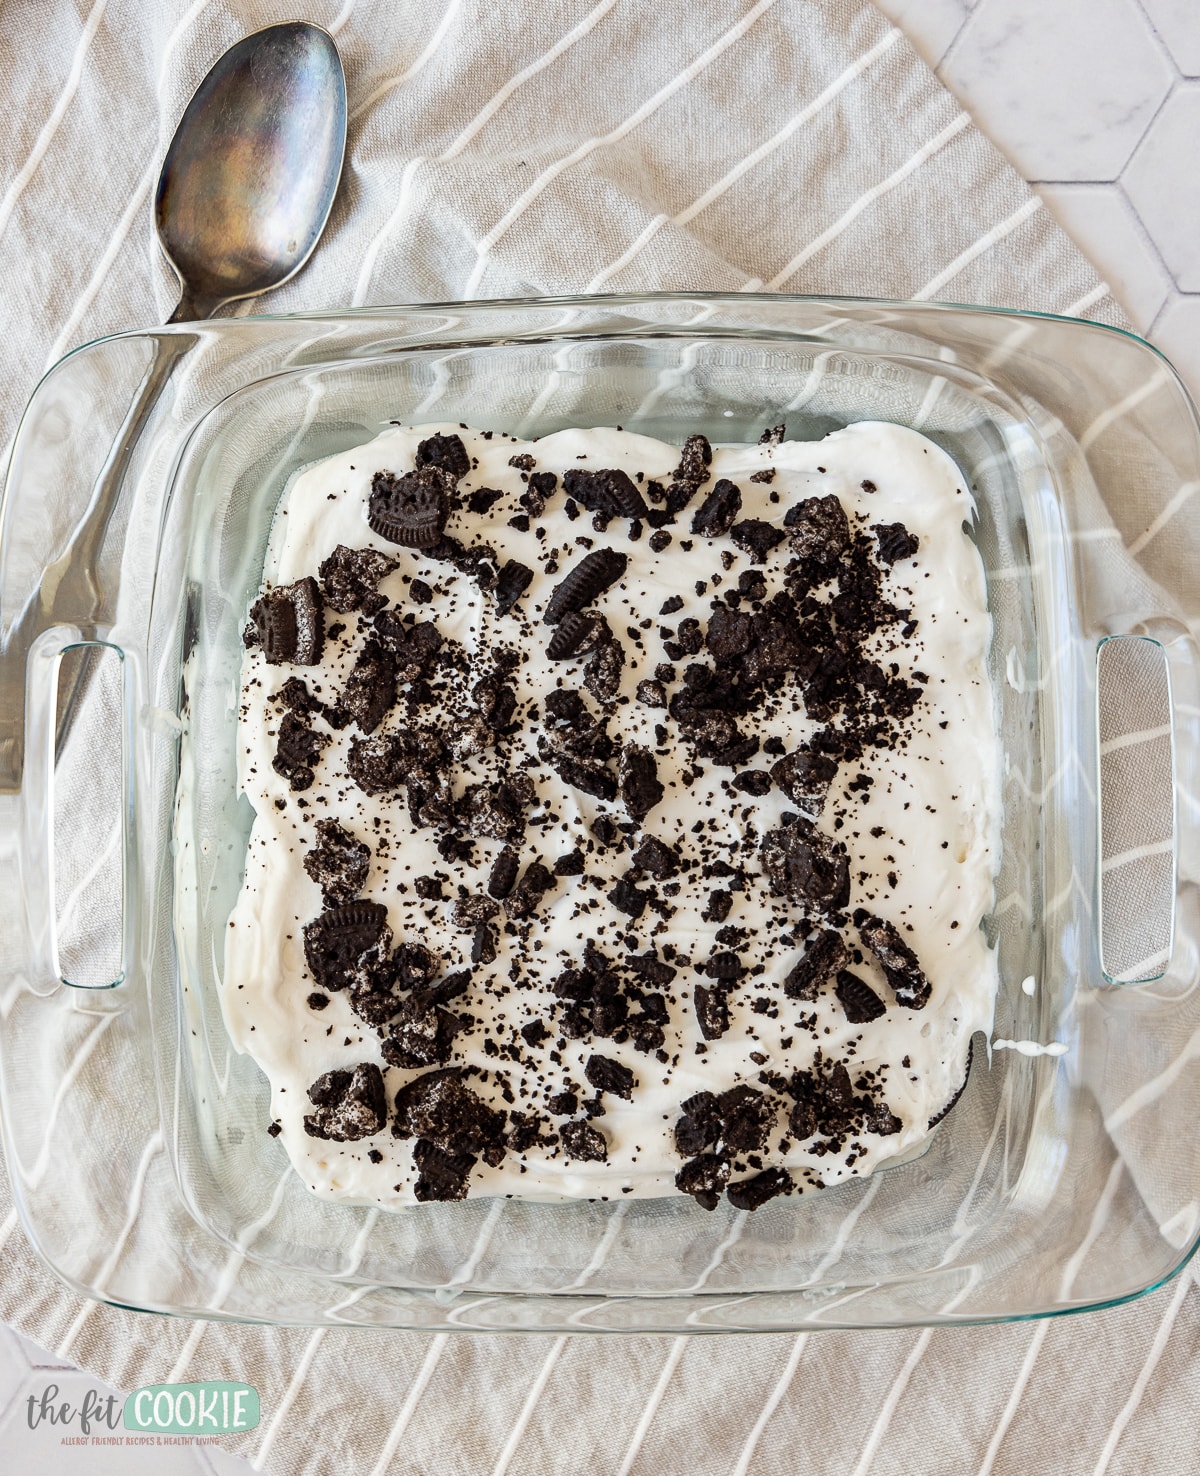
- Crush about 4-5 cookies and sprinkle on top of the whipped cream as garnish.
- Cover and chill overnight in the fridge to soften the cookies.
- Serve cold and store any leftovers in the fridge.
What kind of sandwich cookies should I use?
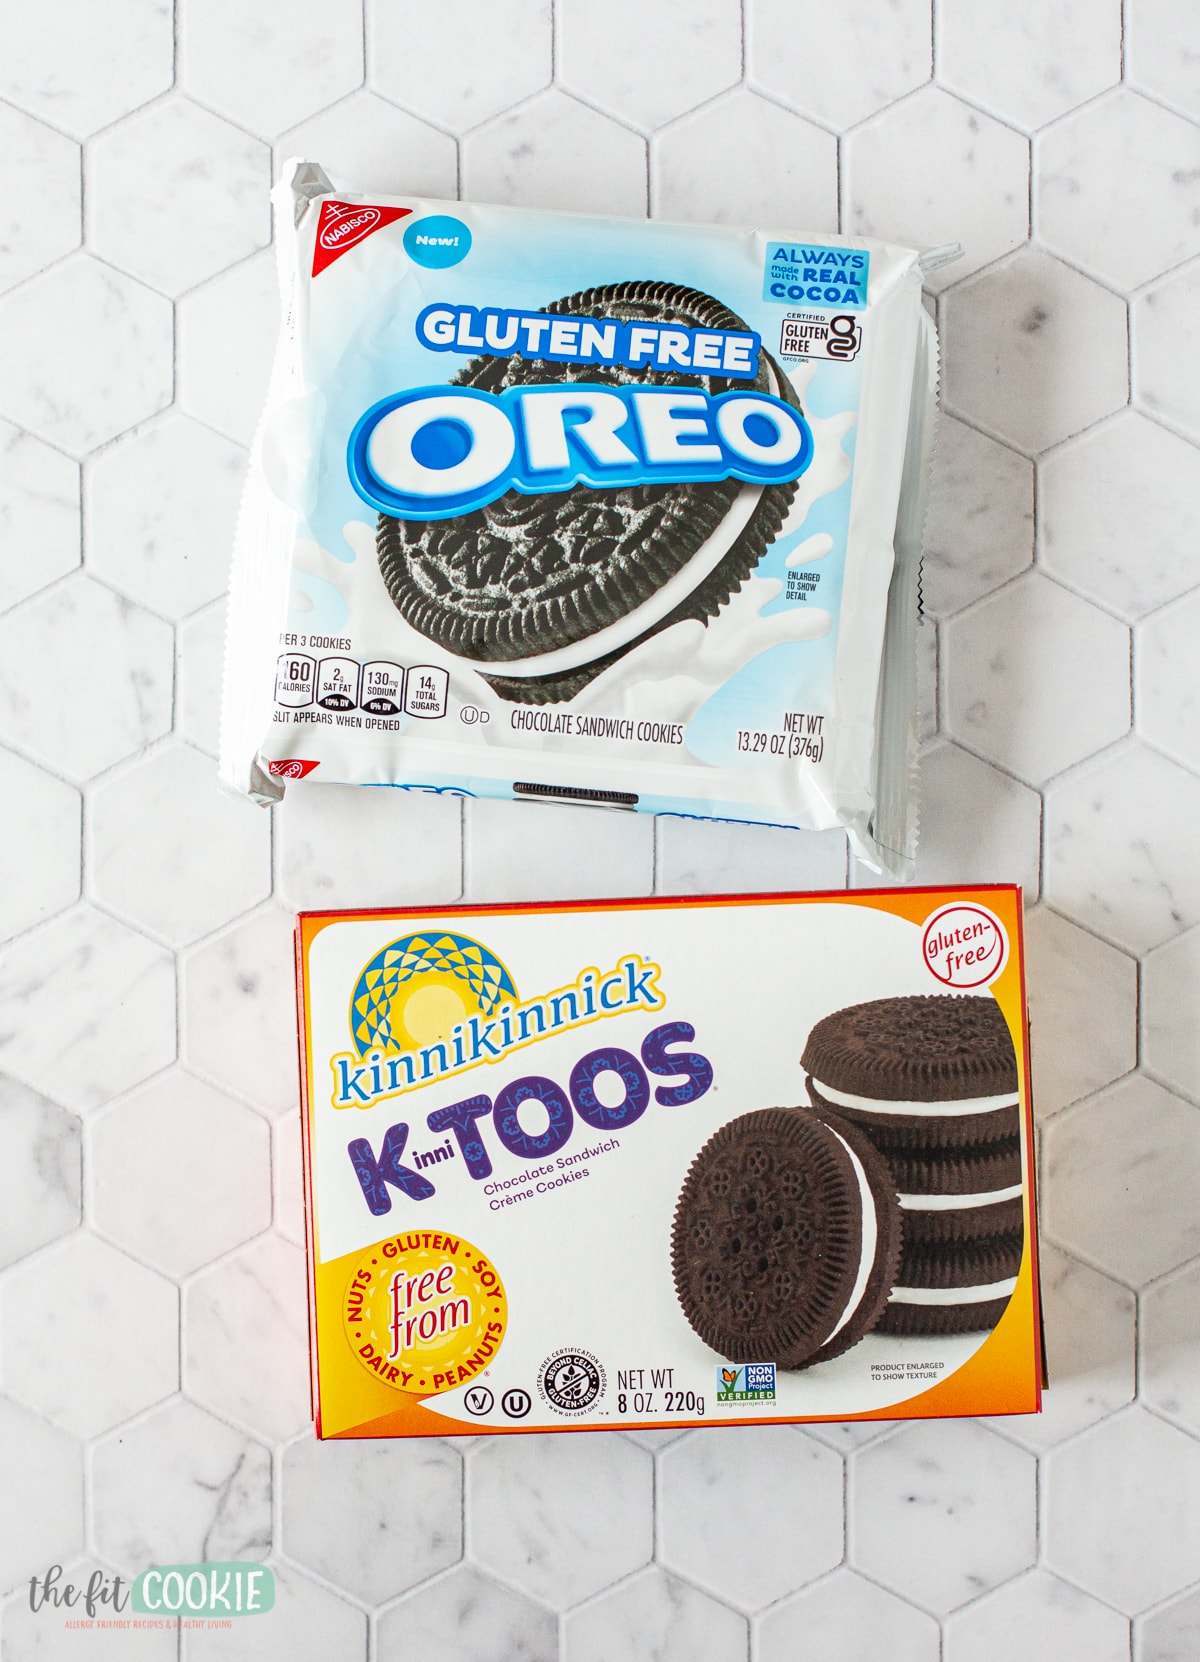
Update: Oreo changed their recipe recently and they are now using a combination of soybean and canola oil. This recipe change has affected both the regular and gluten free Oreo varieties.
We used the regular gluten free Oreo cookies in this recipe (not the double stuff ones), but there are a few other brands on the market for gluten free and dairy free chocolate sandwich cookies which should work in this recipe:
- Glutino chocolate sandwich cookies
- Goodie Girl chocolate sandwich cookies
- Manischewitz gluten free sandwich cookies, contains eggs
- Simple Mills Cocoa Cashew cream sandwich cookies, contains tree nuts
- Simple Truth sandwich cookies, these contain eggs and soy flour
Catalina Crunch has several flavors of lower carb/low sugar sandwich cookies that are vegan, but while they don’t appear to have wheat ingredients, they aren’t marked as gluten free and they have cross contamination with other allergens such as dairy, nuts, etc.
What kind of dairy free whipped cream should I use?
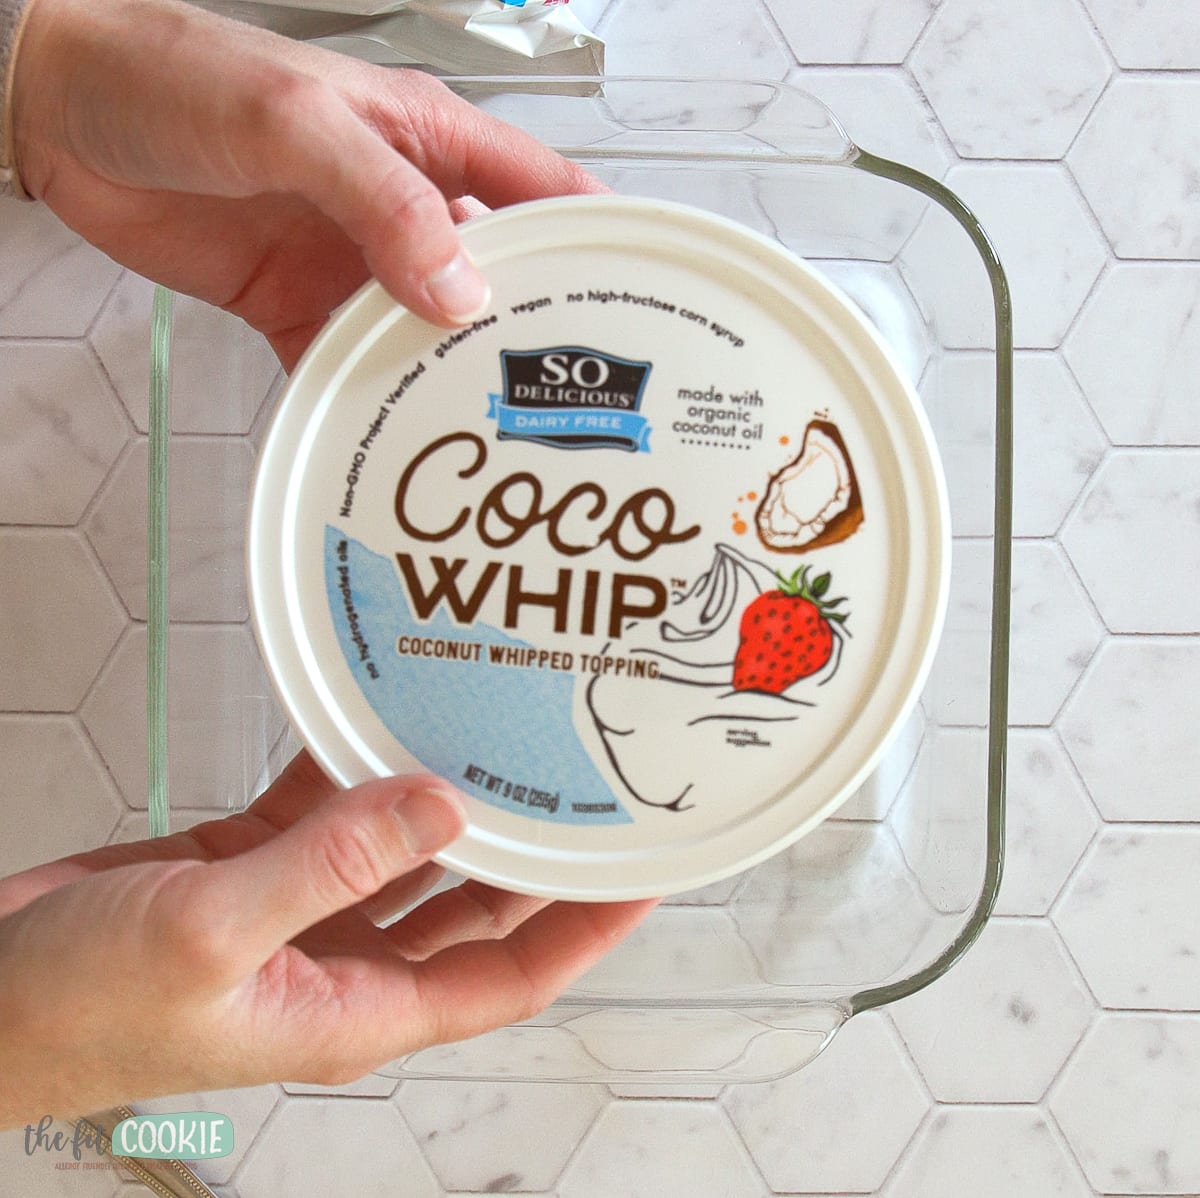
I recommend using the So Delicious CocoWhip since it’s completely dairy free (no sodium caseinate like some brands have), it holds up really well for recipes, and it tastes delicious.
But you can use other brands of dairy free whipped cream that you prefer and that fit your personal food allergies.
I would not recommend using the cans of dairy free Reddi-Wip in this recipe since it will be hard to get the full amount needed (it might take 2 cans). Plus their whipped cream tends to go flat shortly after it’s been dispensed, which doesn’t happen with the CocoWhip.
One good option for this recipe is the Silk dairy free heavy whipping cream that you can whip up like real whipped cream. It’s not going to be quite as fluffy, but it still works well in this recipe.
We made a batch of this Oreo icebox cake with the Silk heavy cream and it tasted good. When I beat the dairy free cream, I added in some vanilla and a few tablespoons of powdered sugar to add some sweetness to it as well.
Dairy free Oreo fluff option
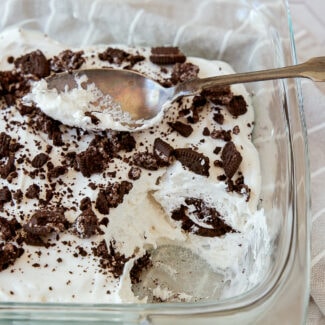
One of my favorite ways to have cookies n cream icebox cake is to crush the cookies instead of leaving them whole, making a type of Oreo fluff dessert or trifle!
Since you’re crushing the cookies, you aren’t limited to square pans for your dessert, so you can use a smaller round dish for more layers.
Here’s how to make this into an Oreo fluff/trifle (I’ve added these instructions to the recipe card as well!):
- Using a glass bowl, spread a thin layer of whipped cream in the bottom of the dish.
- Crush about 6-8 Oreo cookies and sprinkle evenly over the whipped cream.
- Layer about 1/3 of the whipped cream on top of the crushed cookies.
- Repeat these layers of crushed cookies and whipped cream until the whipped cream is used up and it’s the final layer.
- Crush about 3 or 4 Oreo cookies and sprinkle on top as a garnish.
- Cover and chill for 4+ hours or overnight (this won’t take as long to soften as it does using whole cookies).
- OR you can skip chilling this and eat it right away since the cookies are crushed!
- Serve cold and store any leftovers in the fridge.
You can also make the Oreo fluff in small glass dishes for individual desserts!

Flavor variations for our icebox cake
This recipe is so easy to make with different flavors of sandwich cookies if you don’t want to have traditional chocolate ones!
Here are a few allergy friendly sandwich cookie flavor variations you can use in this recipe. These are all both gluten free and dairy free:
- Birthday cake sandwich cookies from Goodie Girl
- CinnaBun Fun cookies from Kinnikinnick.
- S’mores sandwich cookies from Goodie Girl (we used these in our s’mores ice cream recipe!).
- Chocolate mint cookies from Kinnikinnick
- Vanilla sandwich cookies from Kinnikinnick and Glutino
- Double chocolate sandwich cookies
- Simple Mills Creamy Peanut Butter sandwich cookies (contains tree nuts and/or peanuts).
I’m waiting for a gluten free lemon sandwich cookie to come on the market! If you can have gluten , you can try the regular Oreo lemon cookies for a fun twist on this.
Check out our other allergy friendly cookies ‘n cream desserts!
- Dairy Free Oreo Cheesecake (made without cashews)
- Gluten Free Oreo Truffles (Dairy Free)
- Gluten Free and Dairy Free Chocolate Oreo Ice Cream
Gluten Free Oreo Icebox Cake (Dairy Free)
Ingredients
- 22 to 28 gluten free Oreo cookies (1 regular package has about 33 cookies)
- 9 ounce container So Delicious CocoWhip (or 9 ounces of another dairy free whipped cream)
Instructions
Traditional Oreo Icebox Cake:
- In an 8×8 inch glass pan, spread a thin layer of the dairy free whipped cream.9 ounce container So Delicious CocoWhip
- Place a layer of Oreo cookies on top of the thin whipped cream layer at the bottom of the pan. My pan took about 9 to 12 cookies to create a layer. The cookies don't have to be touching each other.22 to 28 gluten free Oreo cookies
- Spread half the whipped cream over the layer of Oreo cookies.
- Add a second layer of Oreo cookies on top of the the whipped cream.
- Spread the rest of the whipped cream over the Oreo cookies.
- Crush 4 to 5 Oreo cookies into coarse crumbs and sprinkle on top of the final layer of whipped cream.
- Cover and chill in the fridge overnight. The cookies will soften as it sits in the fridge. Serve cold and store any leftovers in the fridge.
Oreo fluff option:
- This is one of my favorite ways to eat this dessert. It's the same method of layering Oreo and whipped cream, but we crush the cookies instead of leaving them whole to make a kind of trifle. Using a smaller dish (like a 6-inch round glass bowl), you'll end up with a few more layers.
- Add a thin layer of whipped cream in the bottom of your glass dish.
- Crush about 6-8 Oreo cookies and add on top of the whipped cream.
- Spread with about 1/3 of the whipped cream. Repeat the layers of crushed Oreo and whipped cream until your whipped cream is used up and is the last thing on top.
- Crush 4 Oreos and sprinkle on top for decoration.
- Cover and chill for 4 hours or overnight to soften the cookies (it will take less time to soften the crushed cookies than whole ones).
- OR you can skip chilling this and eat it right away since the cookies are crushed!
- Serve cold and store any leftovers in the fridge.
Video
Nutrition

Sarah Jane Parker is the founder, recipe creator, and photographer behind The Fit Cookie which she founded in 2011. Sarah is based in Wyoming and has been managing food allergies for herself and her 2 children for over 20 years. Sarah was also a certified personal trainer for 12 years, as well as a group fitness instructor, health coach, running coach, and fitness nutrition specialist.