Looking for a fun and easy craft project? Check out this Easy DIY Birdhouse Kit Project with step-by-step instructions and video

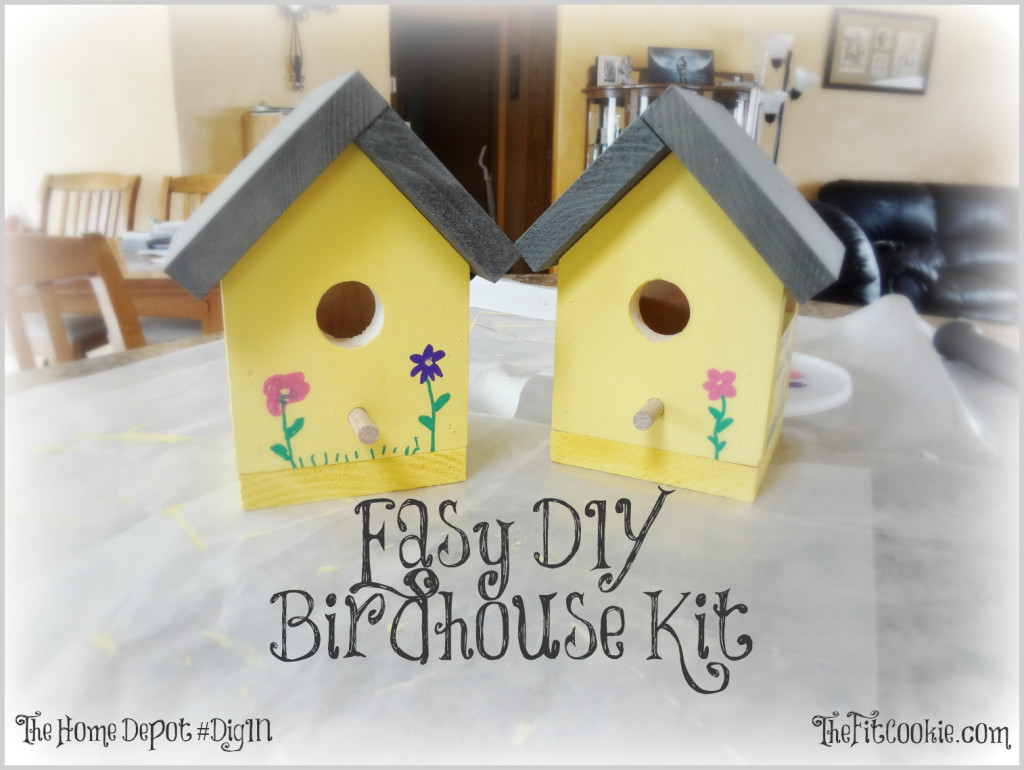
Take a look at these birdhouses my kids and I put together, aren’t they adorable? They were easy and fun to make and they are perfect projects for little hands.
If you want to get crafty and make some fun gifts, here is an easy step-by-step how to put together your own birdhouse from the kid-friendly kits available from The Home Depot.
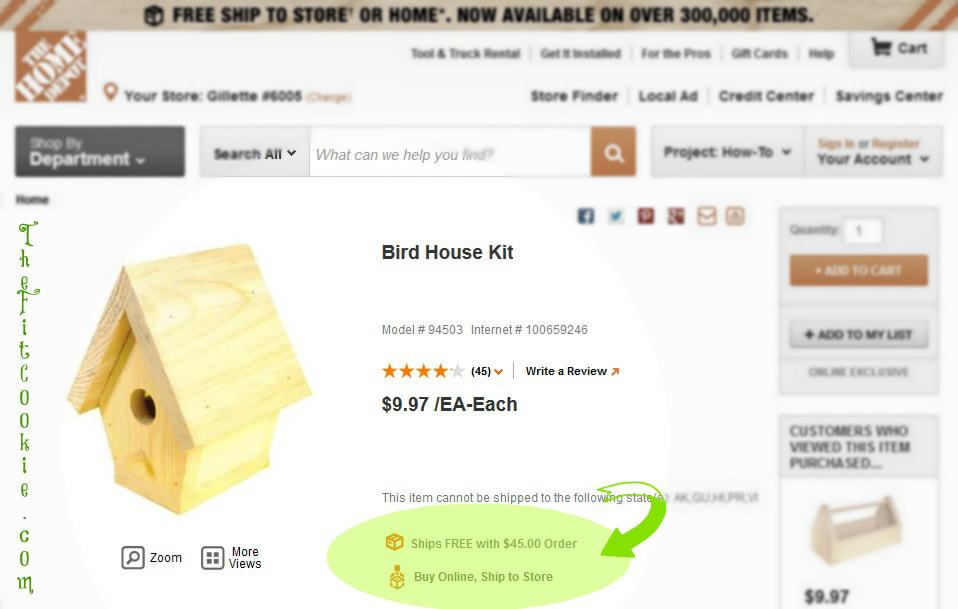
The Home Depot Birdhouse KitI wasn’t able to find these birdhouse kits at my local Home Depot store, so I ordered two of them online (one for each of my children). I wanted to save some money on shipping, so I had them shipped directly to our Home Depot store for no additional shipping charges (I saved $5.99).

Everything you will need to assemble your birdhouse comes in the kit except for the wood glue (for the perch peg), the sand paper, and the hammer (of course!).
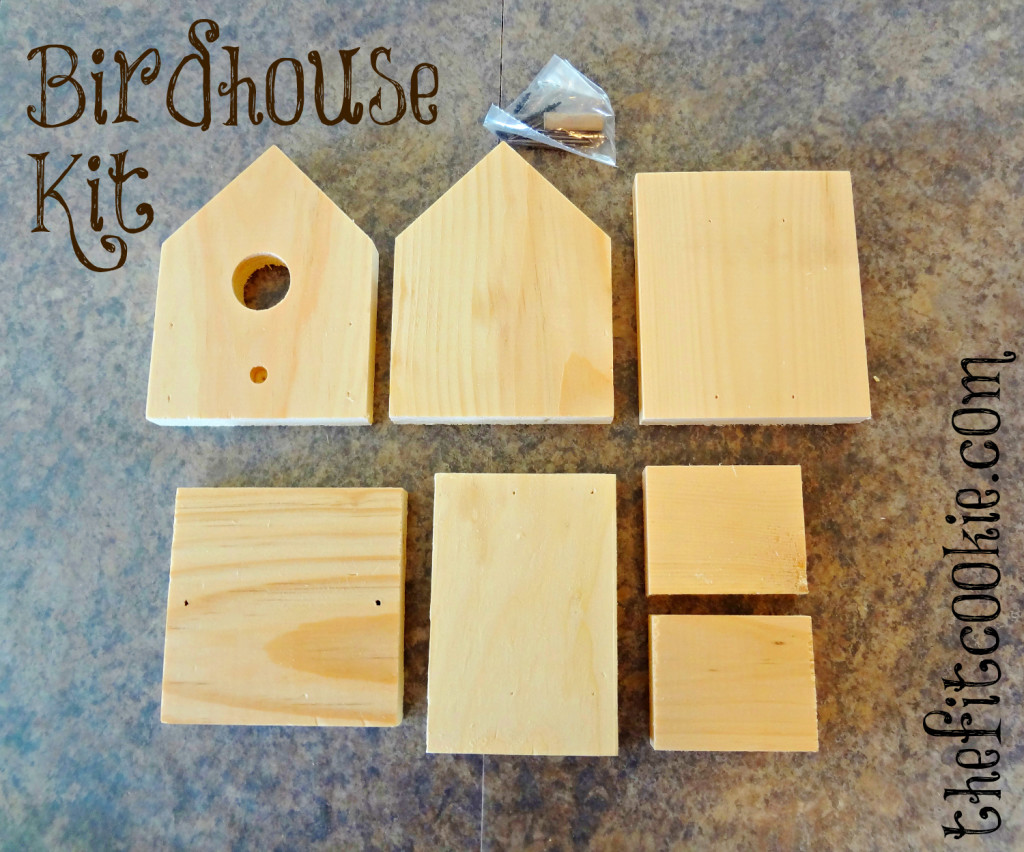
Lay out your birdhouse kit pieces and look them over to get an idea of what goes where. The kit comes with clear instructions in English and Spanish, so it’s easy figuring out which pieces will go where.
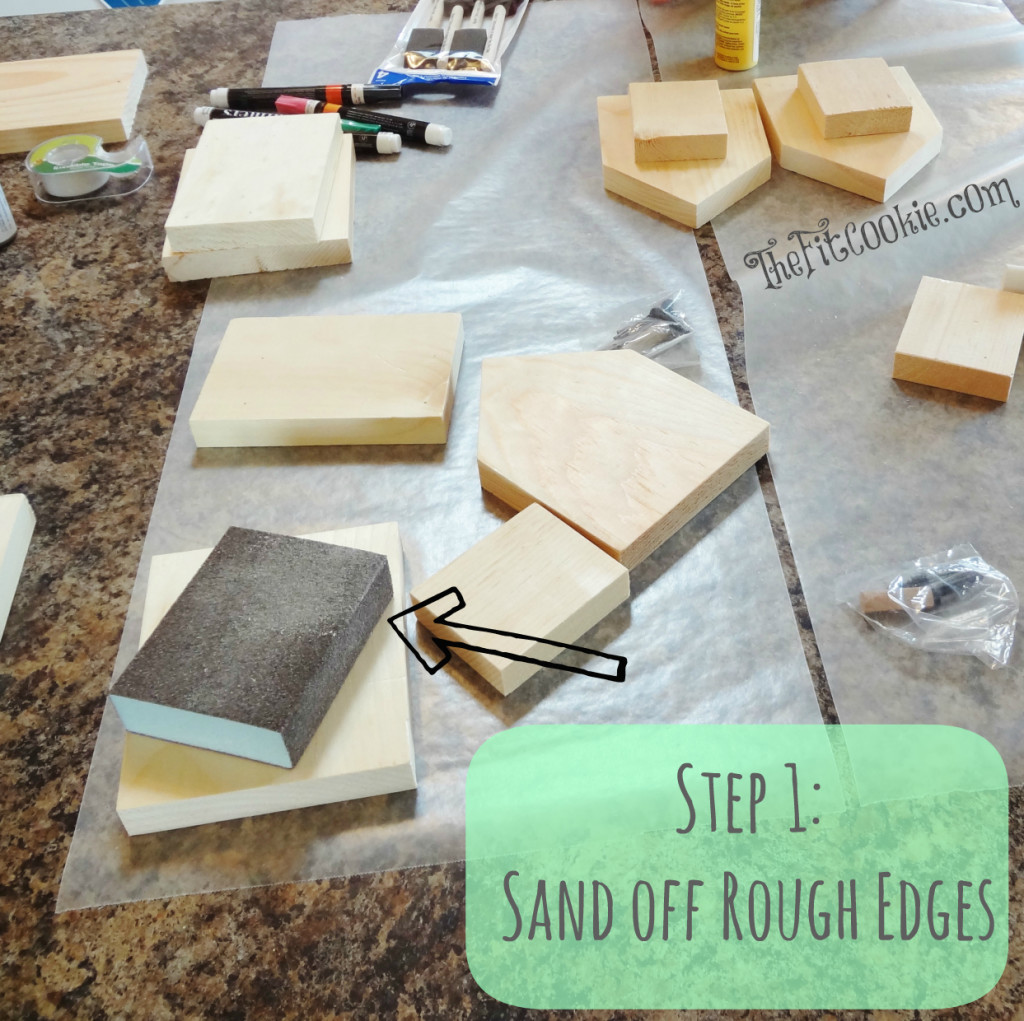
First, sand off any rough edges from your birdhouses so they will look nice and sit flush to the other wood pieces. Wipe the pieces with a damp cloth to remove any dust so your paint (if you choose to paint your birdhouse) will stick.

Next, paint the pieces of your birdhouse. I like to paint the pieces before assembling since it is easier to control where your paint is going if you are using more than one color. You can save a little time by not painting the inward-facing sides of each piece. Depending on the color and type of paint, you might have to do 2 coats of paint.
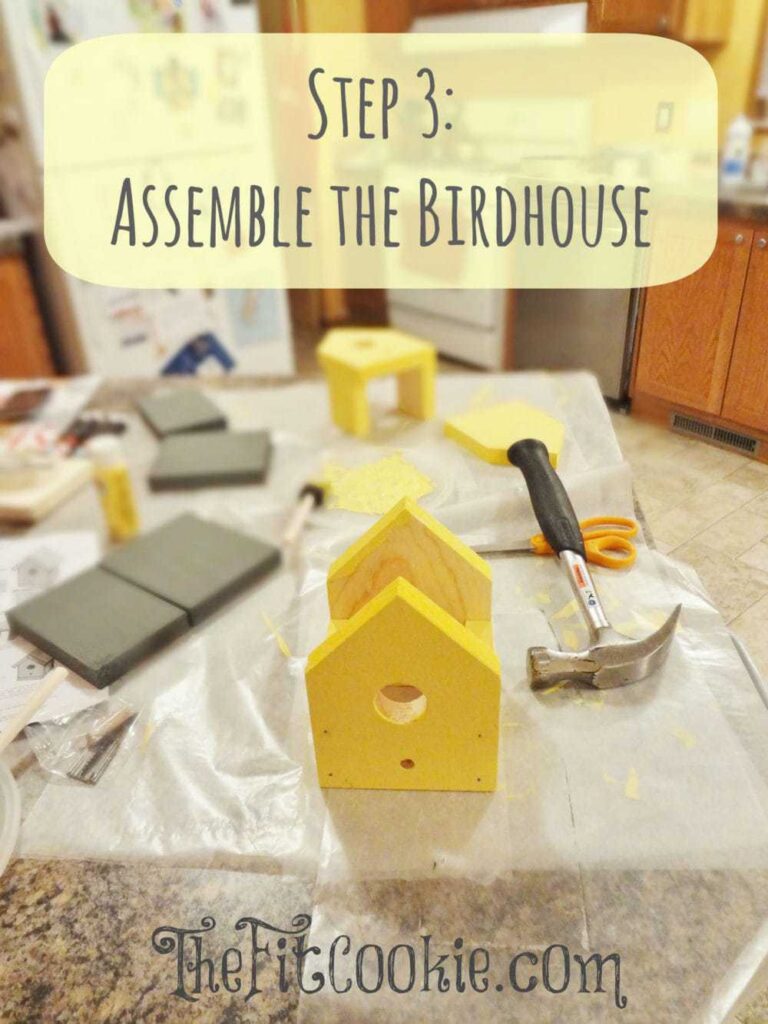
For the third step, make sure your paint is thoroughly dried and then assemble the birdhouse using the instruction sheet as a guide. We did some paint touch up to cover nails and scuffs to the paint.
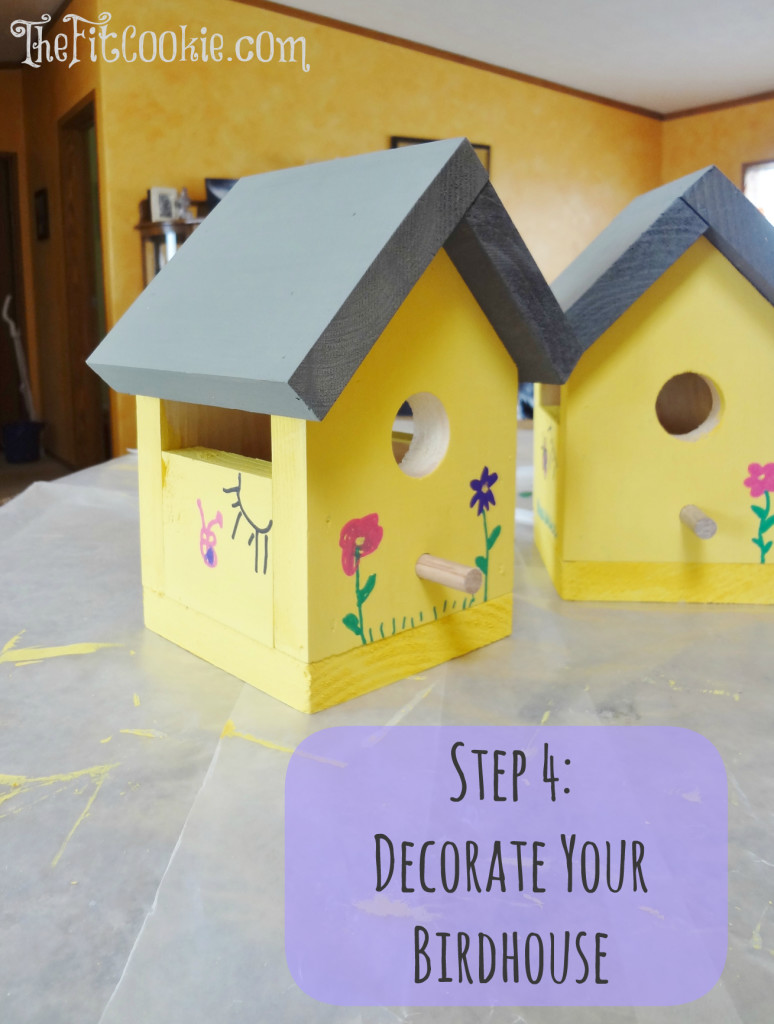
For your fourth and final step, you can add decorations to the outside if you like! We got some paint pens and drew some flowers and butterflies on our birdhouses. If you want to use these outside instead of decoration, you can use exterior paint or use a clear coat spray to protect your paint designs from the elements.
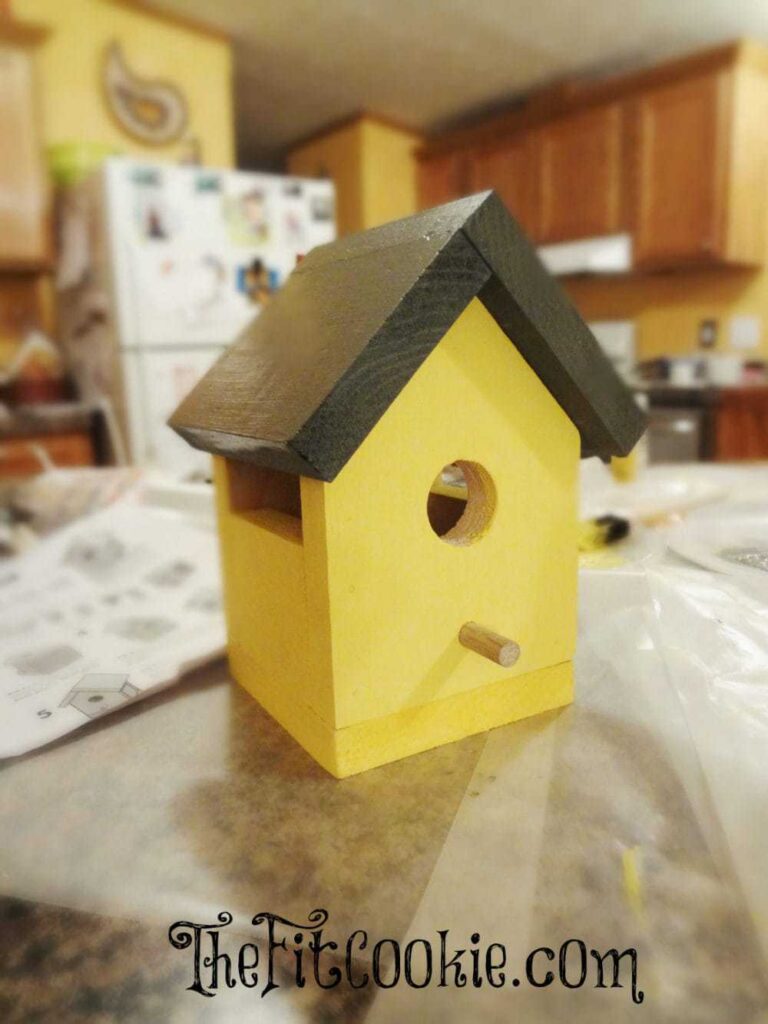
And voila! You have a cute birdhouse ready for birds or for decorating your home. Gabe and Nyah really enjoyed making these birdhouses and adding their own special touches to these.
—————————————————-
It’s home improvement time, and The Home Depot has everything you need to #DigIn for Spring. No matter what projects you want to tackle, they have great values on all you need. They’re ready to help you with renovation ideas and expert advice, too.
Get over $300 in email exclusive savings each year, sneak peeks on new products, monthly lawn & garden ideas for your region and access to The Home Depot’s gardening experts. Click here to join the world’s largest garden community today! Or go to homedepot.com/gardenclub to see some of the many benefits of membership.
This is a sponsored post written by me on behalf of The Home Depot.

Sarah Jane Parker is the founder, recipe creator, and photographer behind The Fit Cookie which she founded in 2011. Sarah is based in Wyoming and has been managing food allergies for herself and her 2 children for over 20 years. Sarah was also a certified personal trainer for 12 years, as well as a group fitness instructor, health coach, running coach, and fitness nutrition specialist.
What are the measurements ???
Hi Yoyola! Once it’s assembled, the dimensions are: 8.5 inches high, 6.25 inches wide, and 6.25 inches deep
Oh…this is so much fun. I neighbor would love this. She has all kids of bird feeders at her yard. I bet she would love this cute bird house as well.
Thank you, Amy!
They came out so cute! I love them. I’d love for you to come share this at our Pinteresting Party!
Thank you Lauren! I will check out the Pinterest party 🙂