
Making your own allergy-friendly bread crumbs at home is so easy! Our recipe for seasoned gluten free bread crumbs is also dairy free and easy to customize with your favorite seasonings.
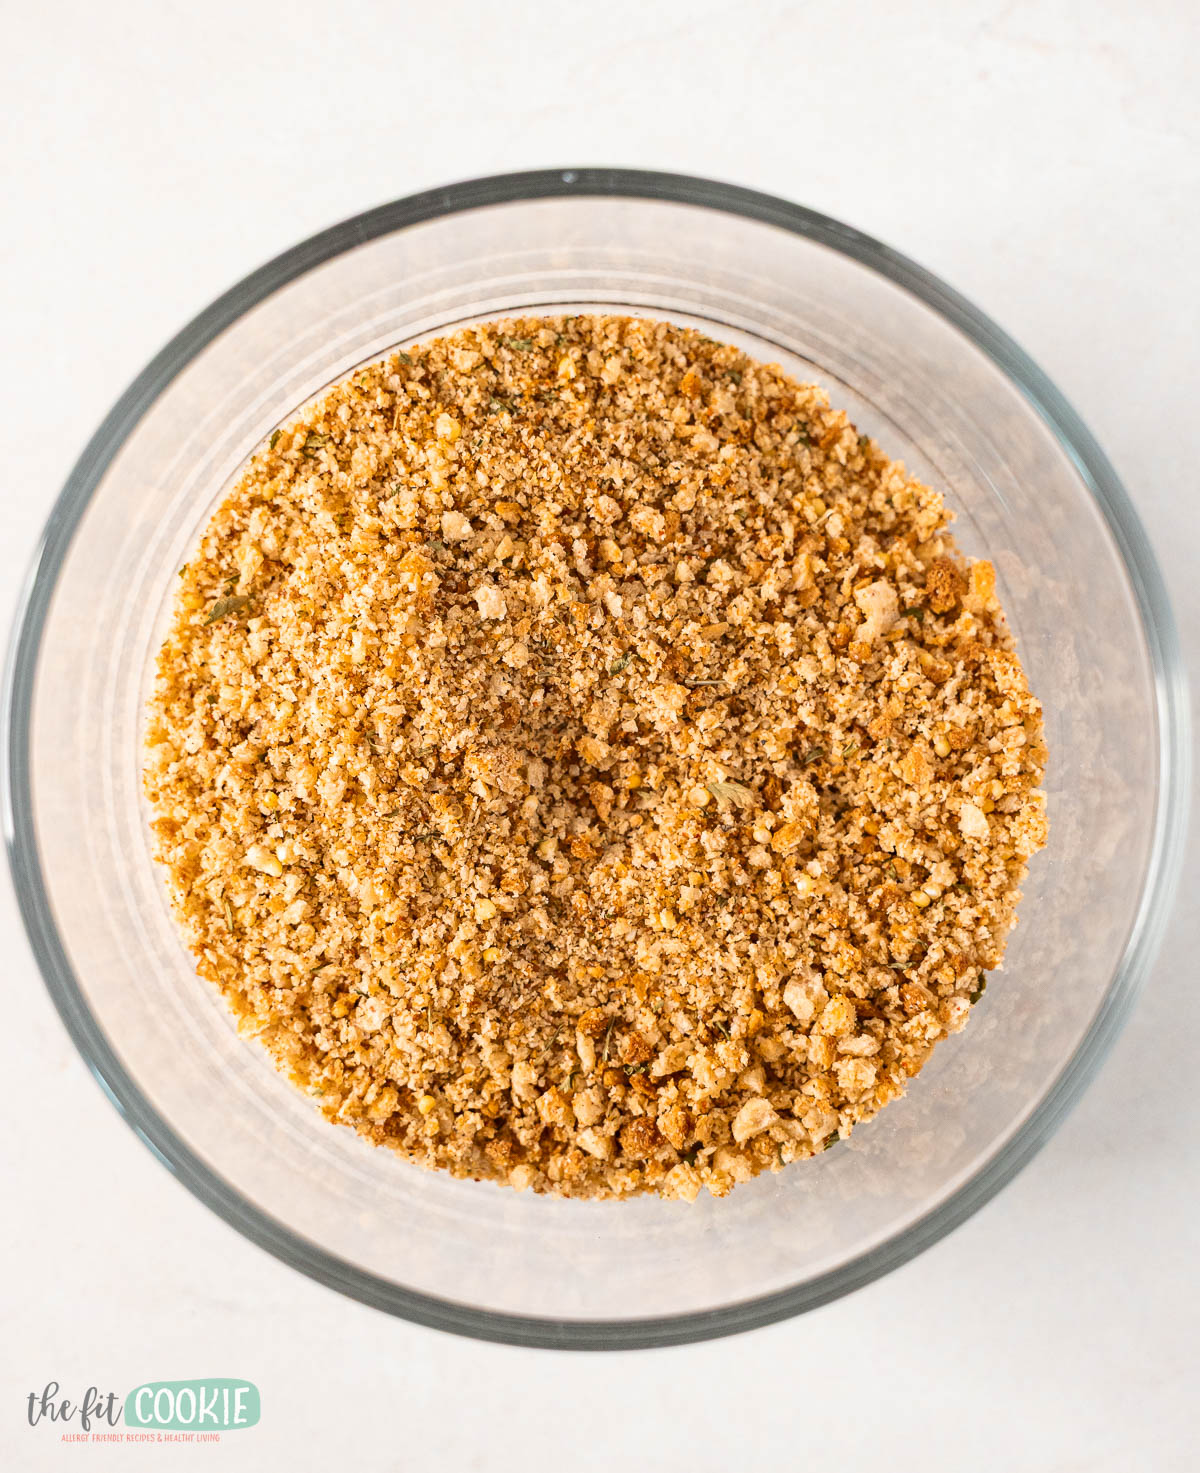
If you are on the lookout for seasoned bread crumbs that fit your allergies or your special diet, you’re in luck with our recipe because they are super easy to make at home!
Our allergy-friendly homemade bread crumb recipe is gluten free, dairy free, and doesn’t take too long to make, and you can use your favorite gluten free bread to make these. Plus, you can easily adjust the seasonings and use your favorites!
Why we love this recipe
Our bread crumb recipe is actually very easy to make, and you can customize it easily to fit your food allergies since you can pick any brand or type of bread that works best for you.
This recipe is also very easy to customize with your favorite seasonings, such as Italian herb mixes, Cajun or spicy seasoning blends, or even salt-free bread crumbs if you are cutting back on sodium.
How to make gluten free seasoned bread crumbs
- Preheat your oven to 325° F.
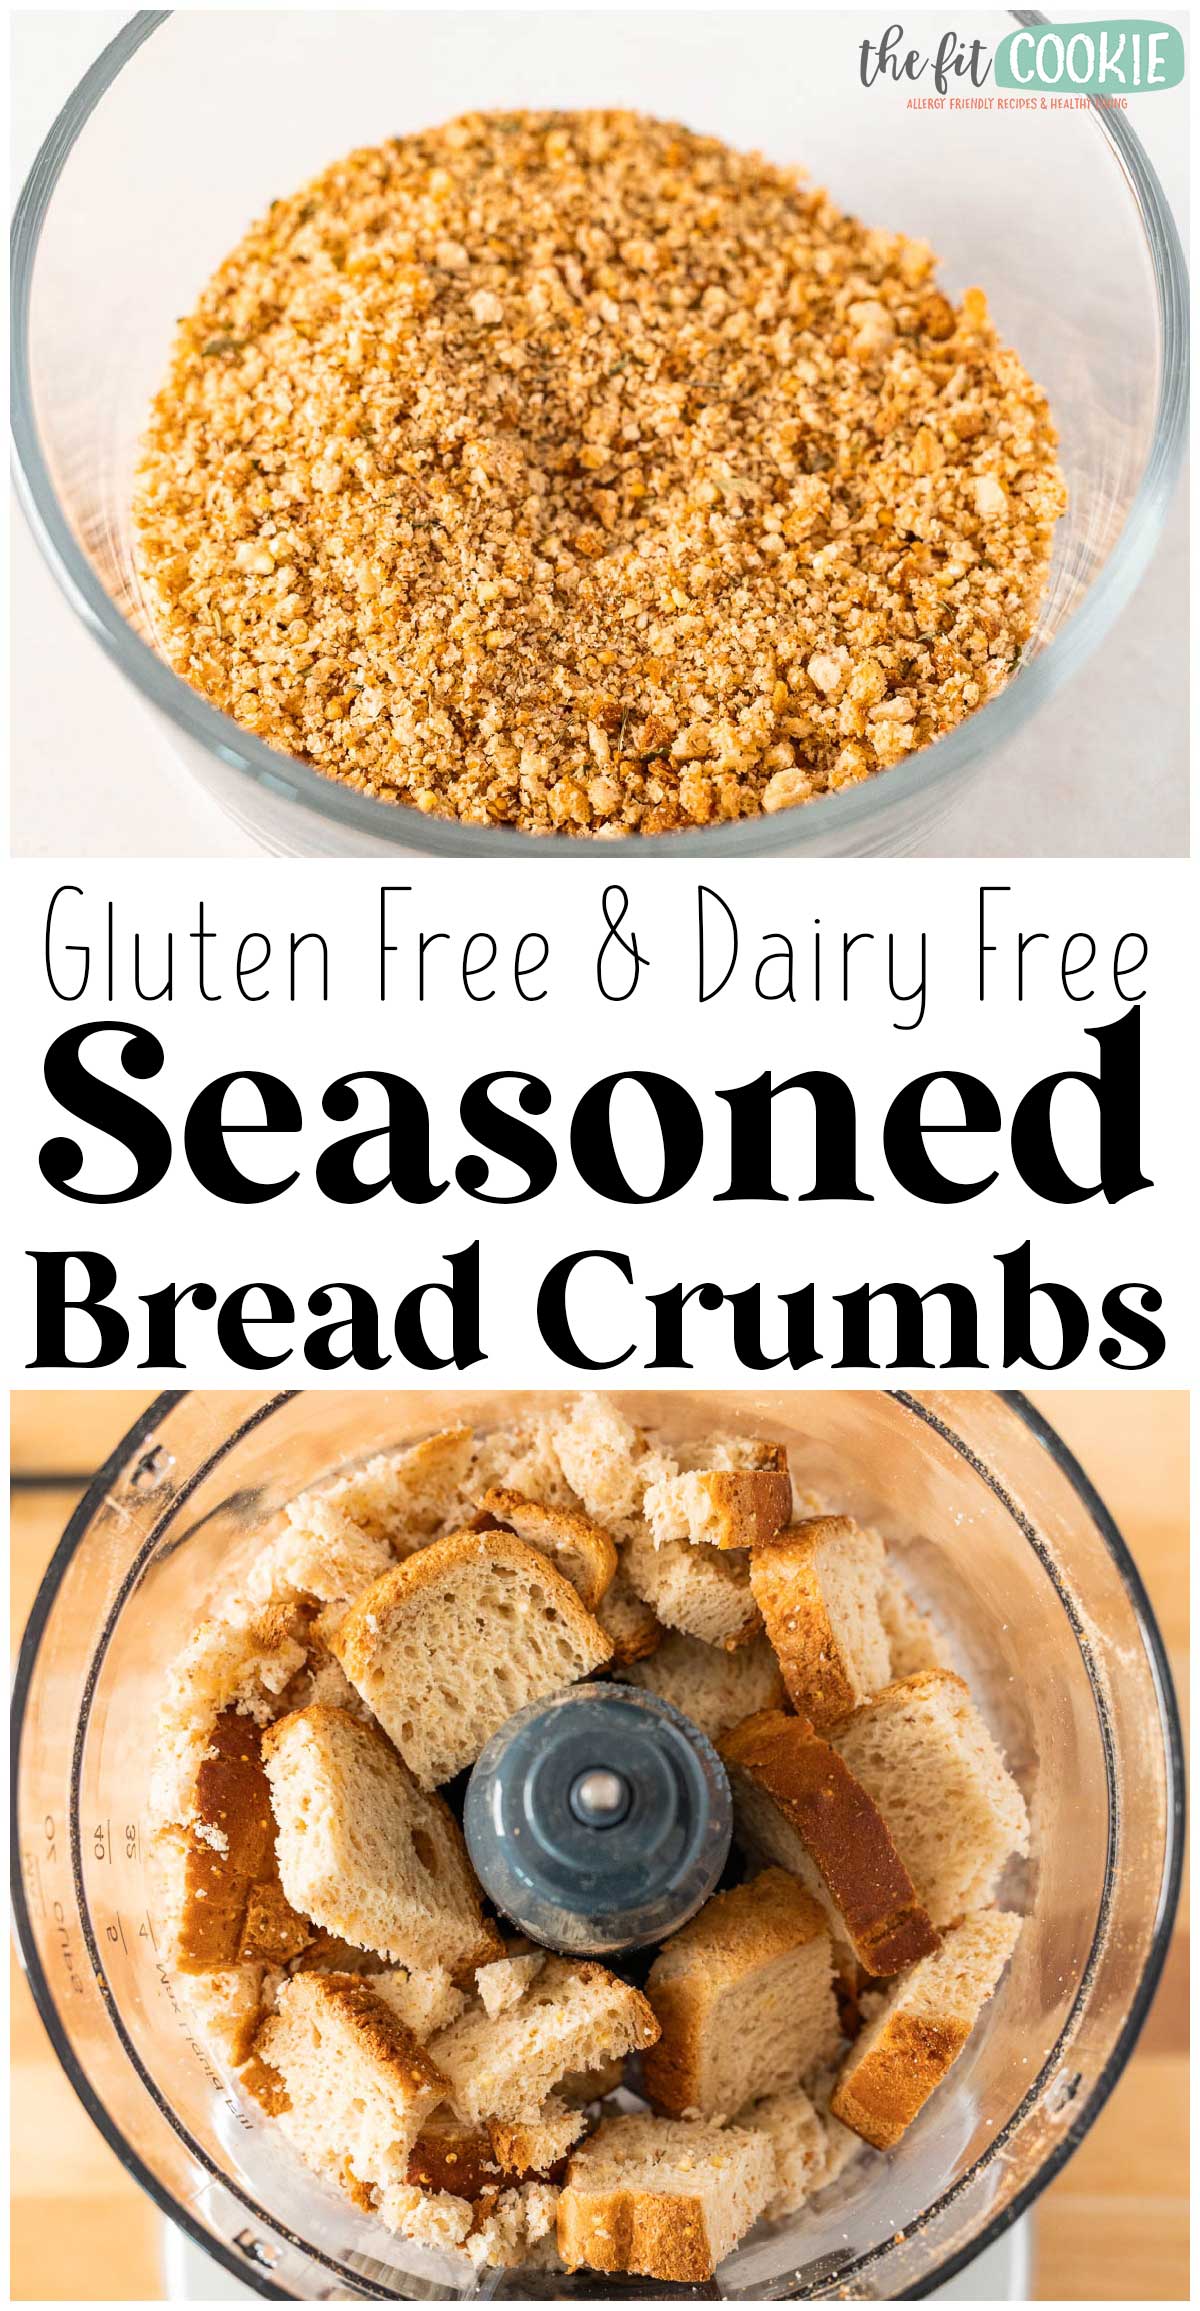
- Cut or tear the slices of gluten free bread into 1-inch cubes and add to a food processor. Pulse the food processor until you get coarse crumbs. You can decide how big or how small you’d like the crumbs to be.
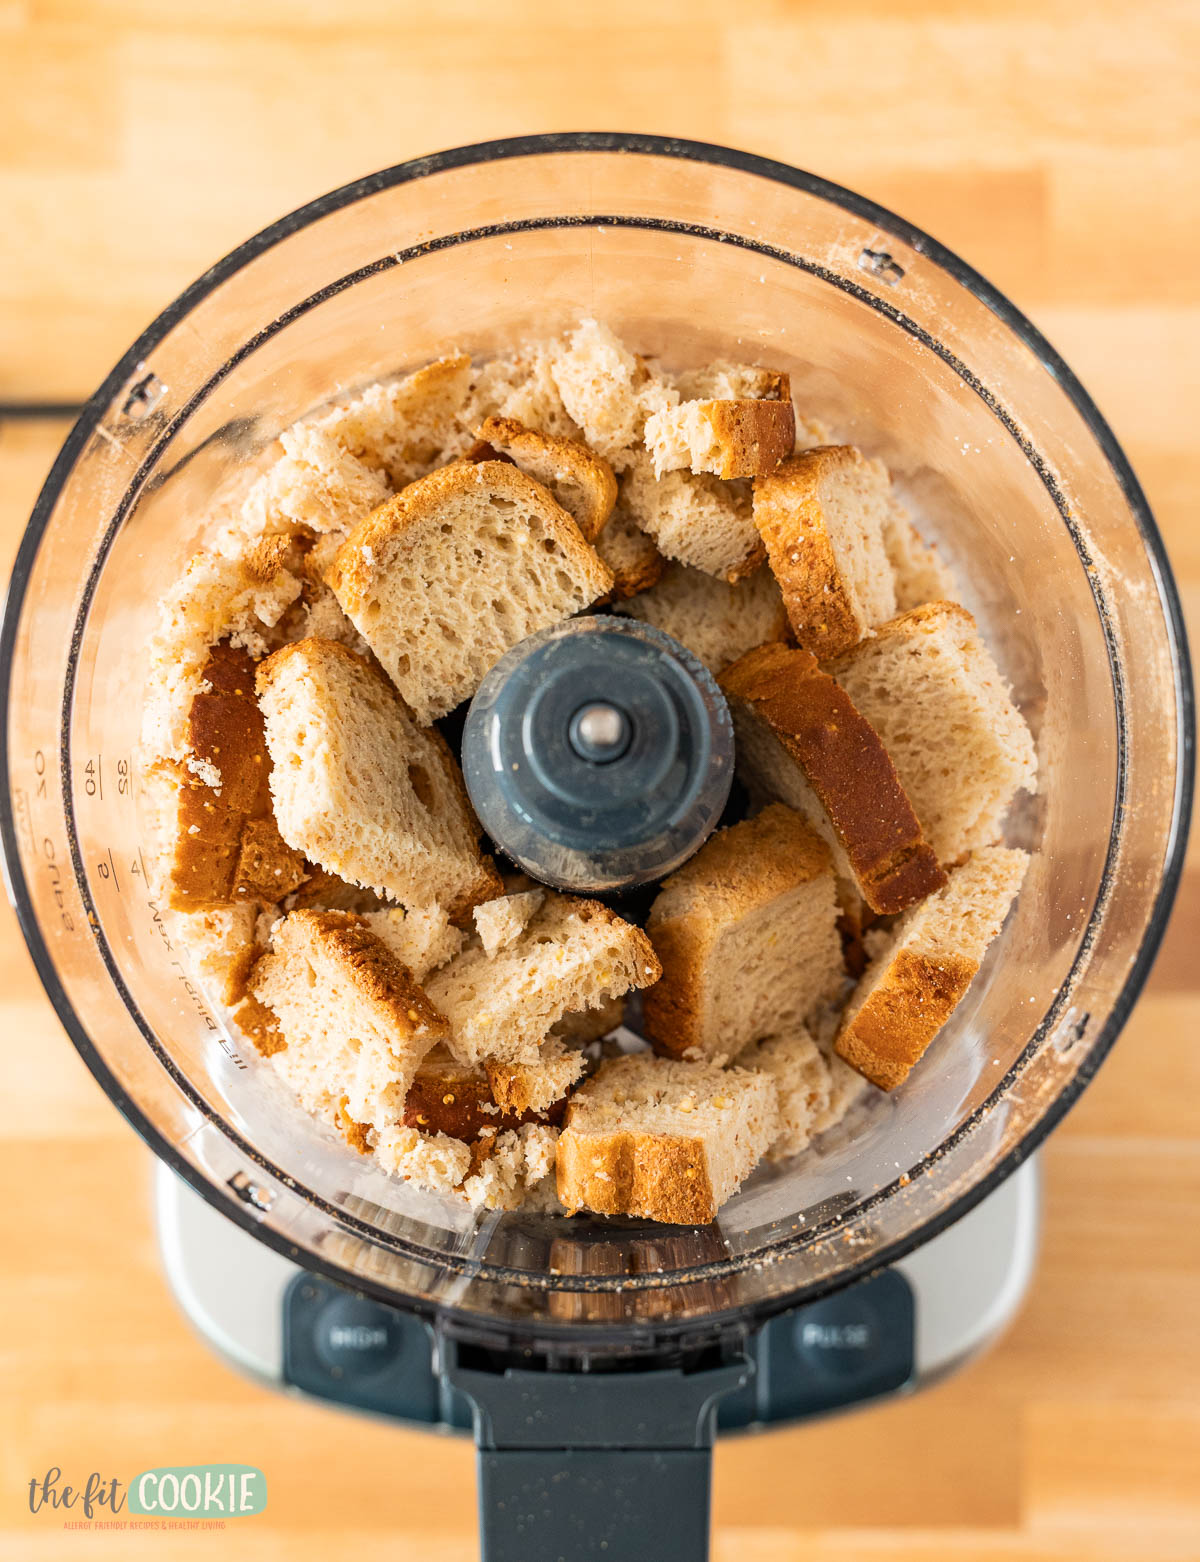
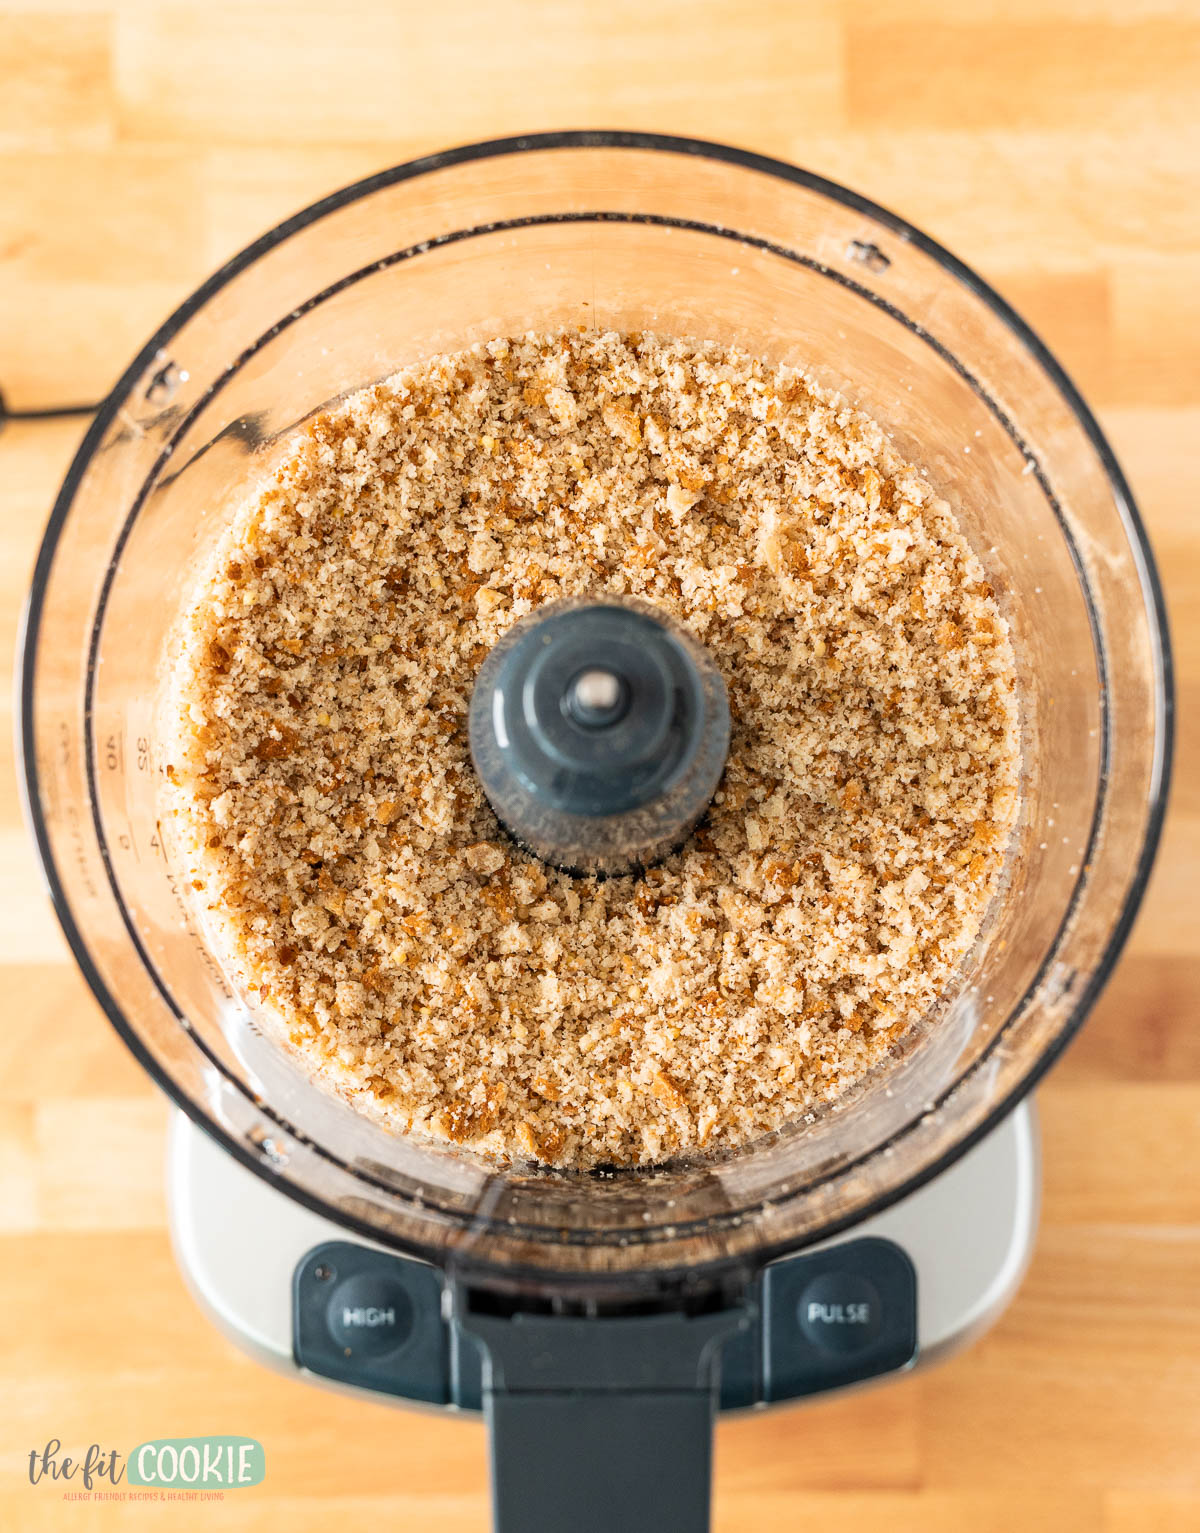
- Add the bread crumbs to a bowl and stir in the seasonings, thoroughly mixing and allowing the seasonings to stick to the moist bread crumbs.
- Spread the crumbs onto a clean sheet pan and bake for 5-6 minutes.
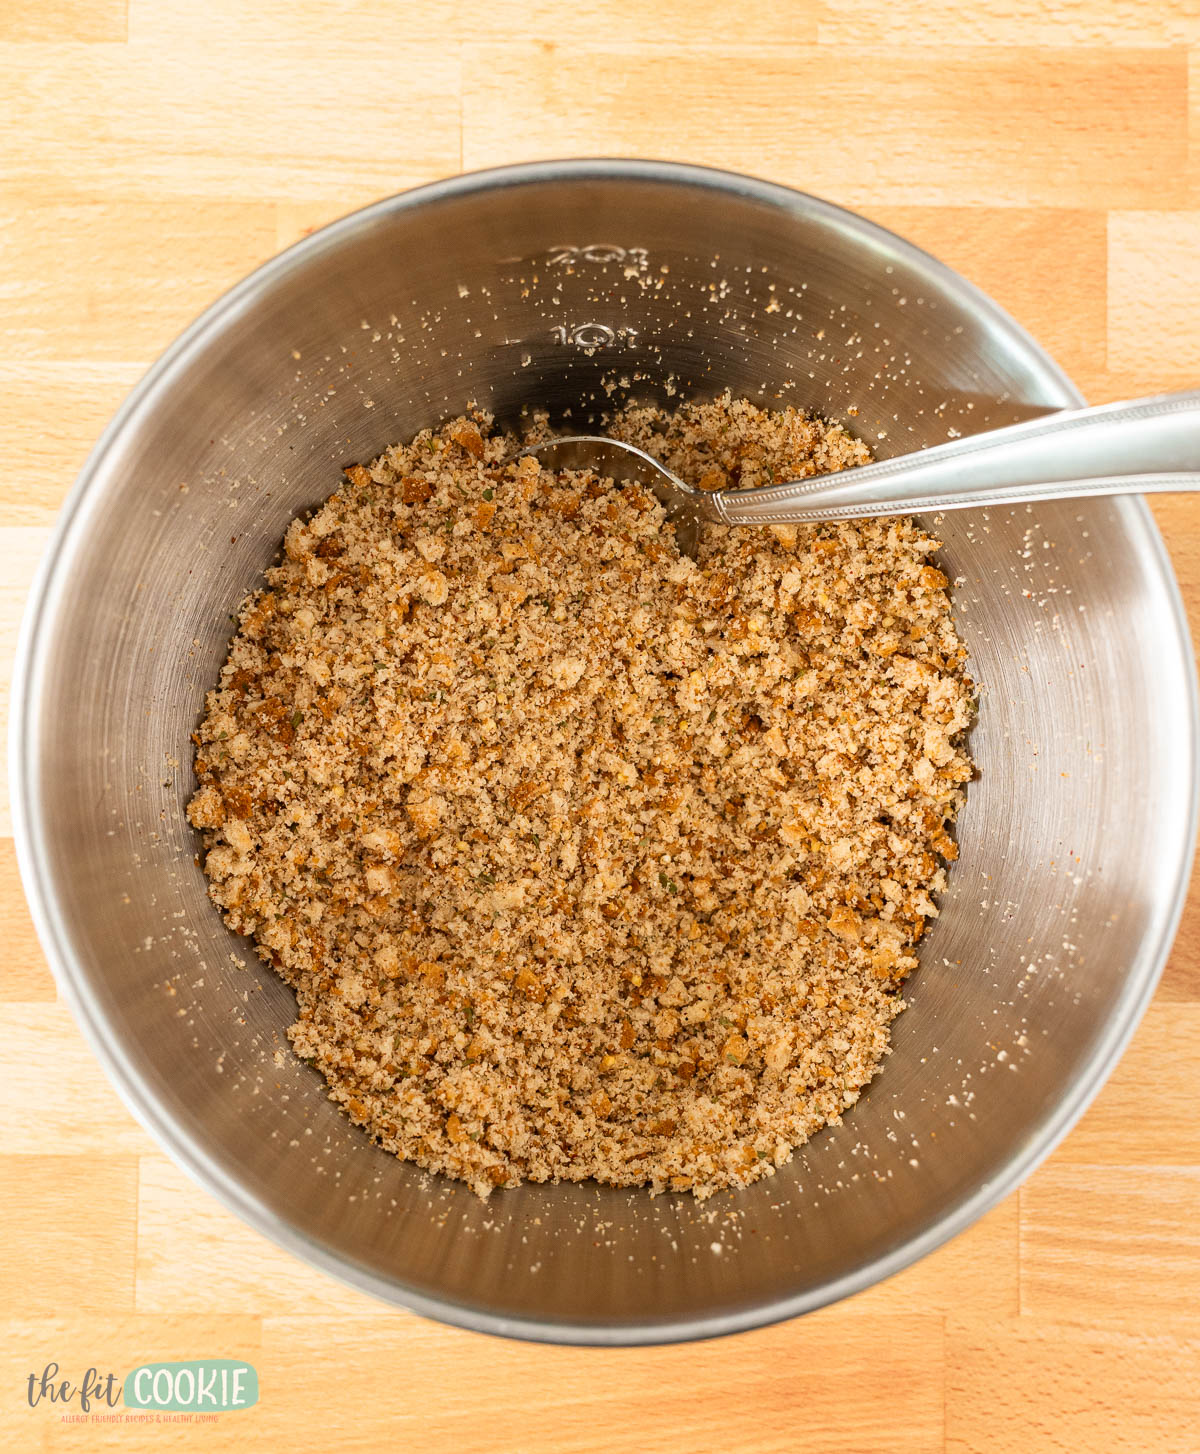
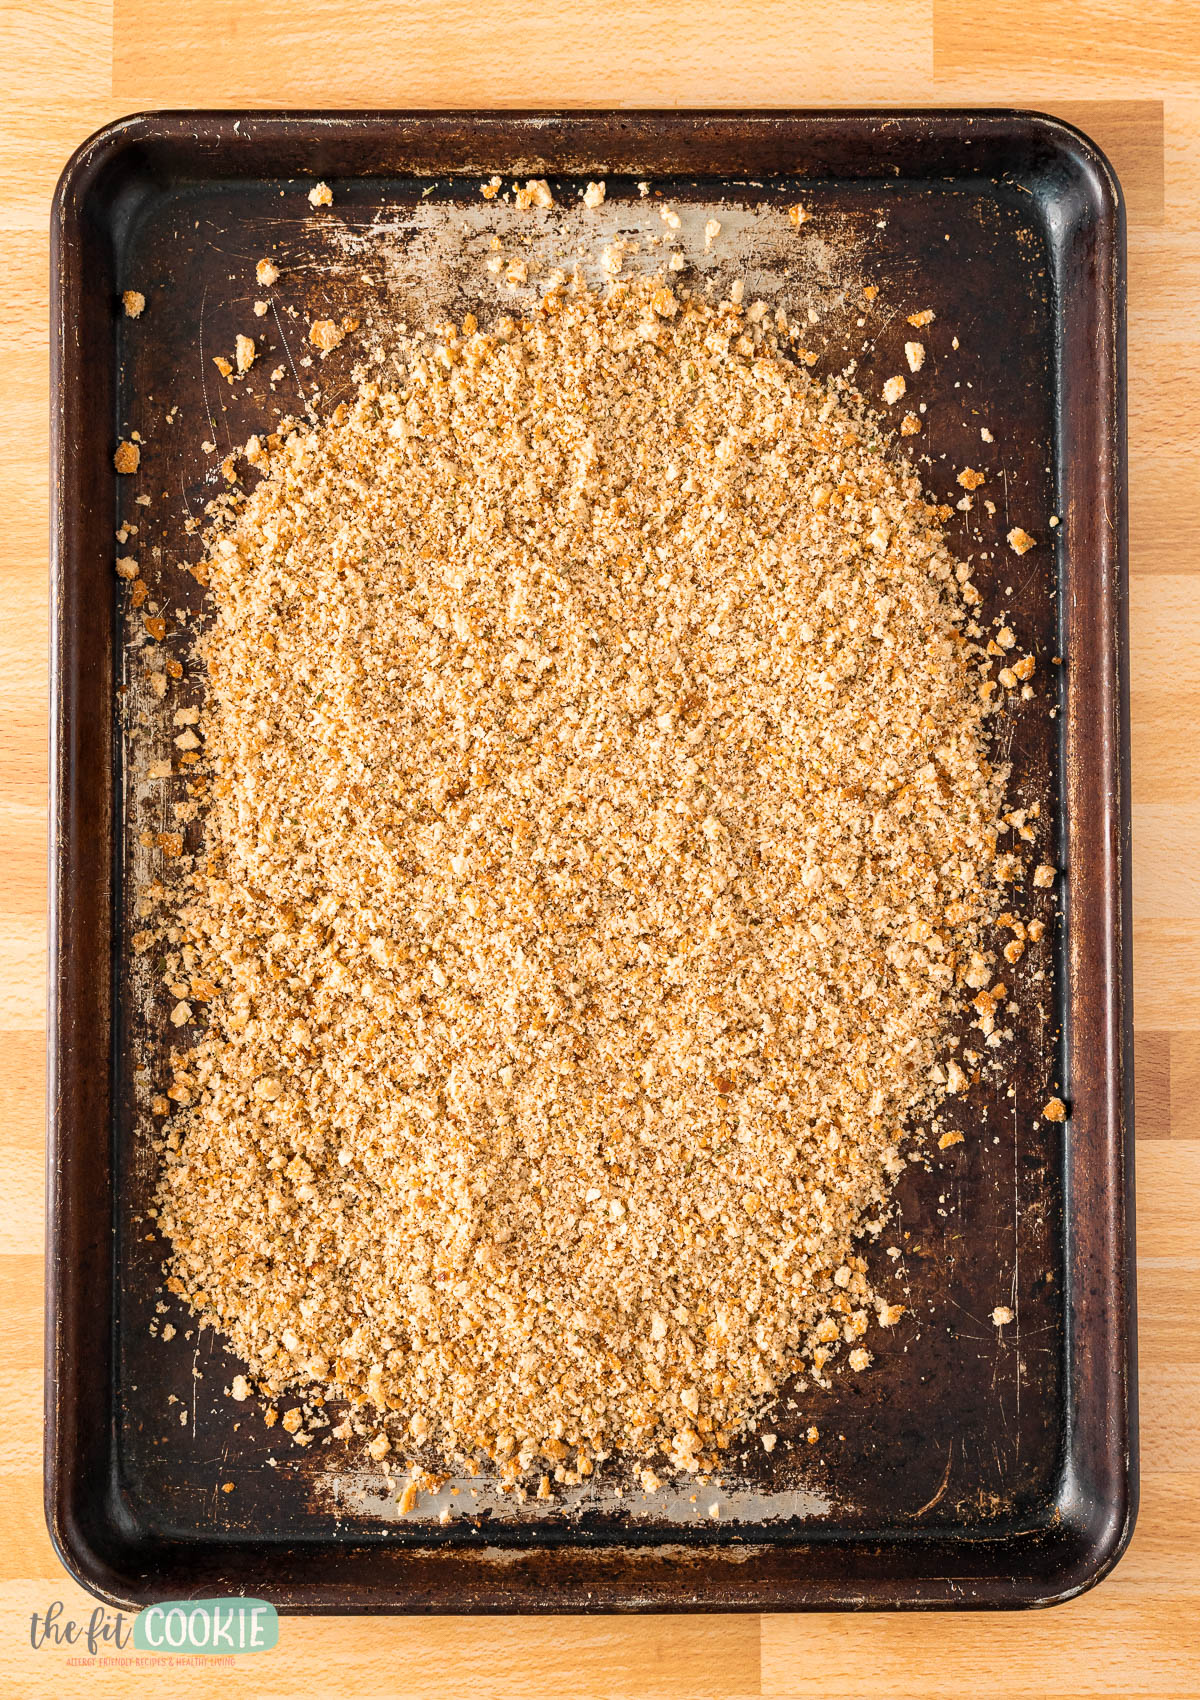
- Remove from the oven and stir the crumbs all around to mix.
- Return to the oven and bake for another 5-6 minutes. The crumbs will become golden brown as they bake, but you don’t want them to get dark.
- Stir the crumbs and mix well, then allow to cool completely in the pan. The bread crumbs will continue to dry as they cool.
- If you find you want smaller crumbs, you can add the fried crumbs back to a food processor to make them smaller, or add them to a gallon ziploc bag and use a heavy rolling pin to crush them more.
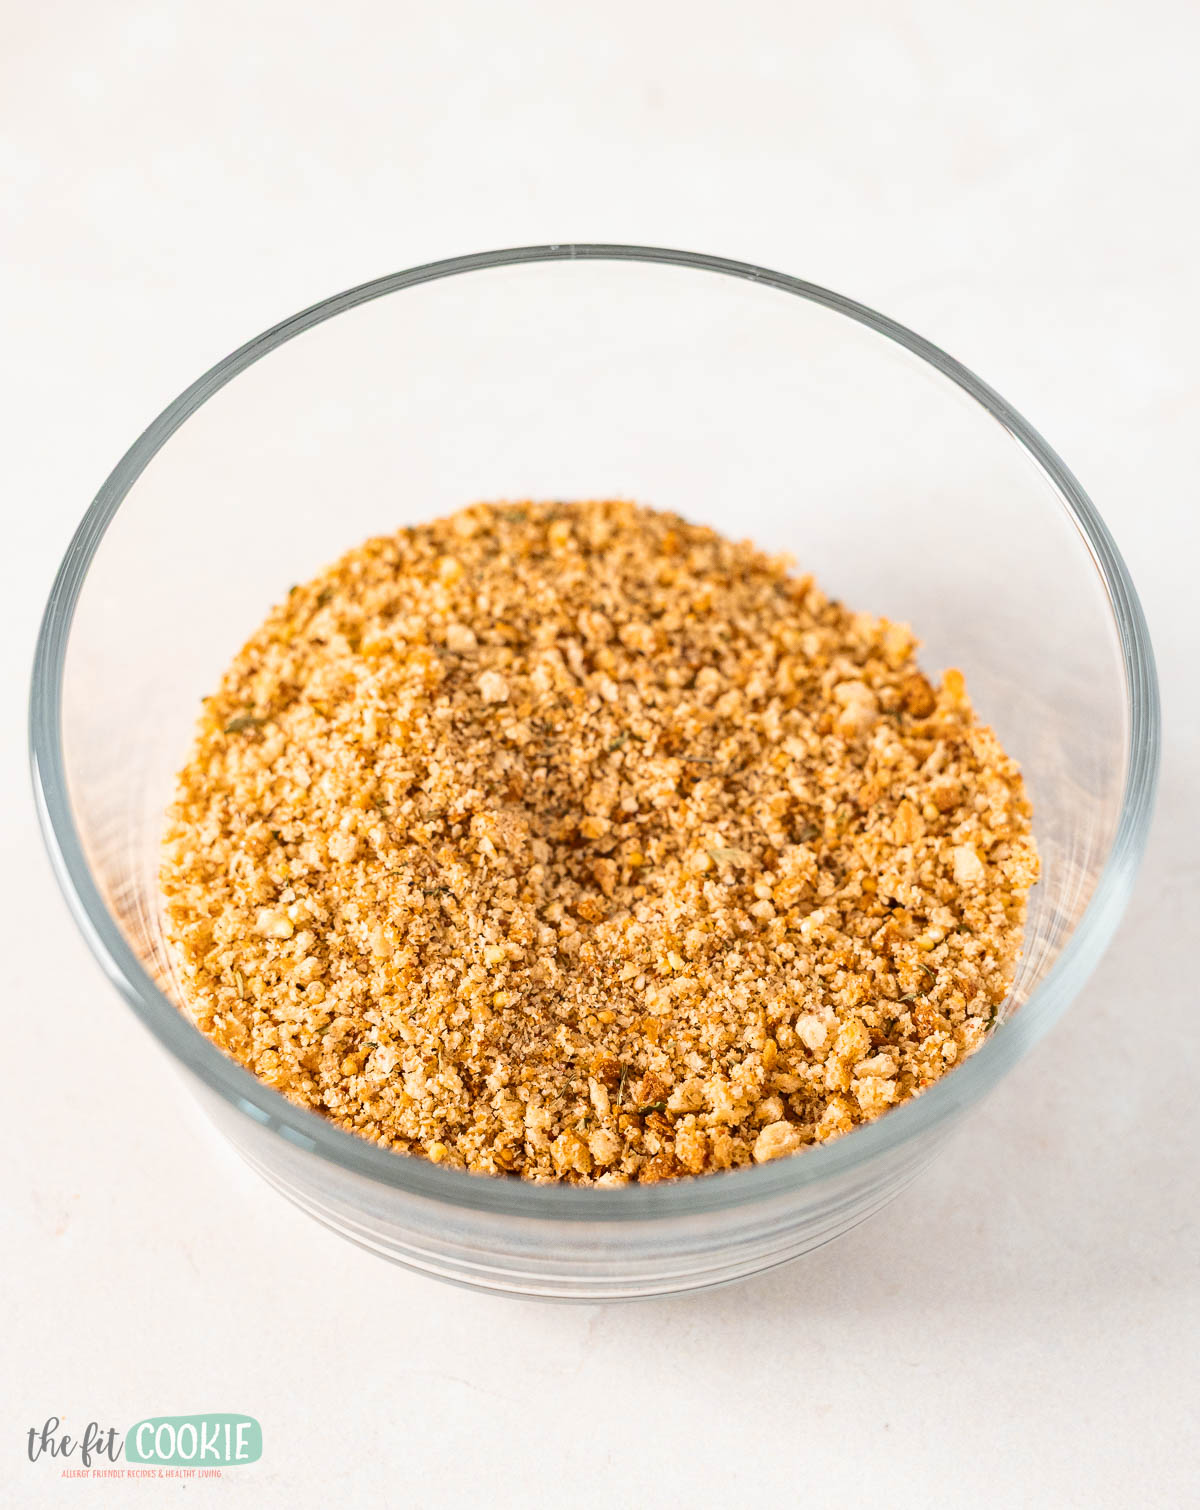
- Once the crumbs are completely cooled and dried, add them to an airtight container or jar. If there is no moisture left in the crumbs, these should last for a couple of weeks at room temperature.
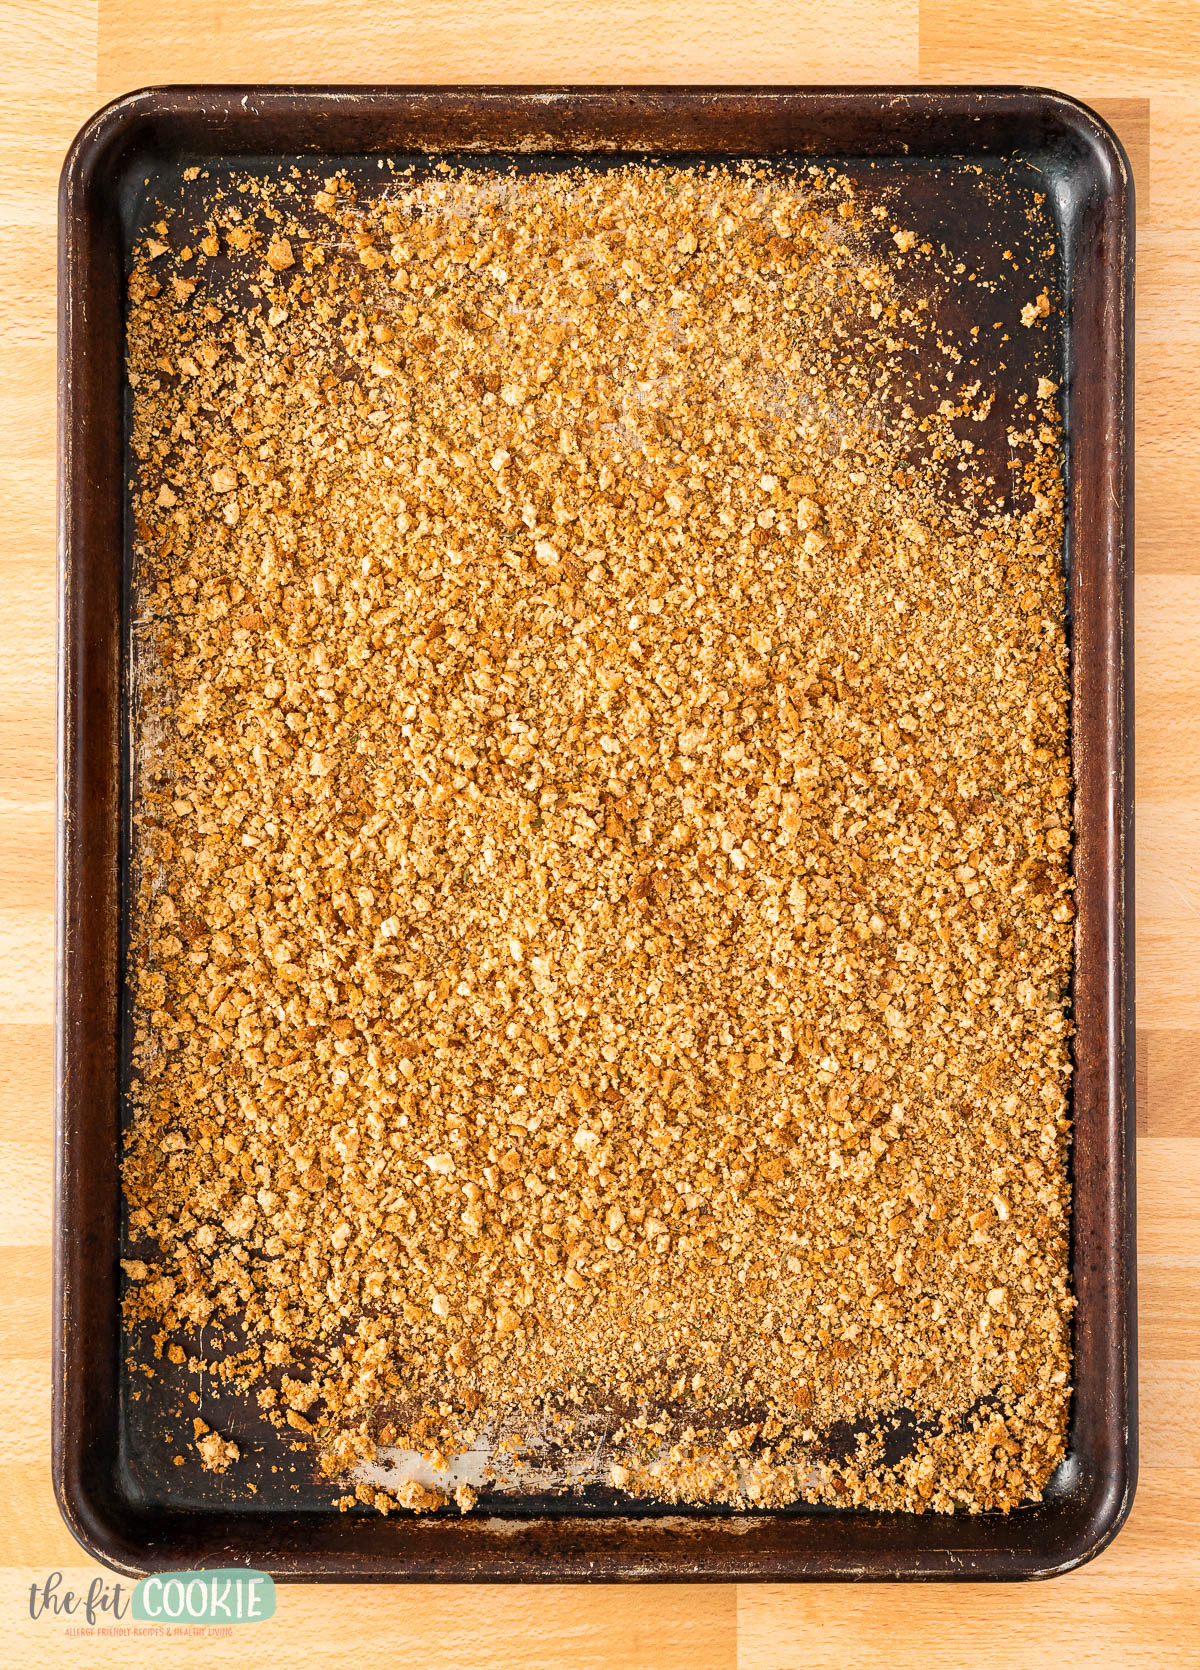
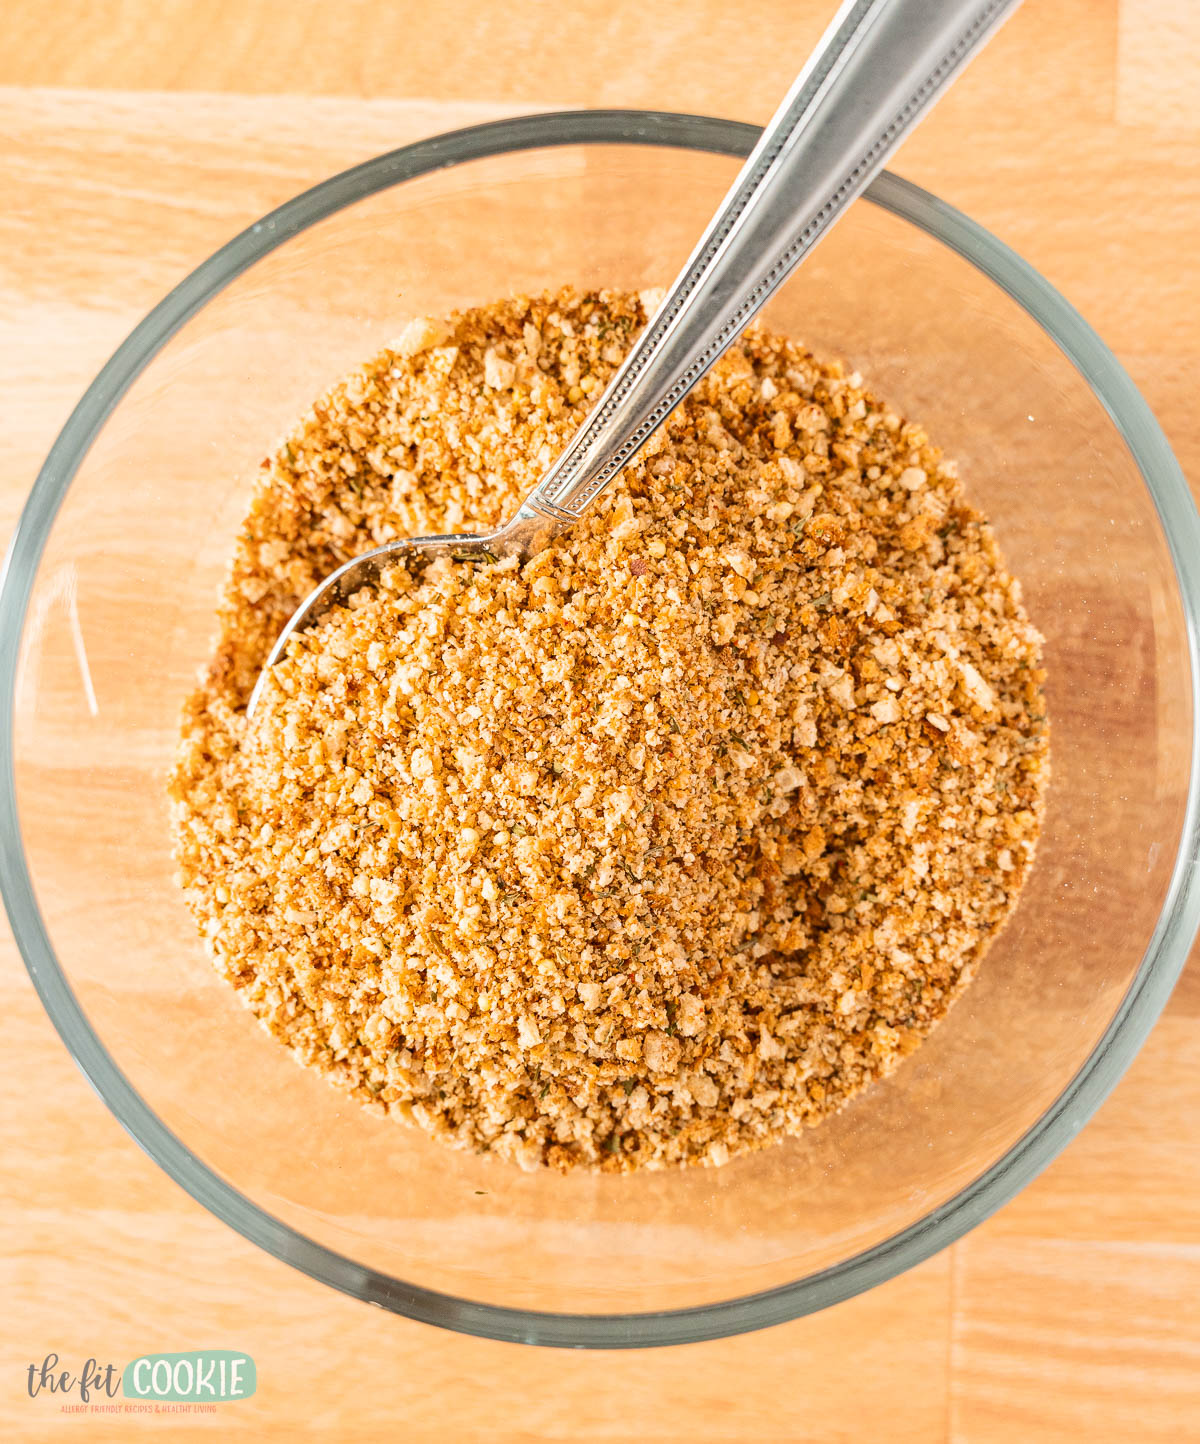
I love the seasoning mix we used for our bread crumbs, it’s pretty traditional. But you can add your own favorite seasoning blends to these crumbs depending on what you love, like Cajun or Creole spice, cayenne pepper, thyme and sage, etc.
Recipe notes for our bread crumbs
In our recipe, we process fresh bread into crumbs first to get more consistent results. I found that it’s harder to process crispy pieces of bread, and you usually end up with both crumbs that are too large and dust.
Processing fresh bread, then mixing in the seasonings before baking also helps the seasoning stick to the crumbs better, so the seasonings don’t separate from the crumbs (which happened with my first test batch).
The very last step is baking the seasoned crumbs. Since the crumbs are a pretty consistent size, this doesn’t take very long, and the baking results are also much more consistent.
Processing fresh bread into crumbs also results in less static in your food processor, too. With our first test batch, I processed dried/crisped bread into crumbs, and it got really staticky and got messy.
For our recipe, we used Canyon Bakehouse bread, but this bread does contain eggs. You can use your favorite brand of gluten-free bread if you need an egg-free bread, like Little Northern Bakehouse or BFree bread.
You may have to adjust baking times with the bread crumbs if your gluten-free bread is more moist or more dry than the one we used.
If you have gluten free bread that tends to be a lot more moist, you can let it air dry for an hour or so before processing to make it easier to create crumbs.
How to use these bread crumbs
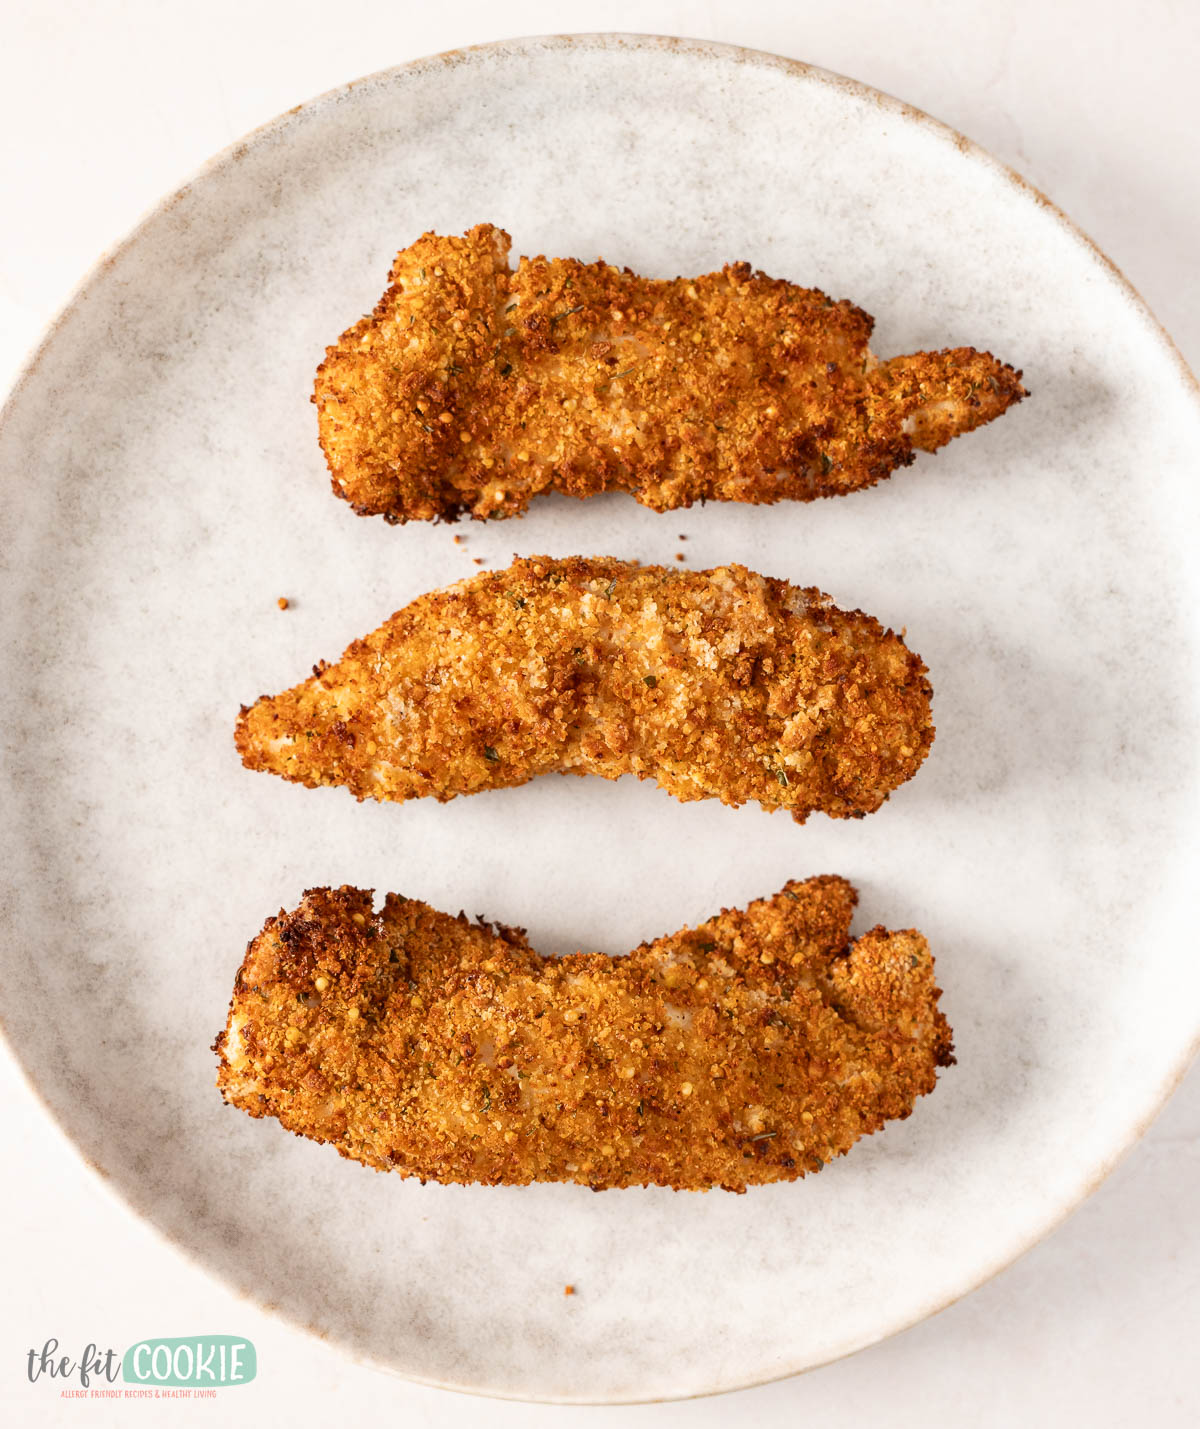
You can use these homemade bread crumbs in any way that regular bread crumbs are called for in recipes, such as in meatloaves, meatballs, topping baked mac and cheese, breading chicken strips, etc.
These crumbs may cook a little faster than the other types of crumbs (like the Porq crumbs), so just keep an eye on them as they cook to not get overcooked or overbaked.
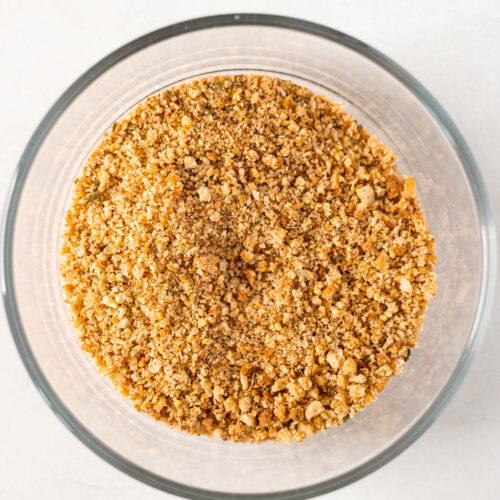
Gluten Free Seasoned Bread Crumbs (Dairy Free)
Ingredients
- 5 slices Canyon Bakehouse bread* (or your favorite gluten free sliced bread)
- 1 teaspoon dried parsley
- ½ teaspoon salt
- ½ teaspoon black pepper
- ½ teaspoon onion powder
- ½ teaspoon garlic powder
- ¼ teaspoon smoked paprika (or regular paprika)
Equipment
- Food processor
Instructions
- Preheat your oven to 325° F.
- Cut or tear the slices of gluten free bread into 1-inch cubes and add to a food processor. Pulse the food processor until you get coarse crumbs. You can decide how big or how small you’d like the crumbs to be.
- Add the bread crumbs to a bowl and stir in the seasonings, thoroughly mixing and allowing the seasonings to stick to the moist bread crumbs.
- Spread the crumbs onto a clean sheet pan and bake for 5-6 minutes.
- Remove from the oven and stir the crumbs all around to mix.
- Return to the oven and bake for another 5-6 minutes. The crumbs will become golden brown as they bake, but you don’t want them to get dark.
- Stir the crumbs and mix well, then allow to cool completely in the pan. The bread crumbs will continue to dry as they cool.
- If you find you want smaller crumbs, you can add the fried crumbs back to a food processor to make them smaller, or add them to a gallon ziploc bag and use a heavy rolling pin to crush them more.
- Once the crumbs are completely cooled and dried, add them to an airtight container or jar. If there is no moisture left in the crumbs, these should last for a couple of weeks at room temperature.
Notes
Nutrition
Pin for later!

Sarah Jane Parker is the founder, recipe creator, and photographer behind The Fit Cookie which she founded in 2011. Sarah is based in Wyoming and has been managing food allergies for herself and her 2 children for over 20 years. Sarah was also a certified personal trainer for 12 years, as well as a group fitness instructor, health coach, running coach, and fitness nutrition specialist.