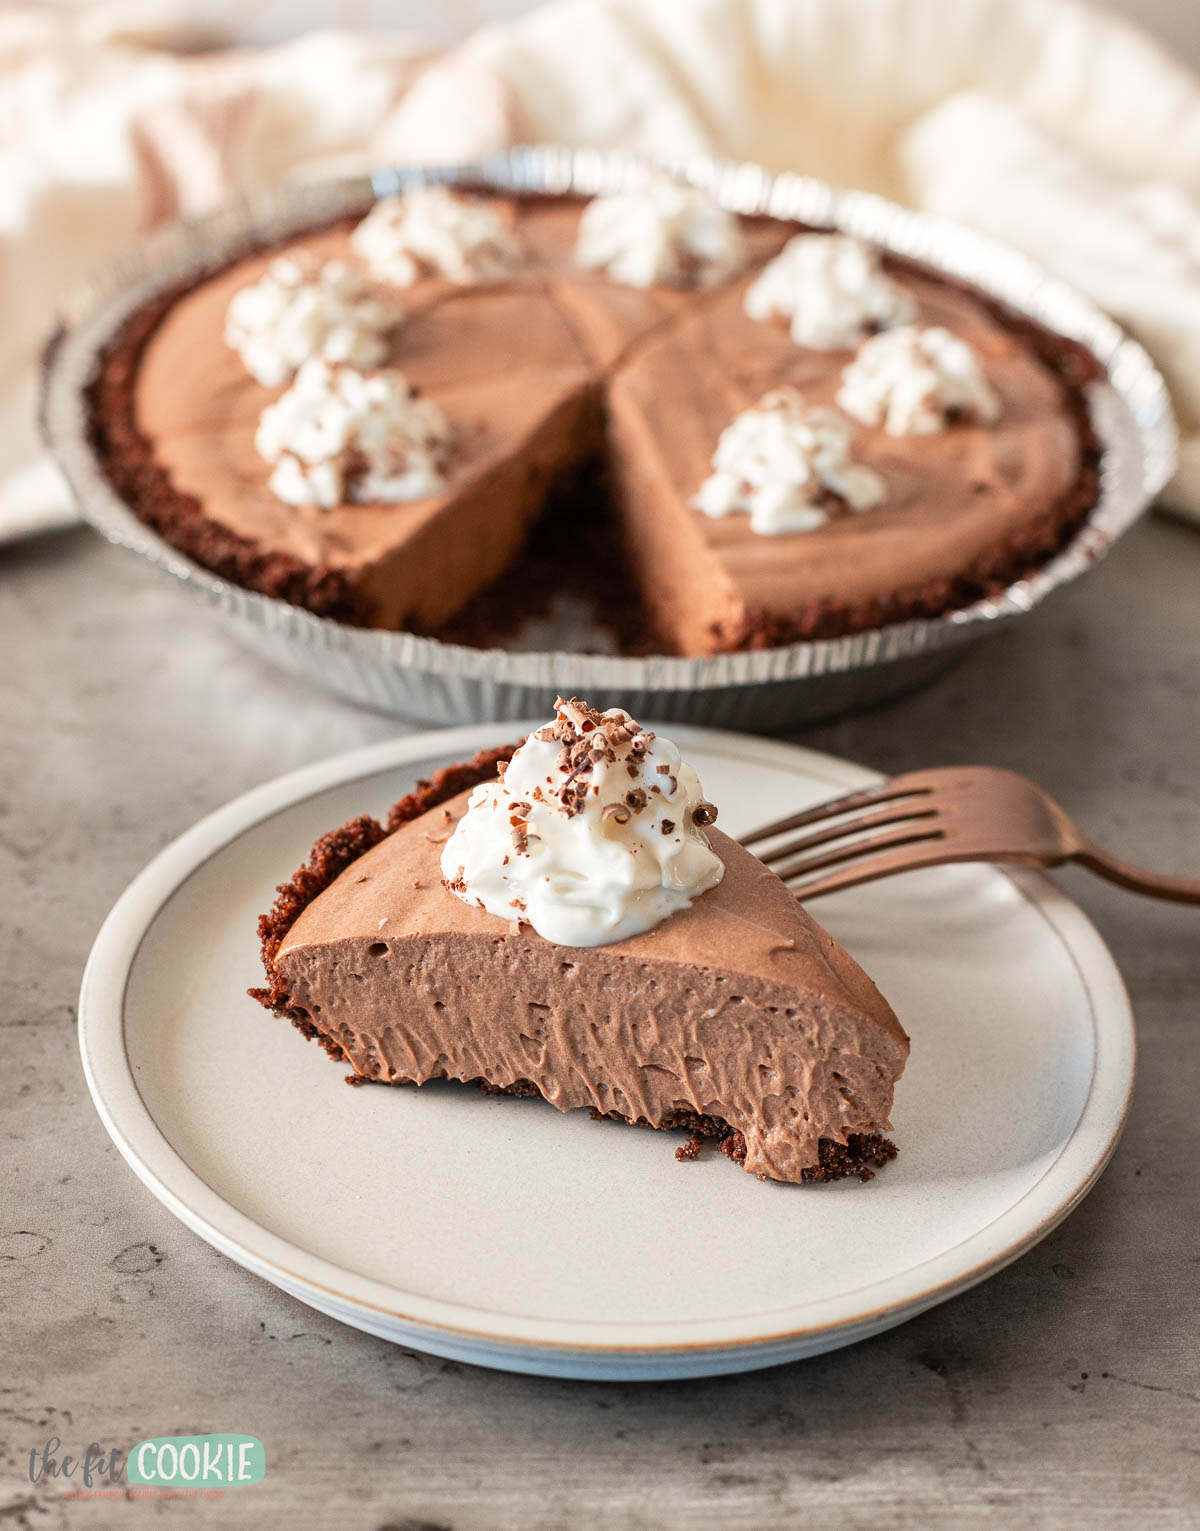
You’ll never know this silky and creamy chocolate cream pie is completely dairy free and gluten free! This recipe is lighter than our cheesecakes and closer to a chocolate mousse, it’s so delicious! We added some fun flavor variations as well.
Disclosure: this post contains affiliate links.
If you’re a fan of cream pies for the holidays vs fruit pies or pumpkin pie, you’ll love our chocolate cream pie recipe!
This is a different take on our chocolate mousse recipe, our lemon mousse recipe, and our key lime pie recipe. This uses the same method for creating a creamy, chocolatey, mousse-y filling for our pie.
While this takes a few different steps, it’s a pretty easy recipe to make overall and most of the time required is for chilling in the fridge (you’ll want to make this 12-24 hours ahead of time).
Why you’ll love this recipe
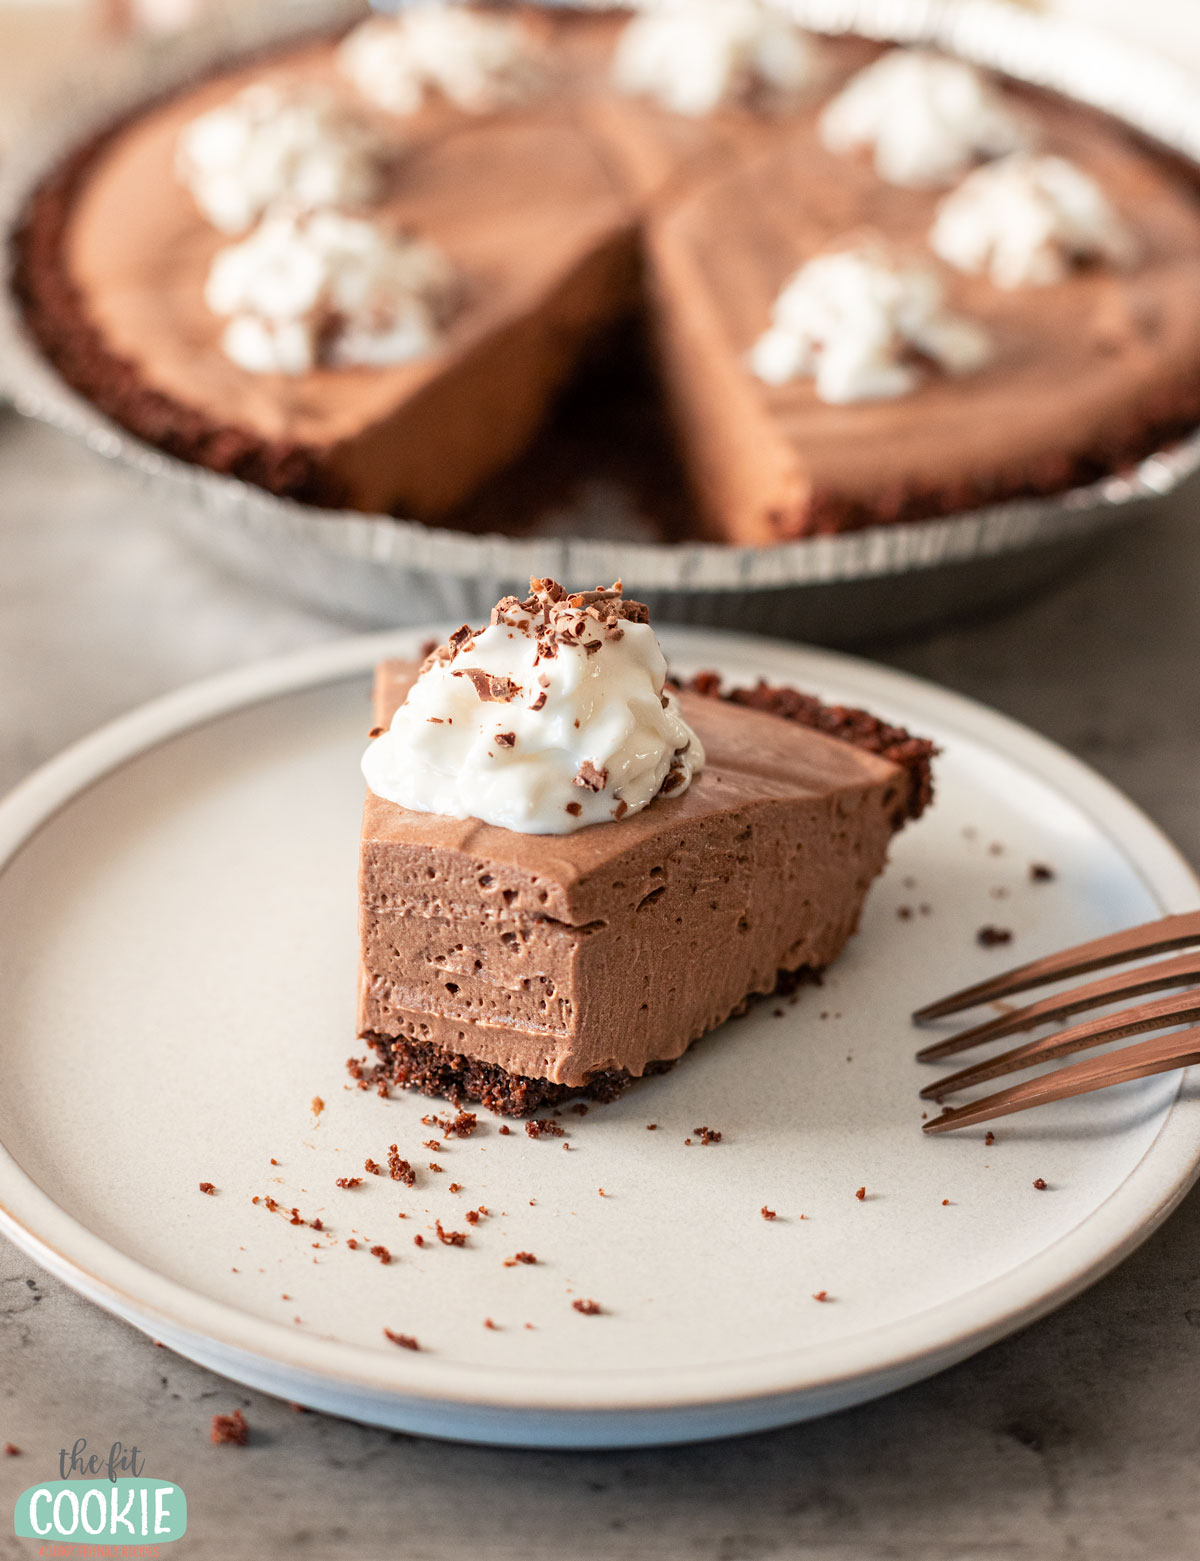
This silky and creamy chocolate pie is lighter and more mousse-like than our cheesecake recipes, so if you’re not a cheesecake fan or can’t find good dairy-free cream cheese, this is a delicious alternative.
Our chocolate cream pie also reminds me a little bit of a French silk pie without the eggs, and our recipe is a bit less sugary. French silk pie was a favorite of mine growing up, so I was pretty excited to make this pie and discover it’s fairly close!
If you want a pie even closer to French silk, you could add some additional sugar to this recipe (like maybe 1/4 cup) to add some additional sweetness and add to a cooked pie crust shell.
How to make dairy free chocolate cream pie
This recipe uses the same method we use for our key lime pie recipe. We make a pudding and then fold in the Cocowhip to create a delicious and silky cream pie filling.
Here are the steps for making our cream pie recipe. This is just an overview with tips, the full recipe can be found at the end of our post.
- Add the coconut milk, the dairy free milk, sugar, cocoa powder, vanilla, and a dash of salt to a 2-quart saucepan and whisk together.
- Cook over medium heat, whisking regularly, until it begins to simmer.
- Reduce the heat to medium-low and scoop out about 1/4 to 1/3 cup of the chocolate milk from the pan into a small bowl.
- Whisk the cornstarch into the liquid set aside in the bowl to make a cornstarch slurry.
- Add the cornstarch slurry to the pan whisking constantly. The chocolate milk mixture will start to thicken immediately.
- Continue cooking for about 1 more minute to continue to thicken, whisking constantly to prevent lumps. You should have chocolate pudding now.
- Turn off the heat and scoop the chocolate pudding into a shallow bowl to cool for about 15 minutes, whisking regularly to prevent thickening on top of the pudding that can cause lumps.
- After about 15 minutes, cover the pudding with plastic wrap so that the plastic wrap touches the entire surface of the pudding. This helps to prevent “pudding skin” that makes lumps when you stir everything together.
- Chill the covered pudding in the fridge for about 30 minutes. You want it to be cooled but not completely chilled through.
- Using a spatula, fold the Cocowhip into the pudding. First, fold in half the container of Cocowhip, then fold in the rest of the container.
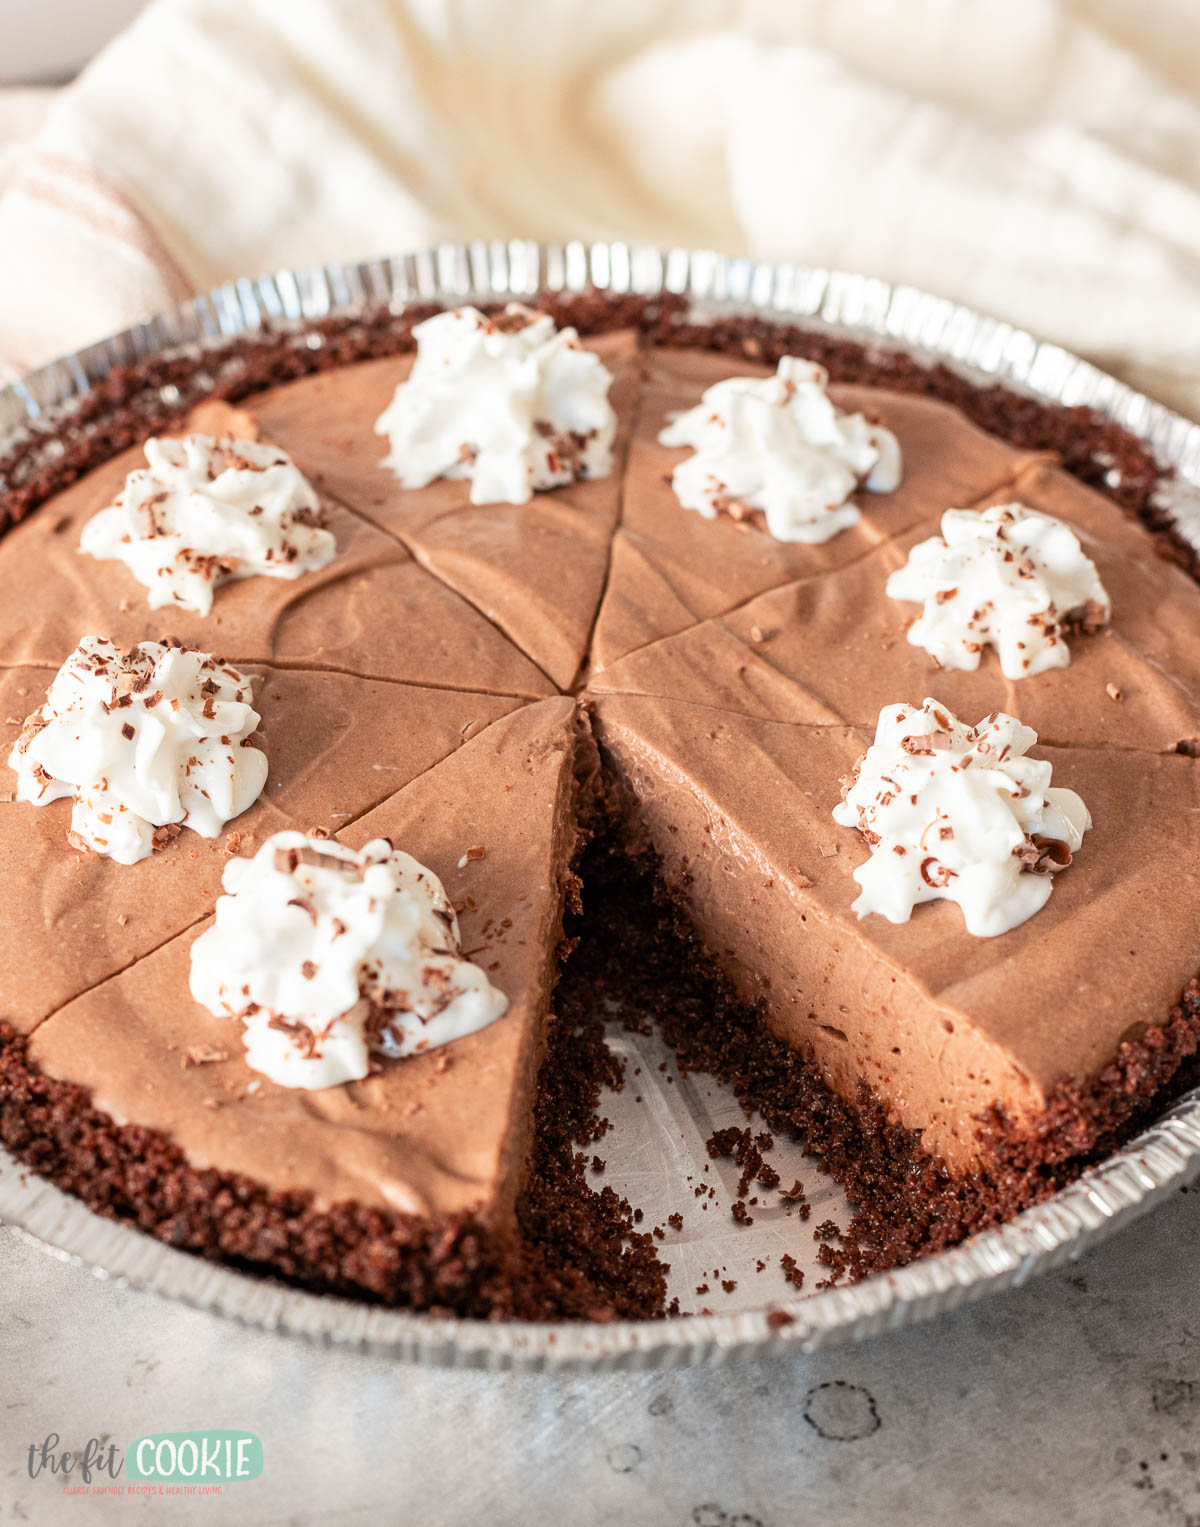
- Scoop the chocolate cream filling into your pre-made (or homemade) gluten free chocolate pie crust, cover, and chill for 12-24 hours to firm up.
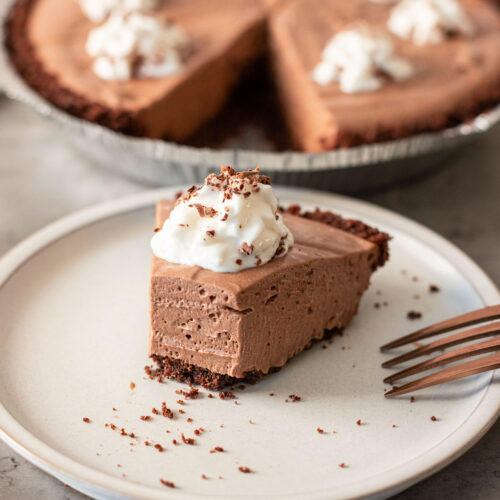
- Serve this with dairy free whipped cream and chocolate shavings.
- Store any leftovers in the fridge for up to 4 days.

I am not sure yet if this pie freezes well, I’ll have to test out freezing and thawing this pie the next time I make it and I’ll report back.
Cookie crust options for this pie
I used the MiDel gluten free chocolate snap crust for this cream pie to make things easy, but my family thought it was too crumbly, so the next time I make this I’ll make my own chocolate cookie crust.
The MiDel chocolate crust works great in a pinch and I personally didn’t mind it, but my family thought it was too crumbly and too gritty for them. The MiDel crust does have a cross-contamination warning for tree nuts, however, so make sure to always check the label for your allergens.
We have instructions on our Sunbutter cheesecake recipe for making your own allergy friendly chocolate cookie crust. You can use the Kinnitoo cookies if you need a dairy free and gluten free option.
Oreo gluten free sandwich cookies will work as well, they do contain soybean oil now just FYI if you’re avoiding soy, too.
You can also use a regular Keebler chocolate graham crust if you do not need this recipe to be gluten free.
Flavor variations for our vegan chocolate pie
There are a few different ways you can adjust the flavor of this pie to suit your tastes! Here are some ideas for flavor variations:
- Peppermint chocolate cream pie: add a little bit of peppermint extract to the chocolate pudding after it’s been cooked to make a peppermint version of this recipe. Start with 1/4 to 1/2 teaspoon of peppermint extract and add more to your preference. This would be great for Christmas or winter parties.
- Mocha cream pie: add a bit of coffee powder or instant coffee to make a mocha version of this recipe. Start with 1 teaspoon of coffee powder and add more to your taste.
- Chocolate orange cream pie: add a little orange extract to your chocolate pudding for a chocolate orange version of this pie (like a Terry’s chocolate orange but in pie form).
Check out our allergy friendly cheesecake recipes!
Dairy Free Chocolate Cream Pie (Gluten Free)
Ingredients
- 1 cup full fat canned coconut milk
- 1 cup dairy free milk (we used creamy oat milk)
- ½ cup unbleached sugar (I use Zulka)
- ¼ cup cocoa powder
- 1 teaspoon vanilla
- Dash salt
- 3 Tablespoons + 1 teaspoon cornstarch
- 1 (9 ounce) container So Delicious Cocowhip (this is coconut whipped cream similar to Cool Whip)
- 1 9-inch gluten free chocolate cookie crust* (I used Mi-Del but you can make a homemade cookie crust)
Instructions
- In a saucepan, whisk together the coconut milk, dairy free milk, sugar, cocoa powder, vanilla, and salt.1 cup full fat canned coconut milk, 1 cup dairy free milk, 1/2 cup unbleached sugar, 1/4 cup cocoa powder, 1 teaspoon vanilla, Dash salt
- Heat over medium heat until simmering. Once simmering, lower the heat slightly.
- Scoop out about 1/4 to 1/3 cup of the hot chocolate milk into a small dish and whisk in the corn starch to make a slurry.3 Tablespoons + 1 teaspoon cornstarch
- Whisk the cornstarch slurry back into the pan, whisking constantly while you add to prevent lumps. The chocolate milk mixture will begin to thicken immediately into a chocolate pudding.
- Continue to cook for about 1 more minute to thicken s bit more, whisking constantly to prevent lumps or scorching.
- Turn off the heat and scoop the chocolate pudding into a shallow bowl to cool for about 15 minutes, whisking or stirring regularly to prevent thickening on the top of the pudding.
- Cover the pudding with plastic wrap, making sure to press the plastic wrap onto the surface of the pudding to prevent a "pudding skin" from forming that can cause lumps.
- Place the pudding in the fridge to chill for about 30 minutes. You want it to be cooled down enough to mix with the whipped cream but not completely chilled.
- Fold the container of Cocowhip into the chocolate pudding, mixing in half the container at first, then the other half until it's all mixed in well.1 (9 ounce) container So Delicious Cocowhip
- Scoop the chocolate mixture into the chocolate cookie crust and cover. Chill in the fridge for 12-24 hours to chill completely and firm up. This will thicken as it cools in the fridge.1 9-inch gluten free chocolate cookie crust*
- Add more whipped cream to the top of your pie and chocolate curls or chocolate shavings.
- Cover leftovers and store in the fridge for up to 4 days.
Notes
- Peppermint chocolate cream pie: add 1/4 to 1/2 teaspoon peppermint extract.
- Mocha cream pie: add 1-2 teaspoons of coffee powder or instant coffee.
- Orange chocolate pie: add 1/2 to 1 teaspoon orange extract.
Nutrition
Pin for later!


Sarah Jane Parker is the founder, recipe creator, and photographer behind The Fit Cookie which she founded in 2011. Sarah is based in Wyoming and has been managing food allergies for herself and her 2 children for over 20 years. Sarah was also a certified personal trainer for 12 years, as well as a group fitness instructor, health coach, running coach, and fitness nutrition specialist.
The pie is delicious!! I have made 4 of them so far and will be making 2 more for Easter. I do have an issue with the pies firming up. I follow the instructions perfectly. The ingredients, preparation and allowing enough time in the refrigerator but they just don’t firm up. What is the secret? We eat them anyway like pudding with crust because they are delicious but would like them to be firm.
Hi Valerie! It should be about the texture of mousse, but if it’s not setting up more firm for you, you might need to use some additional cornstarch in the first half of the recipe. Maybe an additional half to 1 Tablespoon might help with firming up the pie so it reaches that mousse texture once it’s chilled. We usually chill ours overnight to 24 hours as well for a more firm pie.
Editing to add that you might also check your whipped cream, if it’s a little runny, it might not firm up your pie as well. You can still use more cornstarch and see if that helps.