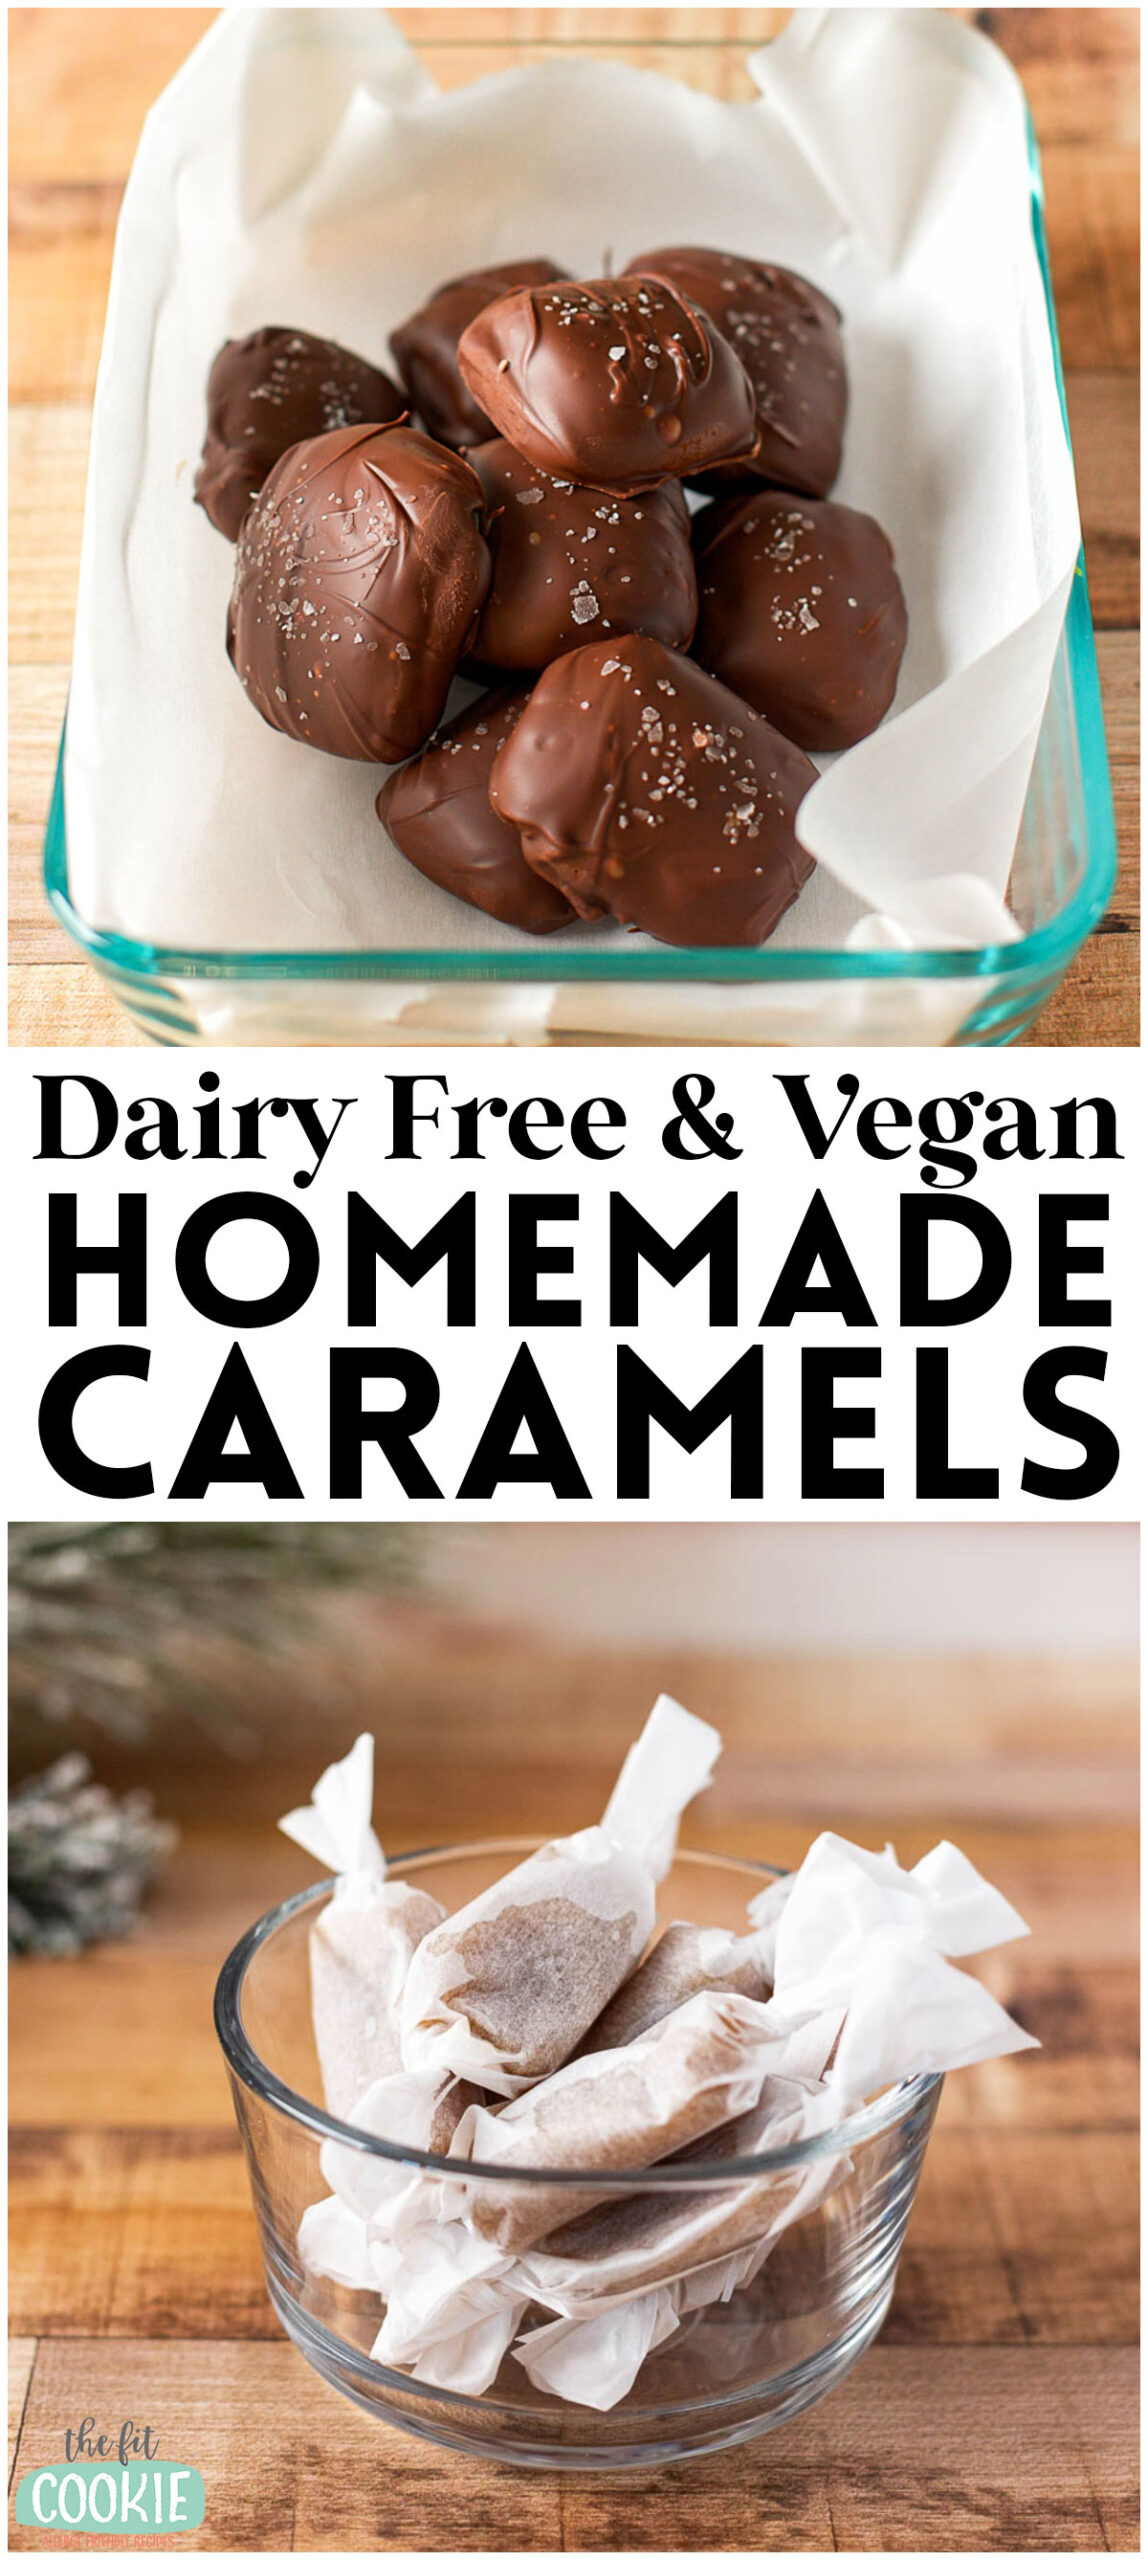
If you’re craving caramel candies but need a dairy free or vegan version, make a batch of our dairy free soft brown sugar caramels! These are excellent by themselves or covered in chocolate, and they are surprisingly easy to make, no candy thermometer needed.
I’m super excited to share this new recipe for dairy free brown sugar caramels with you all!
Over the years, we have created a few different caramel recipes, and one of my biggest goals was to create a recipe for delicious and allergy friendly caramel candies we could dip in chocolate. I finally made that happen this year and I can’t wait for you to try these!
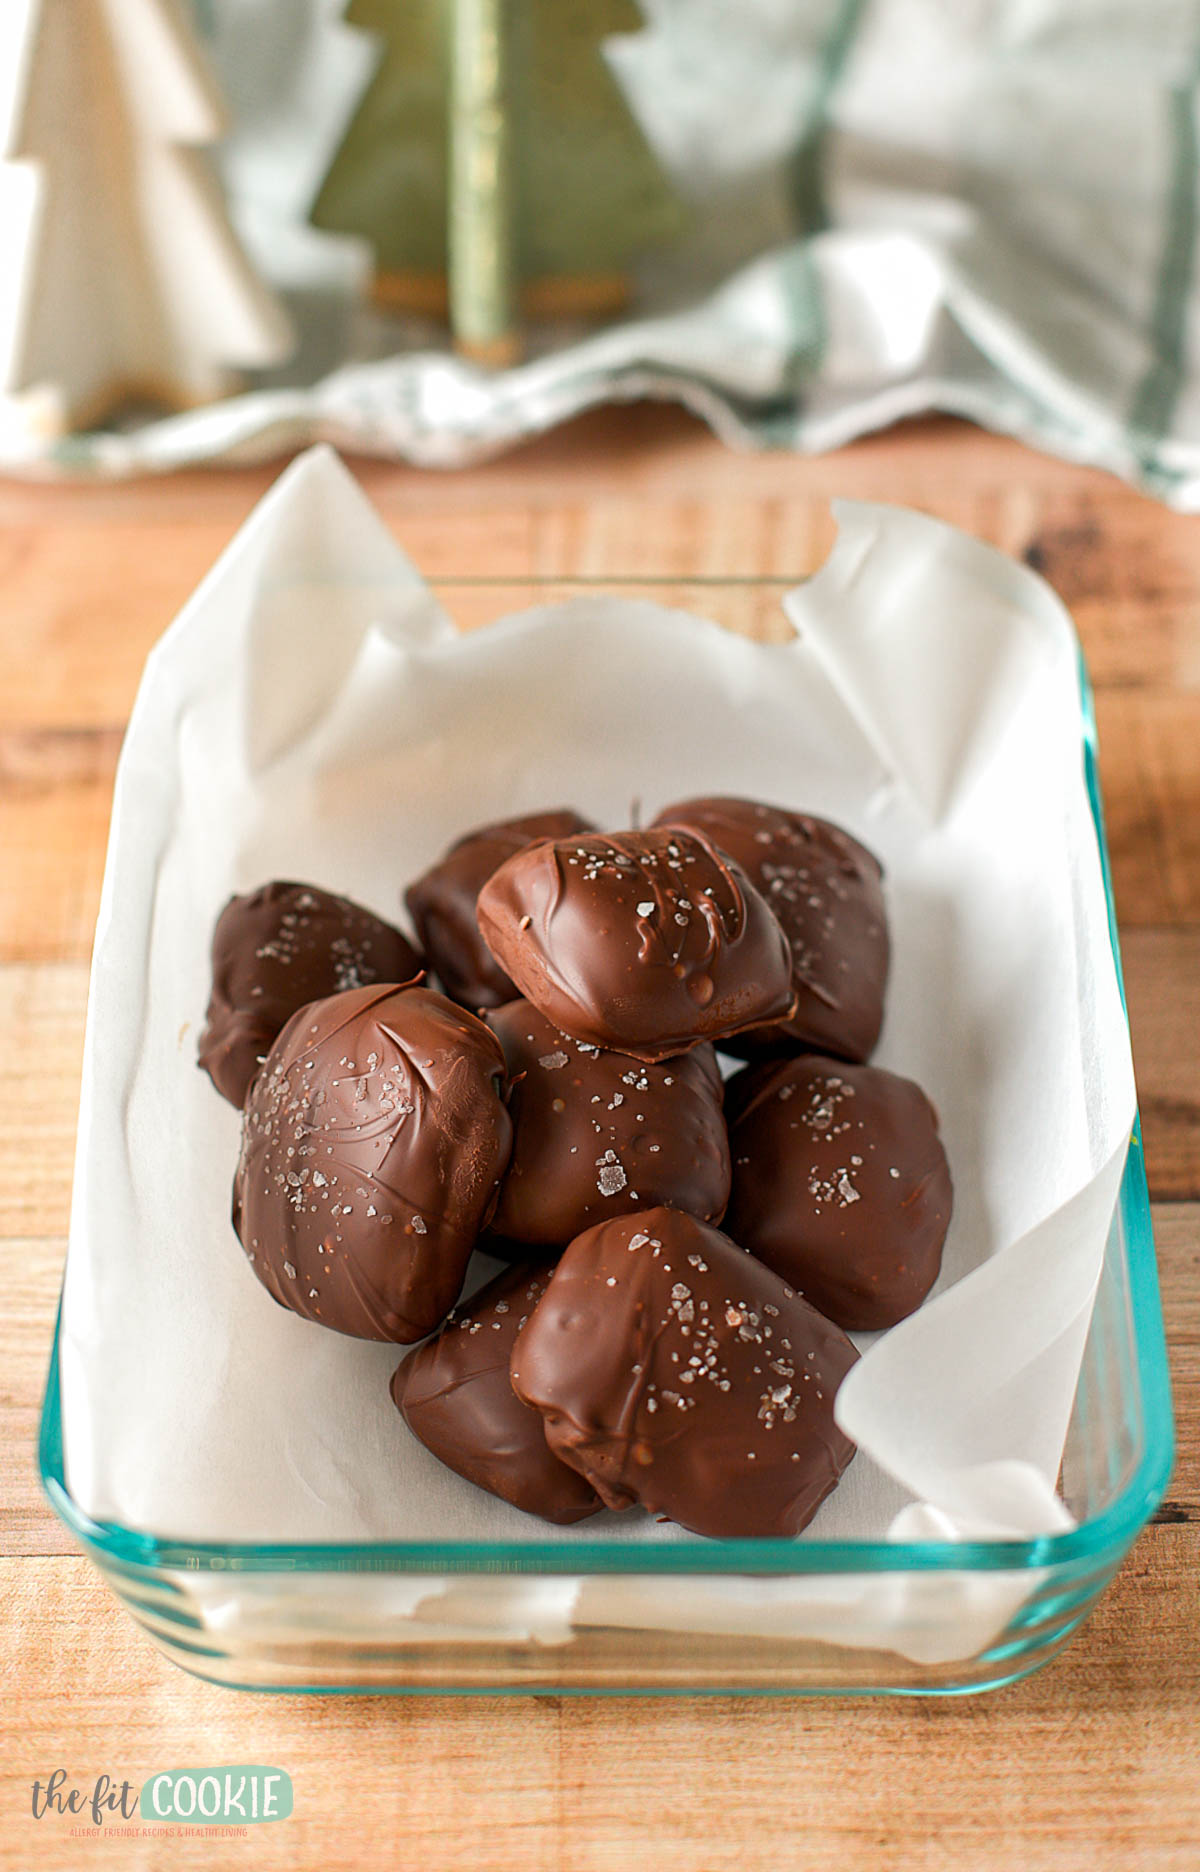
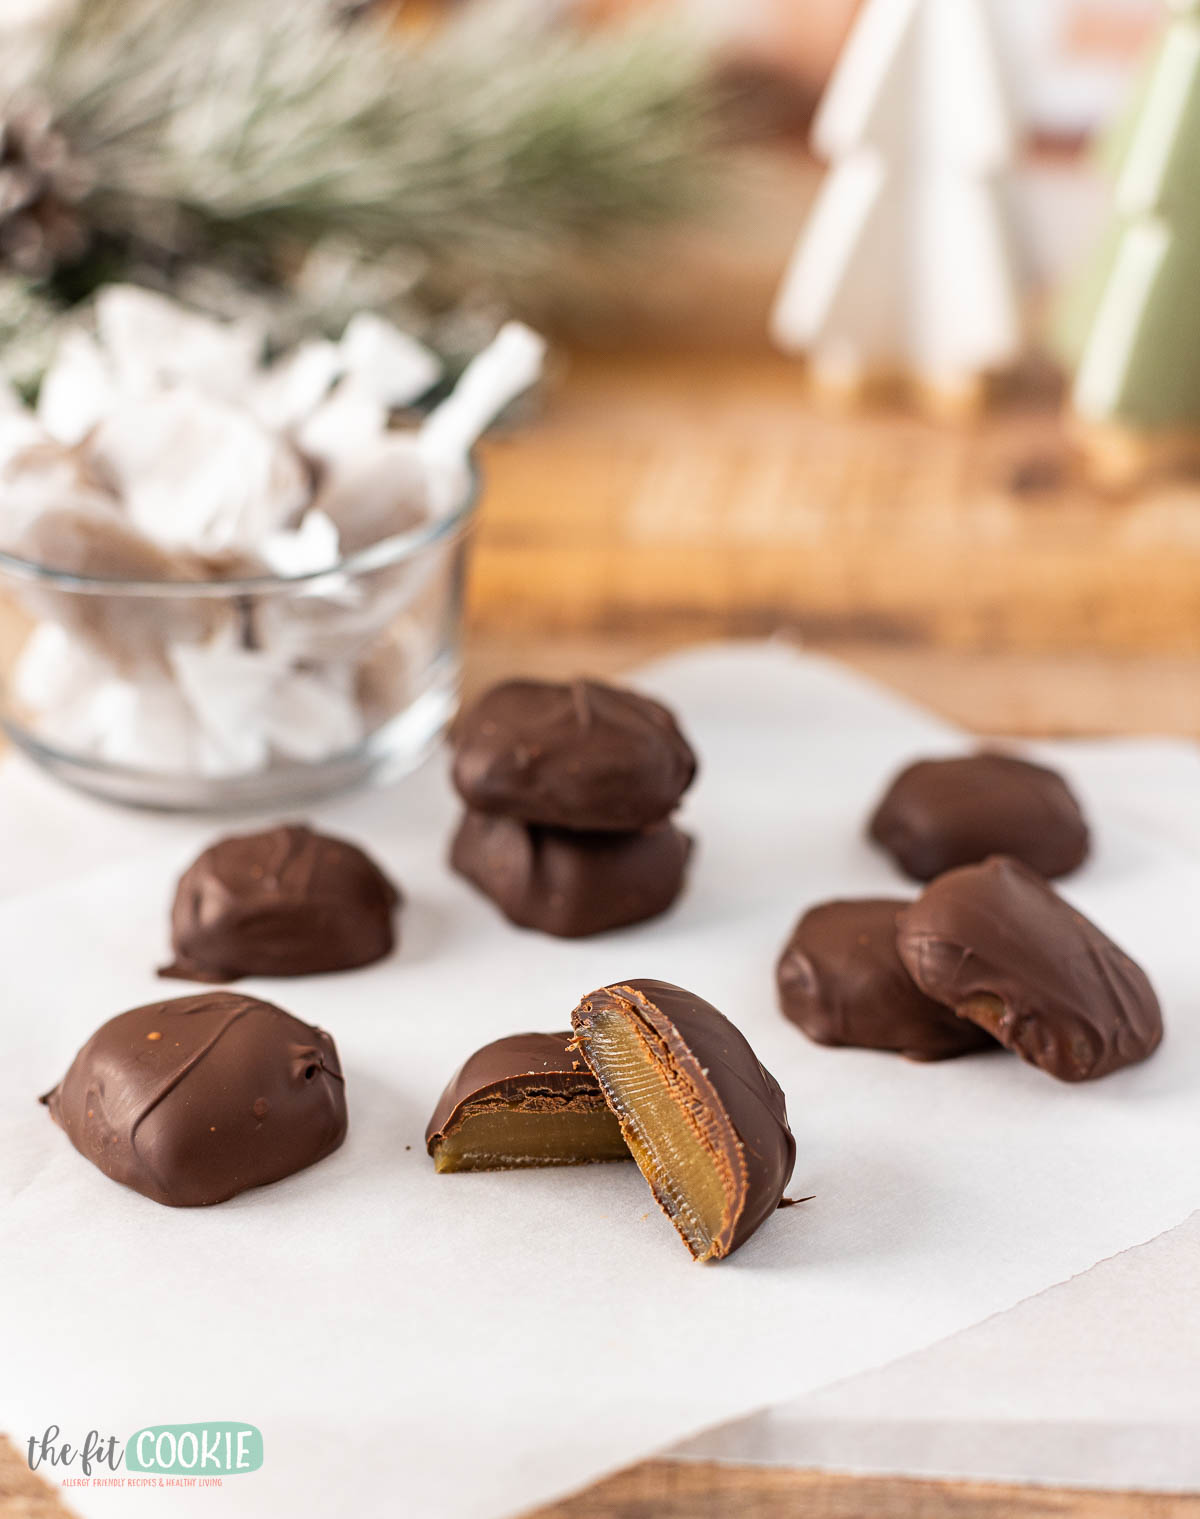
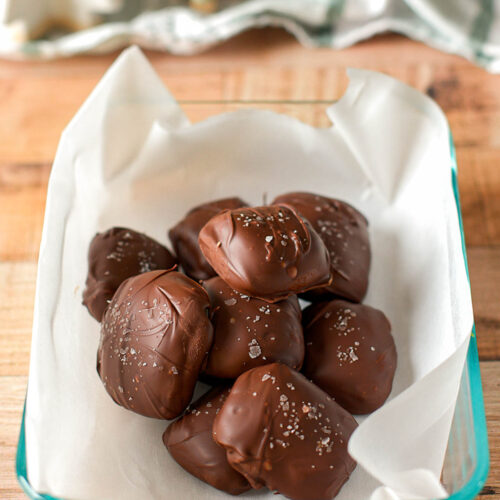
These caramels are the perfect texture, they are smooth and not too hard or sticky. They are incredible covered in chocolate with a touch of flaky salt on top.
Finding dairy free chocolate caramels that are not made in a facility with other allergens like peanuts and tree nuts can be tough, but you can ensure these fit your food allergies when you make them at home.
Why you’ll love this recipe
Our recipe for dairy free caramel candies are based on our easy caramel sauce recipe, and you can make this recipe without a candy thermometer or previous candy-making experience.
These brown sugar caramels are soft and perfect for gift giving for the holidays or any time of the year you want to share an allergy friendly treat.
How to make dairy free soft caramel candies
Here are the steps for making these dairy free brown sugar caramels. This is just an overview, the full recipe card is at the end of the post.
- In a 1 ½ quart saucepan, add your dairy free butter. Cook over medium heat until melted.
- As soon as the butter has melted, reduce the heat to medium-low and whisk in the brown sugar, corn syrup, coconut milk, vanilla, the cream of tartar, and a dash of salt.
- Set a timer for 8 minutes and cook the mixture for 8 minutes over medium-low, whisking regularly. Make sure you are cooking at medium-low heat and the mixture is moderately bubbling, you don’t want the heat too high or the caramel to cook too fast.
- Once the 8 minutes are up, remove from the heat and allow to cool in the pan for 15 to 20 minutes to cool a bit and to thicken up. Don’t let this cool longer than 20 minutes in the pan or it will be harder to get out of the pan. The caramel will seem runny at first, but will thicken as it cools (I promise!).
- While the caramel is cooling in the pan, add a piece of parchment paper to a sheet pan and brush or rub a light layer of dairy free butter on the parchment paper.

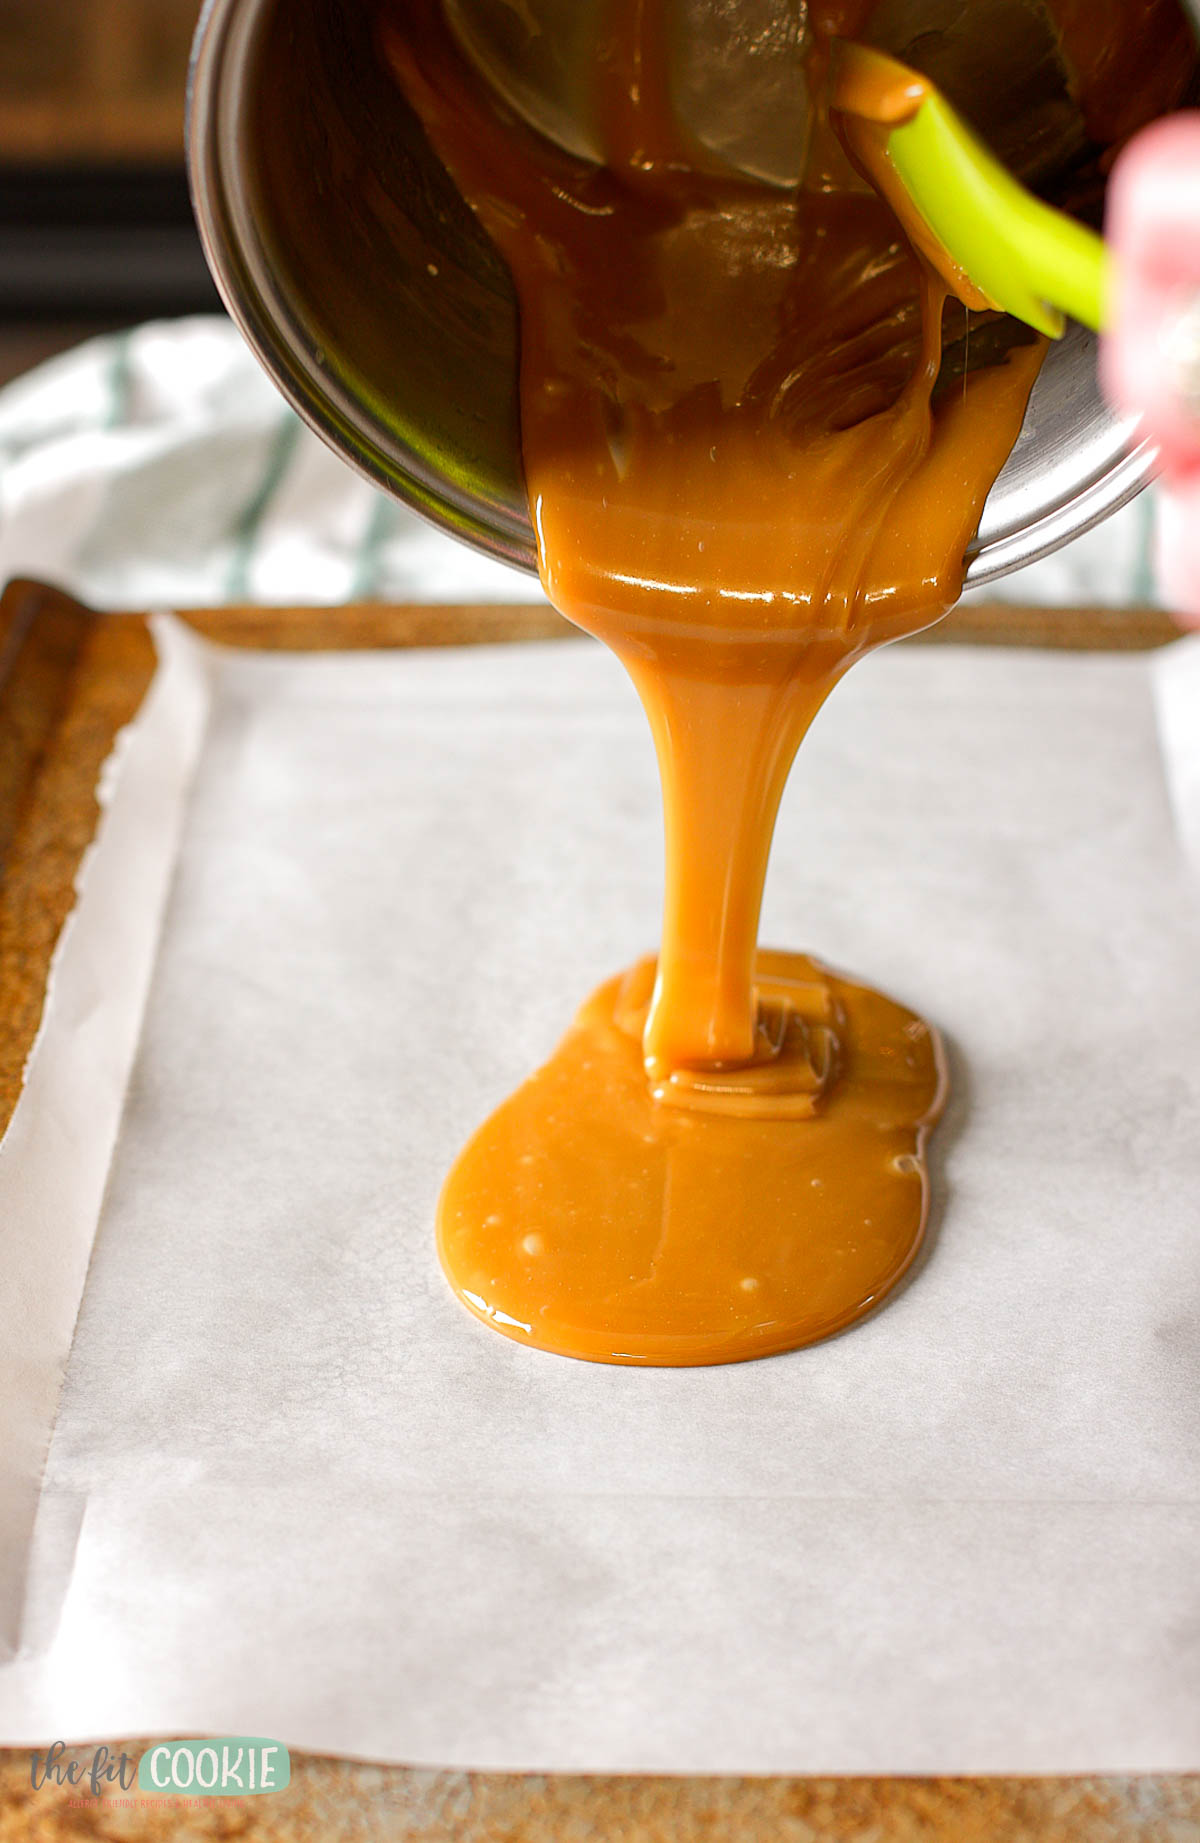
- Once the caramel has cooled a bit and thickened, pour it onto the buttered parchment paper and allow it to cool completely.

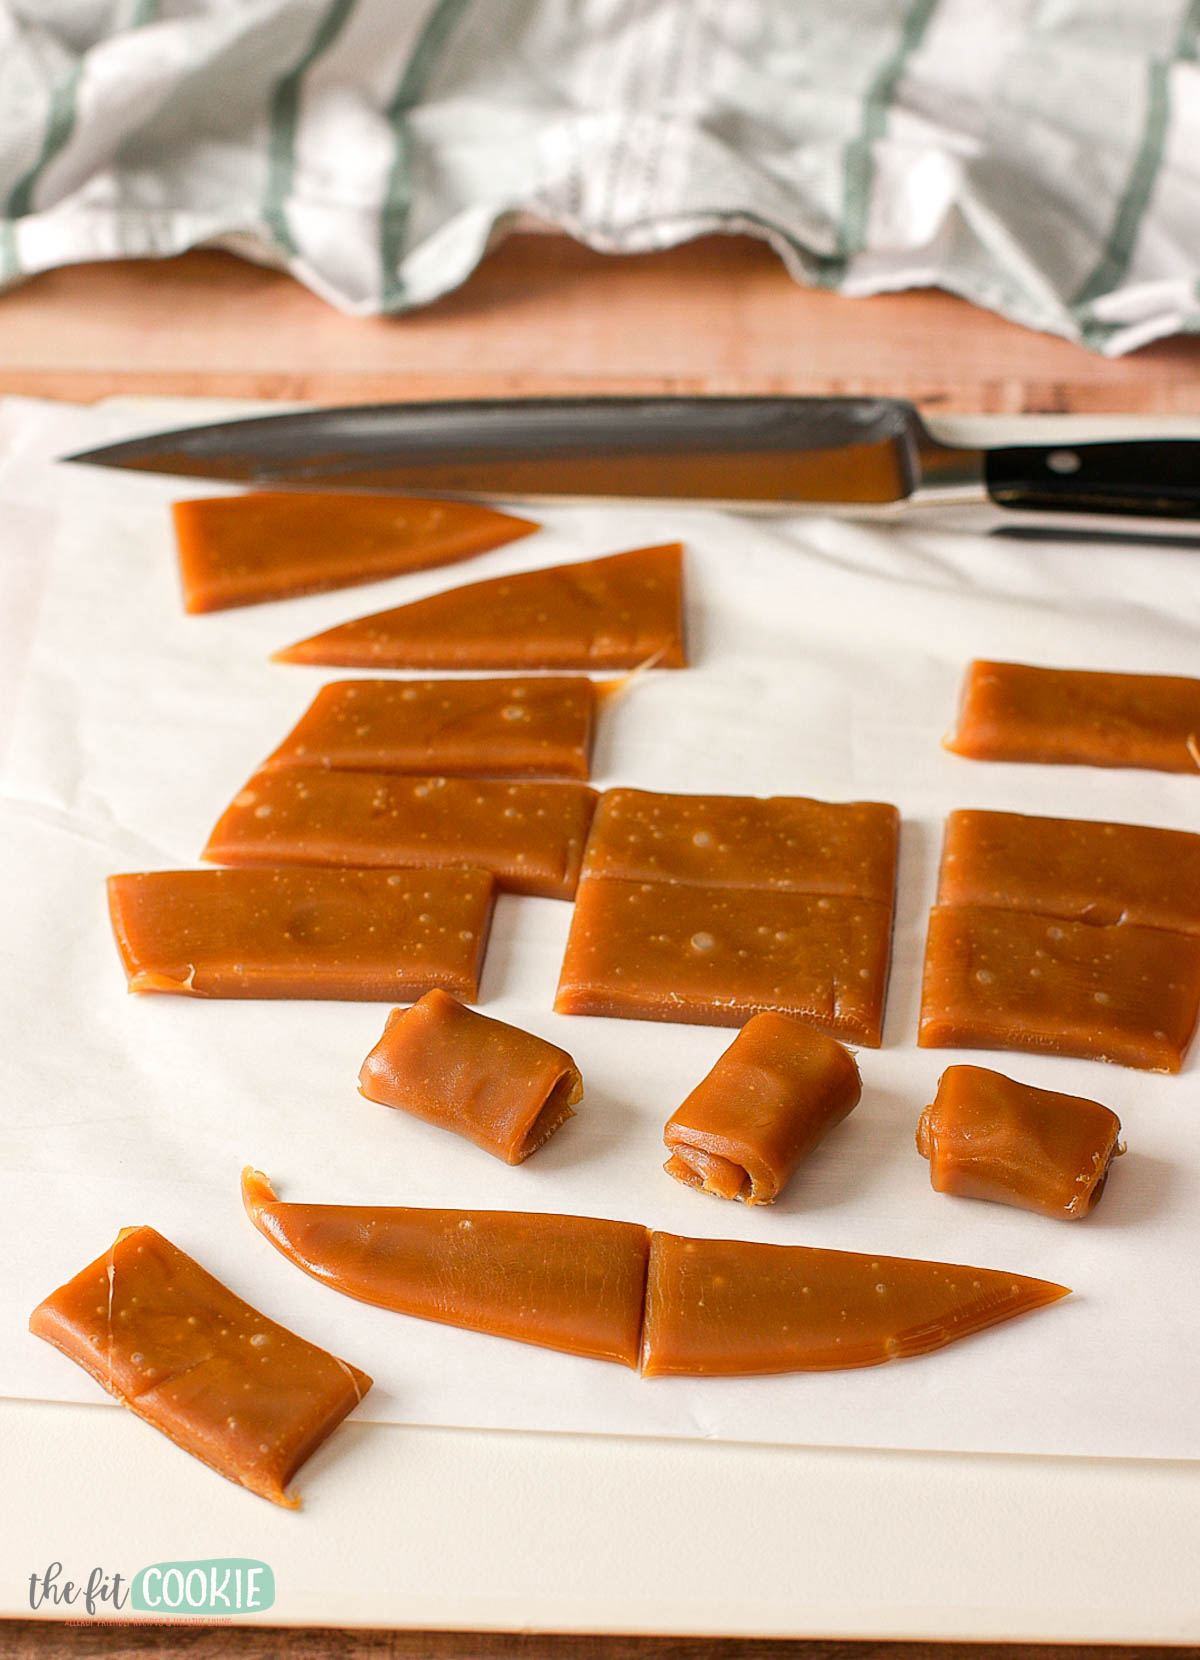
- Once the caramel disc has cooled completely (make sure it’s cooled down all the way), cut it into rectangles with a buttered knife. The caramel should be firm but pliable and easy to handle without too much stickiness.
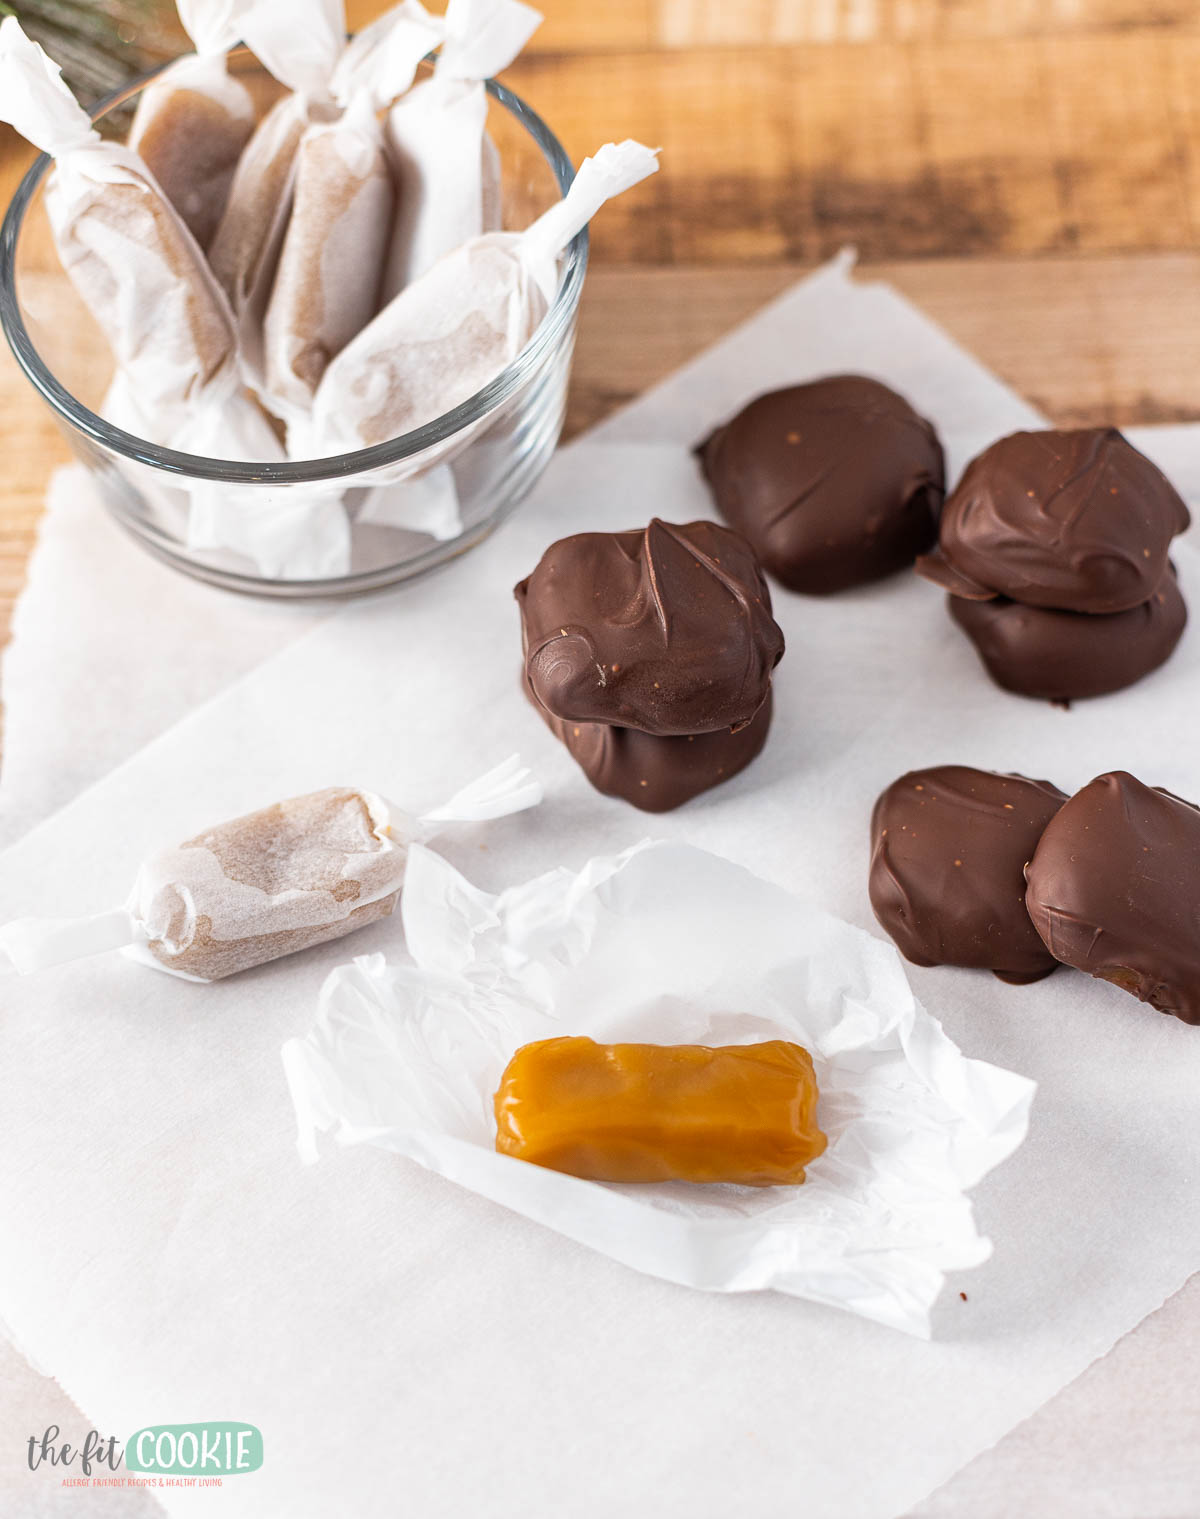
- You can make small squares, or roll them onto each other to make rectangle caramels. You can also roll the caramel into balls for dipping. I folded my caramel pieces into thirds.
- From here, you can wrap your caramels in pieces of parchment paper, or you can dip them in chocolate.
- The caramels in the photo below are darker in color since they are a batch made with dark brown sugar vs light brown sugar.

Chocolate covered caramels
If you want to dip your caramels in chocolate, follow these steps (this is detailed in the recipe card as well):
- Melt your favorite allergy-friendly chocolate chips in the microwave in 30-second increments (stirring between each heating segment) until the chocolate is melted.
- You want your chocolate to be melted but not super hot or it can melt your caramels when you dip them. If the chocolate is very hot, allow it to cool a bit before dipping your caramels.
- Dip the caramels and place them back on the parchment paper to set. Sprinkle with a little flaky salt on top if you like before the chocolate has set completely.
- These can be stored at room temperature in an airtight container for up to 2 weeks.


Ingredient notes for our vegan caramel candy recipe
Here are some notes on some of the ingredients in this recipe:
Dairy free butter
I used the Violife dairy free butter in this recipe for a more consistent texture in our caramel candies. Other brands of dairy free butter should work here as well, but Violife is the brand I tested this with. We have had success using the Country Crock plant butter sticks in our other caramel recipes (such as the caramel apple suckers recipe and our caramel apples).
Corn syrup
The corn syrup in this recipe works to help prevent the recrystallization of the sugars that can result in gritty or grainy caramel. You can use dark corn syrup for darker caramels if you like.
If you want to avoid corn syrup, you can try making our dairy-free wet method caramel that doesn’t use corn syrup. It is a slightly more complicated recipe and you’ll need to adjust the coconut milk in that recipe to make a thick enough caramel for candy. I haven’t tried making caramel candies out of that wet caramel, just caramel sauces.
Cream of tartar
The cream of tartar in this recipe helps add a little bit of acid to the recipe to help prevent the recrystallization of sugar that can result in grainy caramel when everything sets and cools.
Cream of tartar isn’t related to any kind of actual dairy cream, it is potassium bitartrate which is a byproduct of winemaking. Using a little cream of tartar along with the corn syrup in this recipe helps ensure smooth caramels for eating and gifting!
Brown sugar
Brown sugar adds a richer flavor and a darker color to these caramels since this particular recipe for dairy free caramels doesn’t get very dark with white sugar (our wet method caramel mentioned above does get darker in color, however).
If you want darker colored caramels, you can use dark brown sugar vs light brown sugar. I tested these caramels with both light and dark brown sugar and they both turned out great.


Allergy friendly chocolate
Enjoy Life and Nestle Simply Delicious are great options for covering these caramels in chocolate.
But I’ve been loving the Guittard semi-sweet chocolate lately for coating things in chocolate since it seems to have a nicer snap to it, and certain varieties of Guittard chocolate chips are made top 14 free and made in a dedicated dairy free facility.
Check out our other dairy free caramel recipes!
Easy Dairy Free Soft Brown Sugar Caramels
Ingredients
- ⅓ cup Violife dairy free butter*
- ¾ cup packed light brown sugar (use dark brown sugar for darker caramels)
- ¼ cup corn syrup**
- 2 Tablespoons coconut milk (I've been using Embē lately)
- 1 teaspoon vanilla extract
- ¼ teaspoon cream of tartar (helps prevent gritty caramel)
- Dash salt
For chocolate covered caramels
- ½ cup dairy free chocolate chips (Guittard makes a great chocolate that has some snap)
- Flaky salt (optional)
Equipment
- 1.5 quart saucepan
Instructions
- Add the dairy free butter to a small saucepan and heat over medium heat until the butter is melted.
- As soon as the butter is melted, reduce the heat to medium-low and whisk in the brown sugar, corn syrup, coconut milk, vanilla, cream of tartar, and dash of salt until smooth.
- Reduce the heat to medium-low, set a timer for 8 minutes, and cook this mixture, whisking regularly. You'll want the mixture to be bubbling like its simmering but not bubbling aggressively, cooking at too high of heat or too fast. Set a timer for 8 minutes so you don't overcook this or it will get hard.
- Once the 8 minutes are done, remove from the heat and allow the caramel to cool in the pan for about 15 to 20 minutes to thicken up. The caramel will seem runny at first but will firm up as it cools. Continue to whisk occasionally as it cools. Don't let it cool in the pan longer than 20 minutes or it will be difficult to pour out of the pan.
- While the caramel is cooling, lay out a sheet of parchment paper on a sheet pan and brush a light layer of dairy free butter on the parchment paper.
- Once the caramel has cooled and thickened, pour the caramel onto the prepared parchment paper and allow to cool completely. Complete cooling might take a couple of hours.
- Once the caramel is completely cooled, it will be firm but pliable and not very sticky. I cut mine into rectangles and then folded them into squares or rectangles before wrapping in pieces of parchment paper.
Chocolate covered caramels
- If you are covering your caramels in chocolate, you can chill your caramel squares to help keep them firm when you dip them in warm chocolate. You can also roll the caramels into balls if you want them to be small like Cocomels.
- Melt your chocolate in the microwave in 30 second increments until the chocolate is melted but still thick, so you want it at a lower temperature to leave a thicker layer of chocolate and also so it won't melt your caramels. If your chocolate gets too hot, just let it cool and thicken a bit before dipping your caramels.
- Dip your caramels and set them on parchment paper to set up. This won't take long if your caramels are chilled ahead of time.
- Store in an airtight container at room temperature for up to a week.
Video
Notes
Nutrition
Pin for later!

Sarah Jane Parker is the founder, recipe creator, and photographer behind The Fit Cookie which she founded in 2011. Sarah is based in Wyoming and has been managing food allergies for herself and her 2 children for over 20 years. Sarah was also a certified personal trainer for 12 years, as well as a group fitness instructor, health coach, running coach, and fitness nutrition specialist.
These caramels look so delicious. I want to try the recipe, but I’m wondering if I could use a different plant milk than coconut milk. Do you think almond, soy or oat milk would work?
Hi Heather! You could try using another milk besides coconut milk, but the caramels probably won’t be as thick. The coconut milk has a lot of fat in it, so it mimics dairy cream in regular caramels. So if you use a different kind of plant milk, I’m not sure how it will turn out.
Thank you!
I’m excited to try your dairy-free caramel recipe but have a couple of questions. Could I use coconut oil instead of dairy-free butter, and if so, would the measurement be the same? Also, if I wanted to add nuts or flavor extracts (like vanilla or almond), at what stage would be best to incorporate them to ensure even distribution and optimal flavor?
Hi Annie! I wouldn’t use coconut oil in place of the dairy free butter here since I haven’t tested this with coconut oil and in the past when I’m used coconut oil in caramel or toffee recipes it tends to separate quite a bit. The dairy free butter has emulsifiers and plant proteins that help to keep everything mixed, so I personally wouldn’t use coconut oil in this recipe. You could look online for a coconut oil caramel recipe specifically developed with coconut oil if you wanted to use it.
Extracts can be added with all the other ingredients as long as your flavoring isn’t a kind that will cook out. If you wanted to add nuts, I’d stir those into your caramel right before pouring onto your parchment paper.