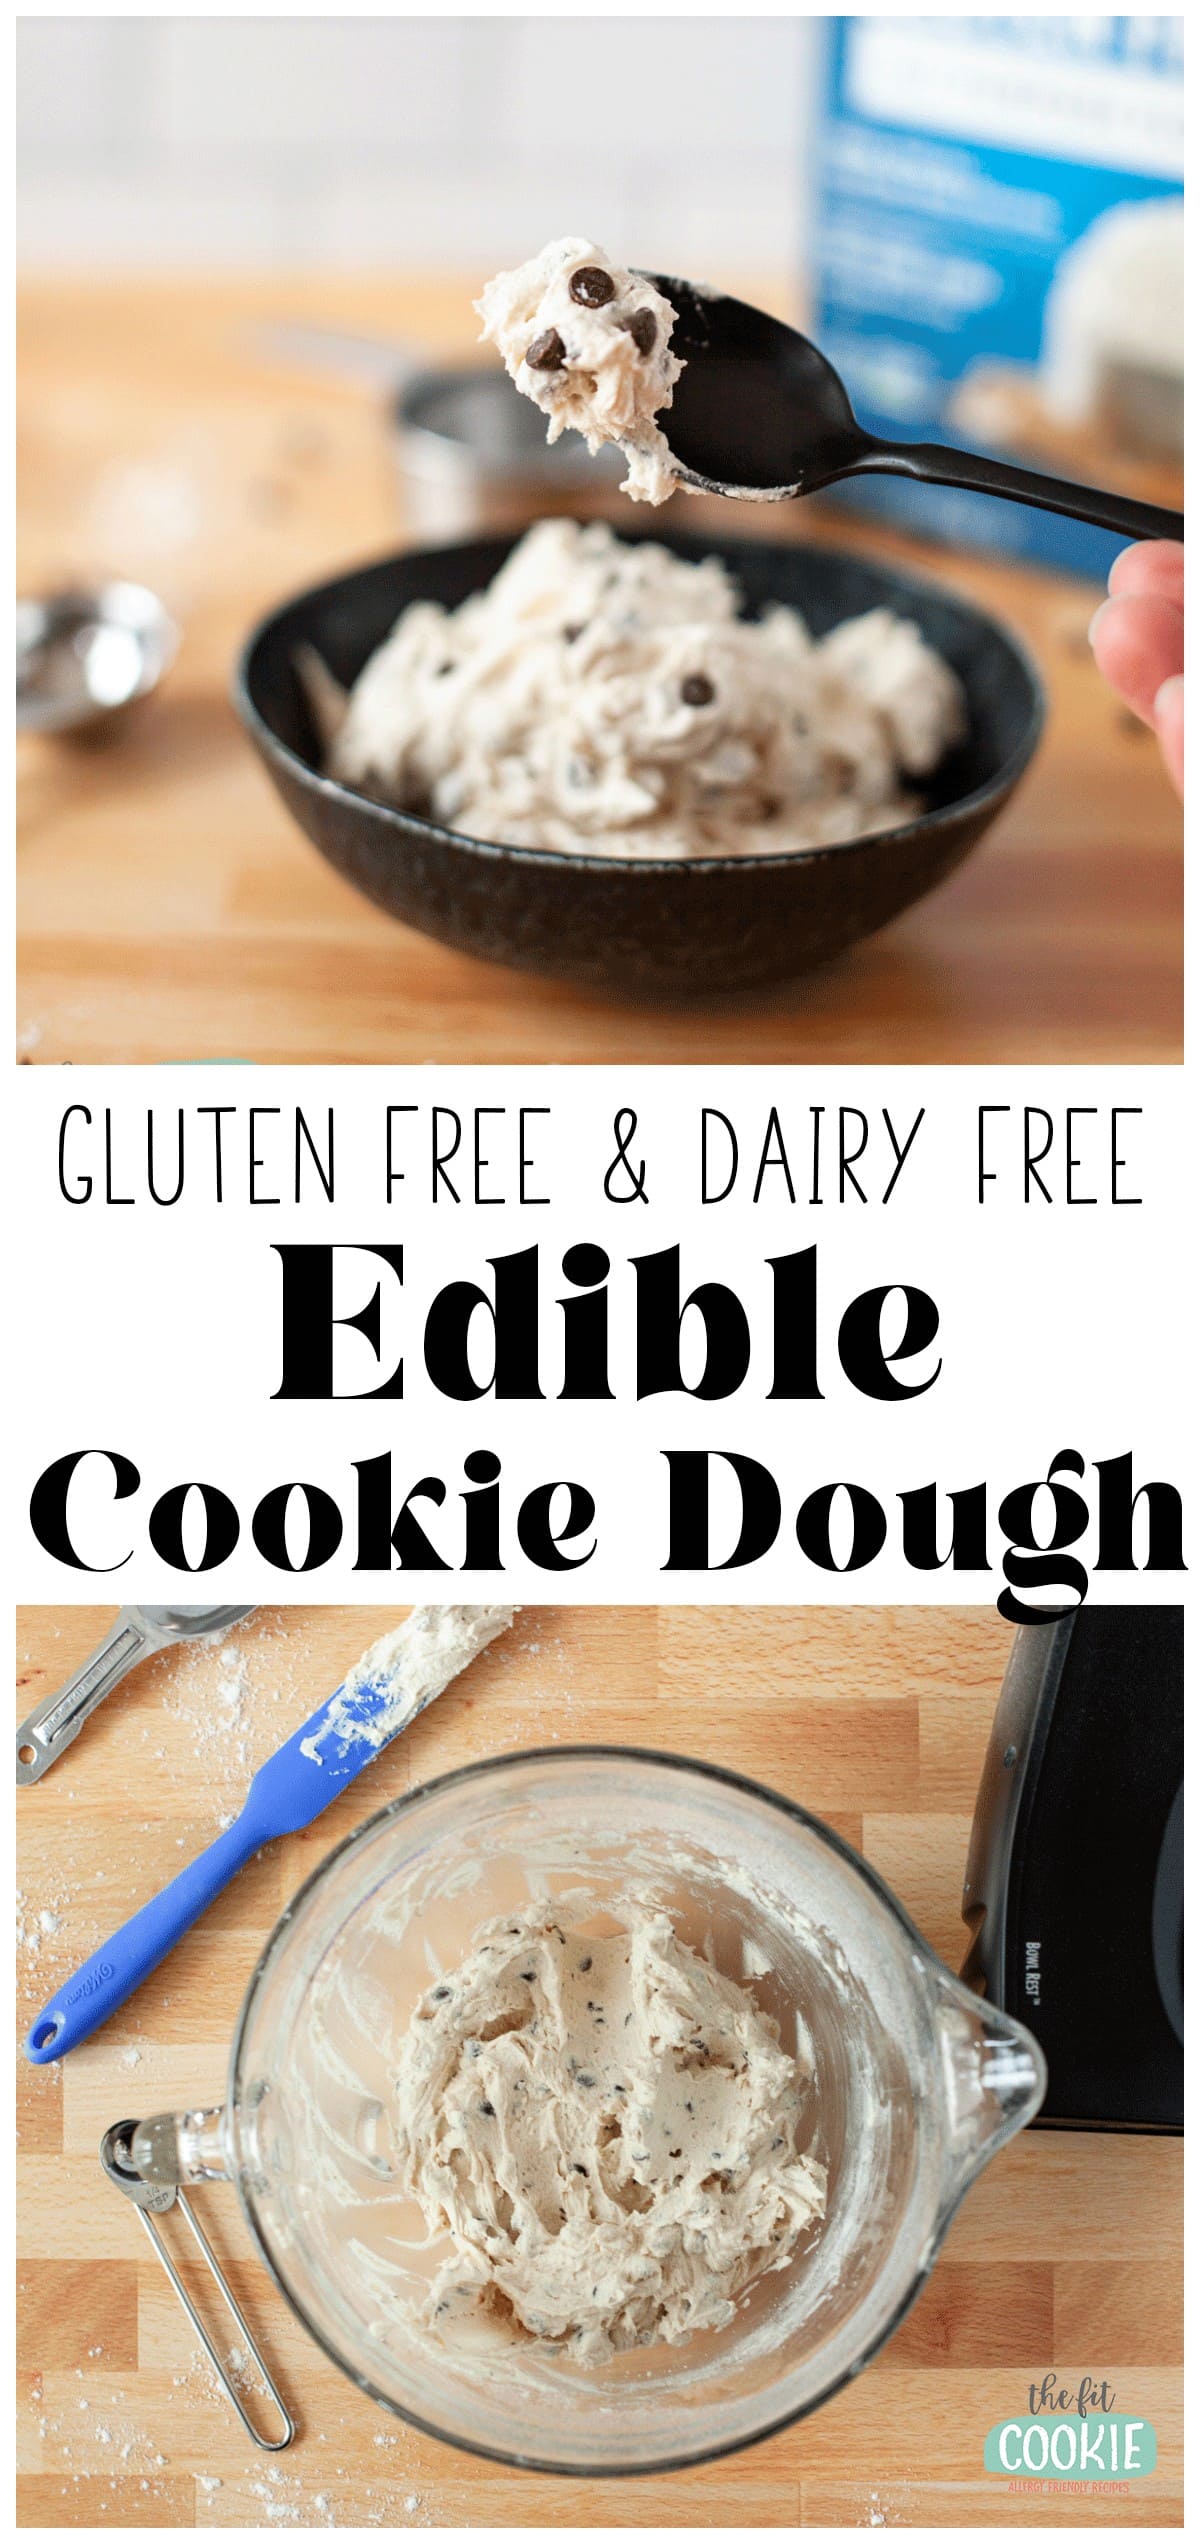
Our gluten free edible chocolate chip cookie dough is the ultimate no bake treat! It’s incredibly easy to make and our version is dairy free and safe to eat with heat treated flour and no eggs!
Everyone (or almost everyone) loves eating bites of cookie dough when they’re baking cookies, but it’s not always safe to eat raw.
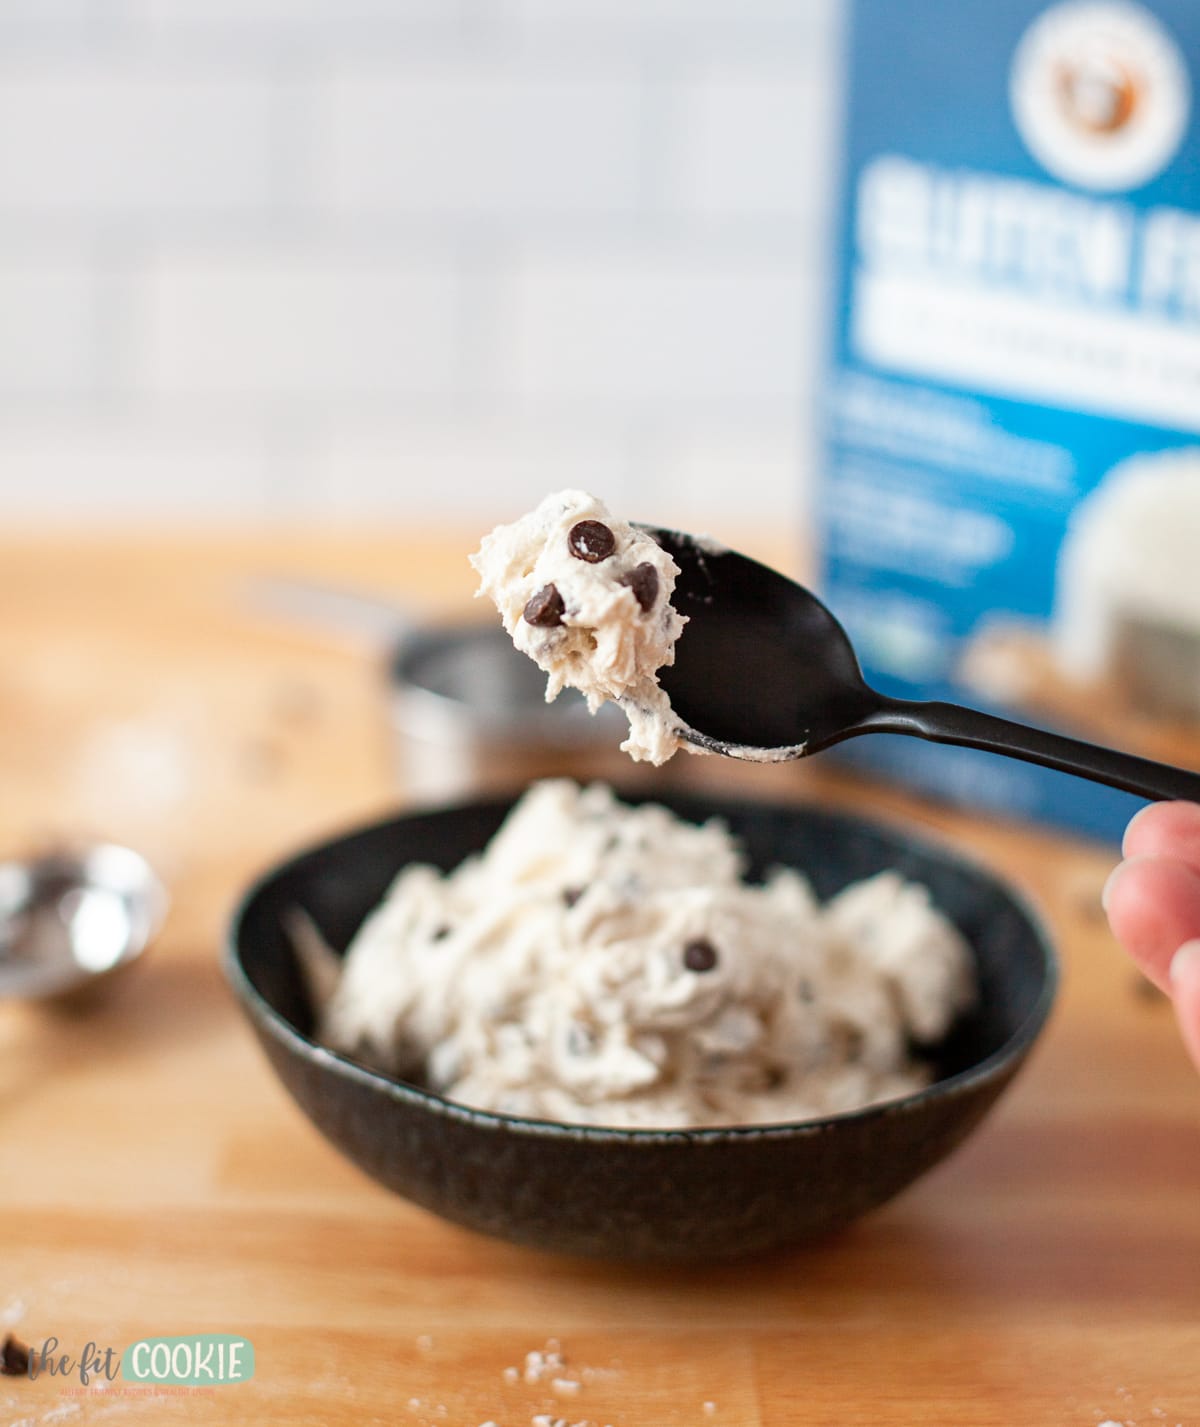
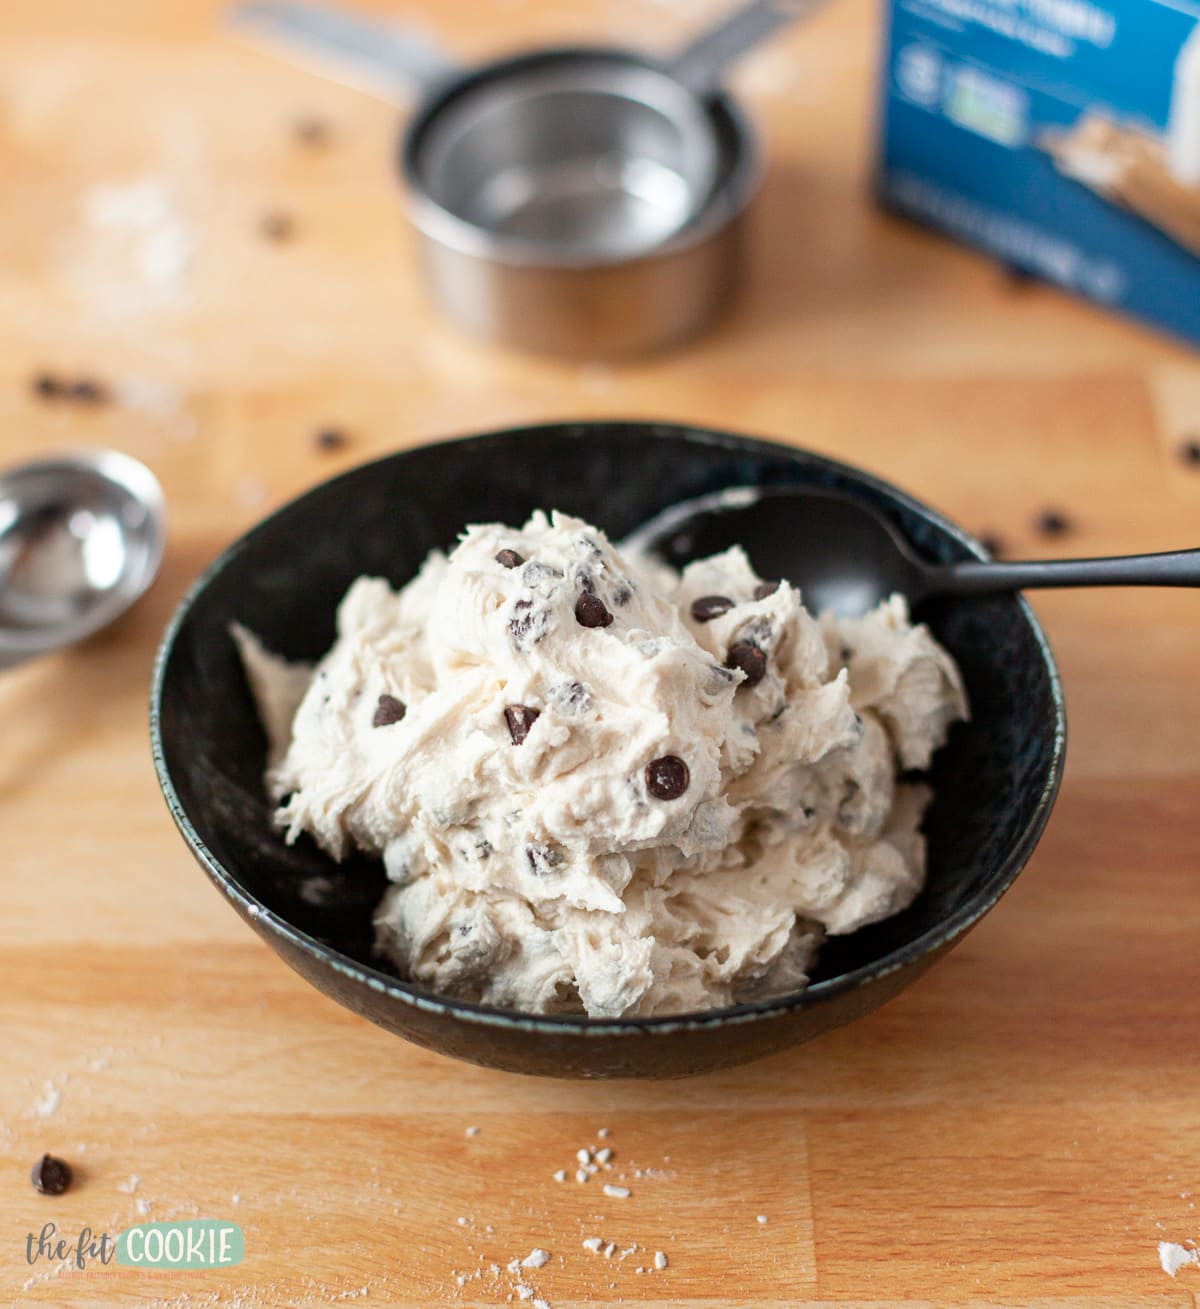
We created a delicious edible chocolate chip cookie dough that is safe to eat using heat treated flour and no eggs!
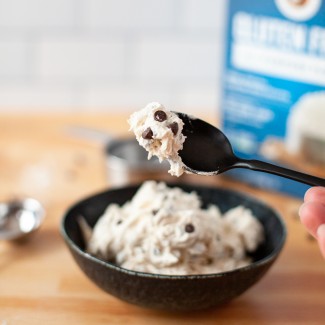
Our version of edible cookie dough is a bit different than other recipes: it’s soft and creamy cookie dough you can eat with a spoon, almost like a chocolate chip cheesecake dip, but no dairy free cream cheese required.
This edible cookie dough recipe is also:
- Dairy free
- Has no soybean oil (the Country Crock plant butter sticks do not have soybean oil in them but their tub margarine does)
- Tree nut free
- Peanut free
We have also made 2 variations of this edible chocolate chip cookie dough recipe:
- The traditional edible cookie dough version is made with refined sugars and flours.
- Our healthier cookie dough version is whole grain and is naturally sweetened.
Both versions are soft, creamy, and spoonable! Our recipe card has both versions in it so you can pick and choose which one you want to make.
How to make gluten free edible chocolate chip cookie dough
Making your own gluten free and dairy free edible cookie dough is really easy, let me show you how (don’t forget the full recipe is at the bottom of the post!):
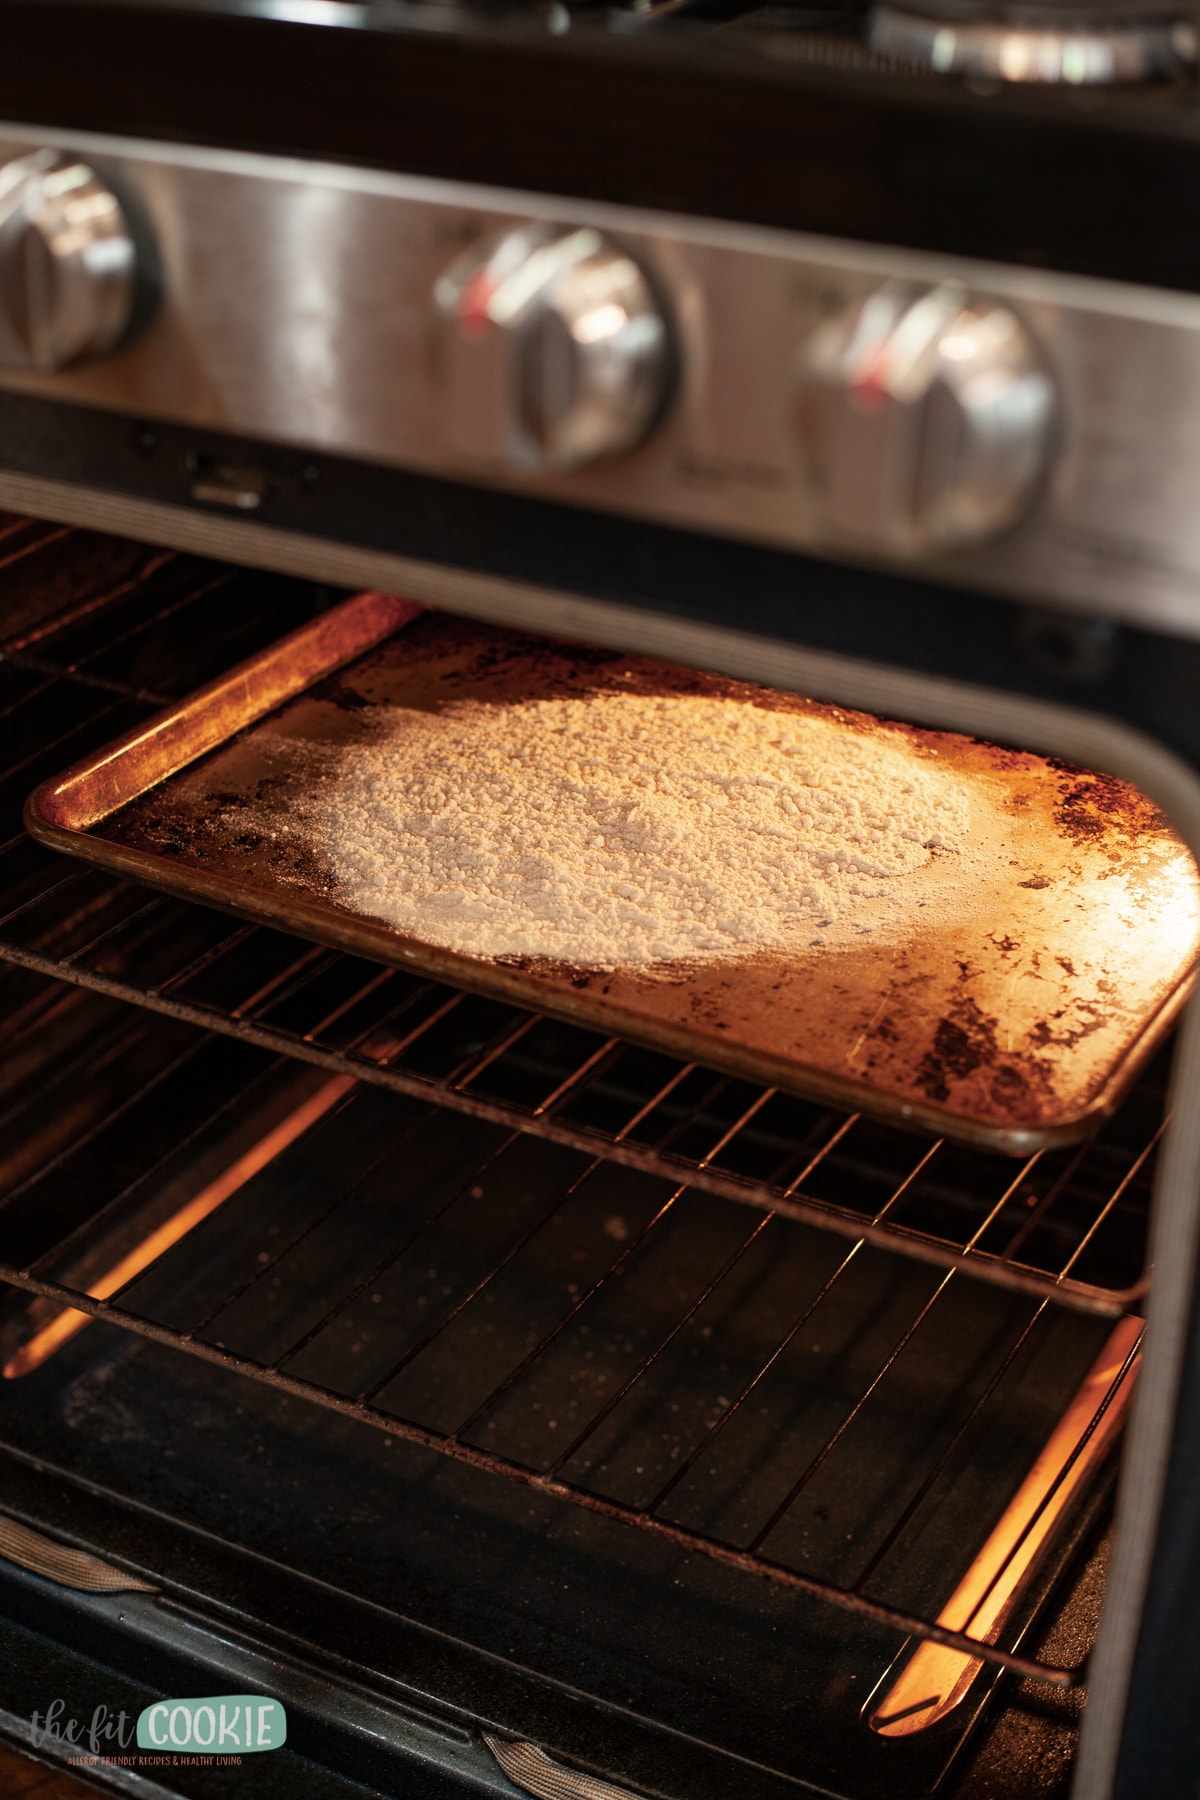
- First you need to heat treat your flour either in the oven or in the microwave (it’s easy!).
- For the oven, preheat your oven to 350º F.
- Place the gluten free flour (or whole sorghum flour if making healthier version) on a baking sheet lined with parchment paper or a silicone baking mat and bake for about 5 minutes.
- Allow the flour to cool about 5-10 minutes before using in this recipe.
- If you want to heat treat your flour in the microwave instead, put your flour in a microwaveable bowl and heat at 30 second intervals until a thermometer inserted into the flour reads 165º F (about 1 minute).
Once your flour is heat treated:
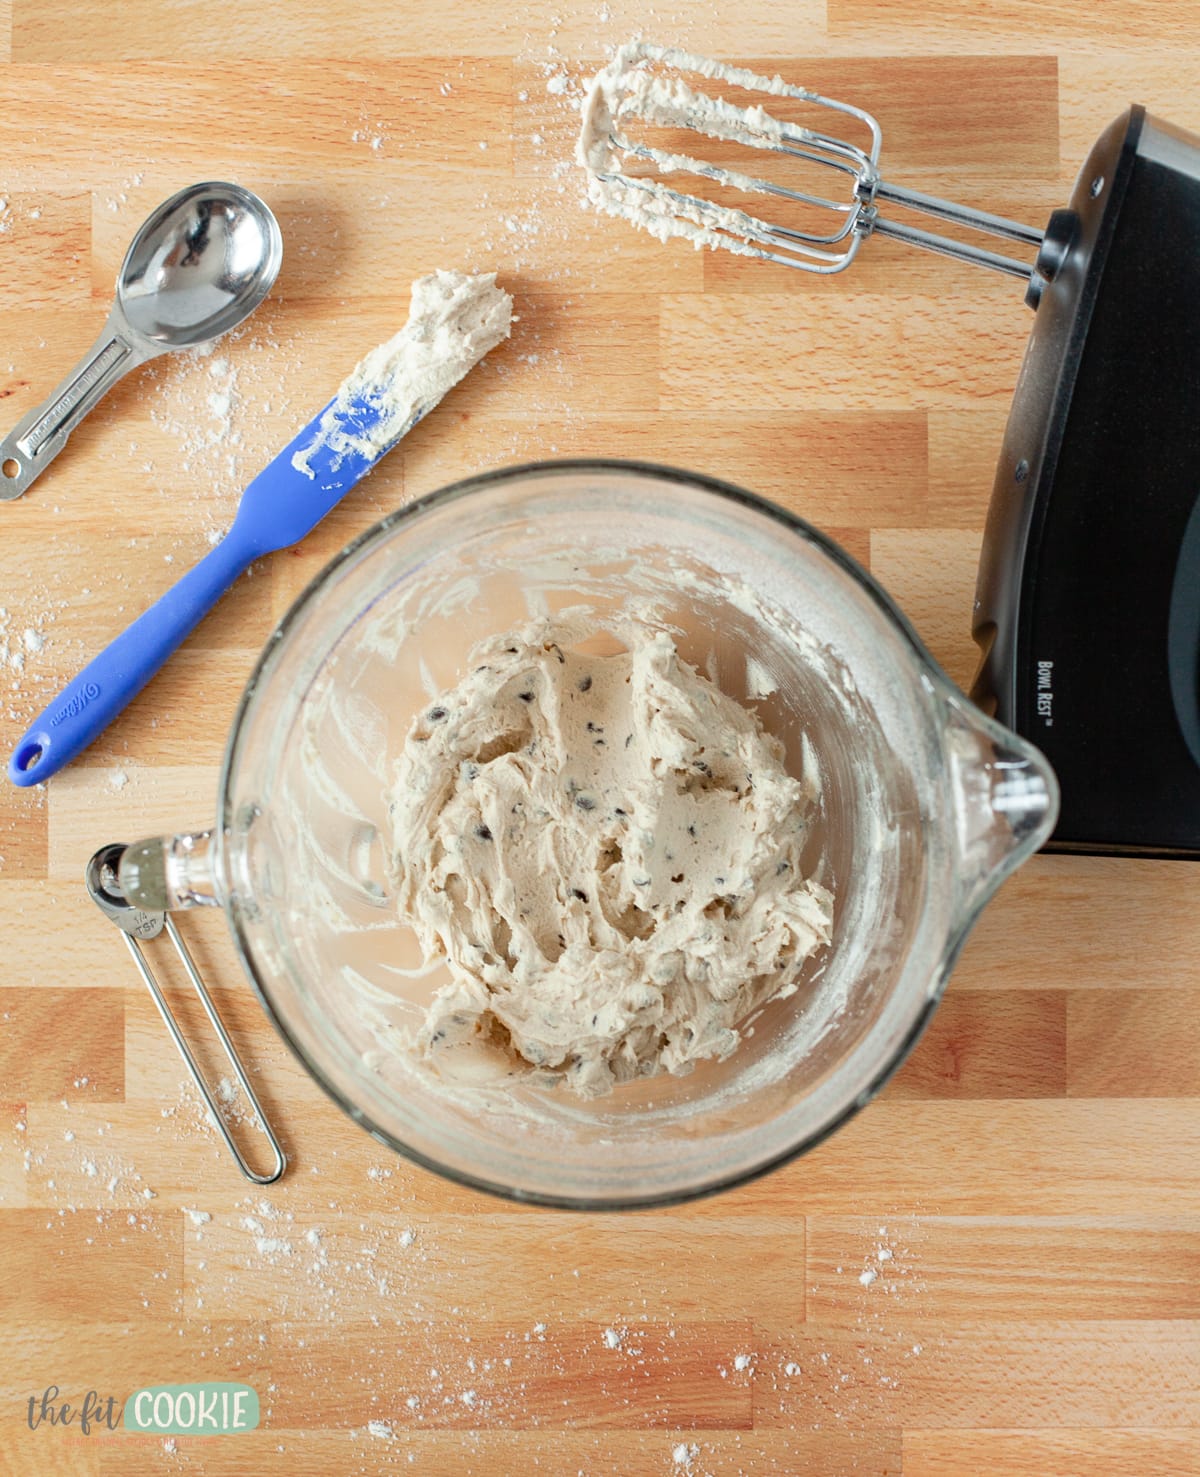
- In a large bowl, beat the butter with a hand mixer until creamy.
- Add the powdered sugar (or maple syrup for healthier version), gluten free flour, salt, vanilla, dairy free milk, and mini chocolate chips, and beat again until blended and a soft and creamy cookie dough forms.
- Store in an airtight container for 3-4 days. Store at room temperature for the best texture, or store in the fridge so it lasts longer.
What kind of gluten free flour should I use?
Since you’re not going to be baking this cookie dough, this recipe is a little more flexible with what kind of gluten free flour you can use.
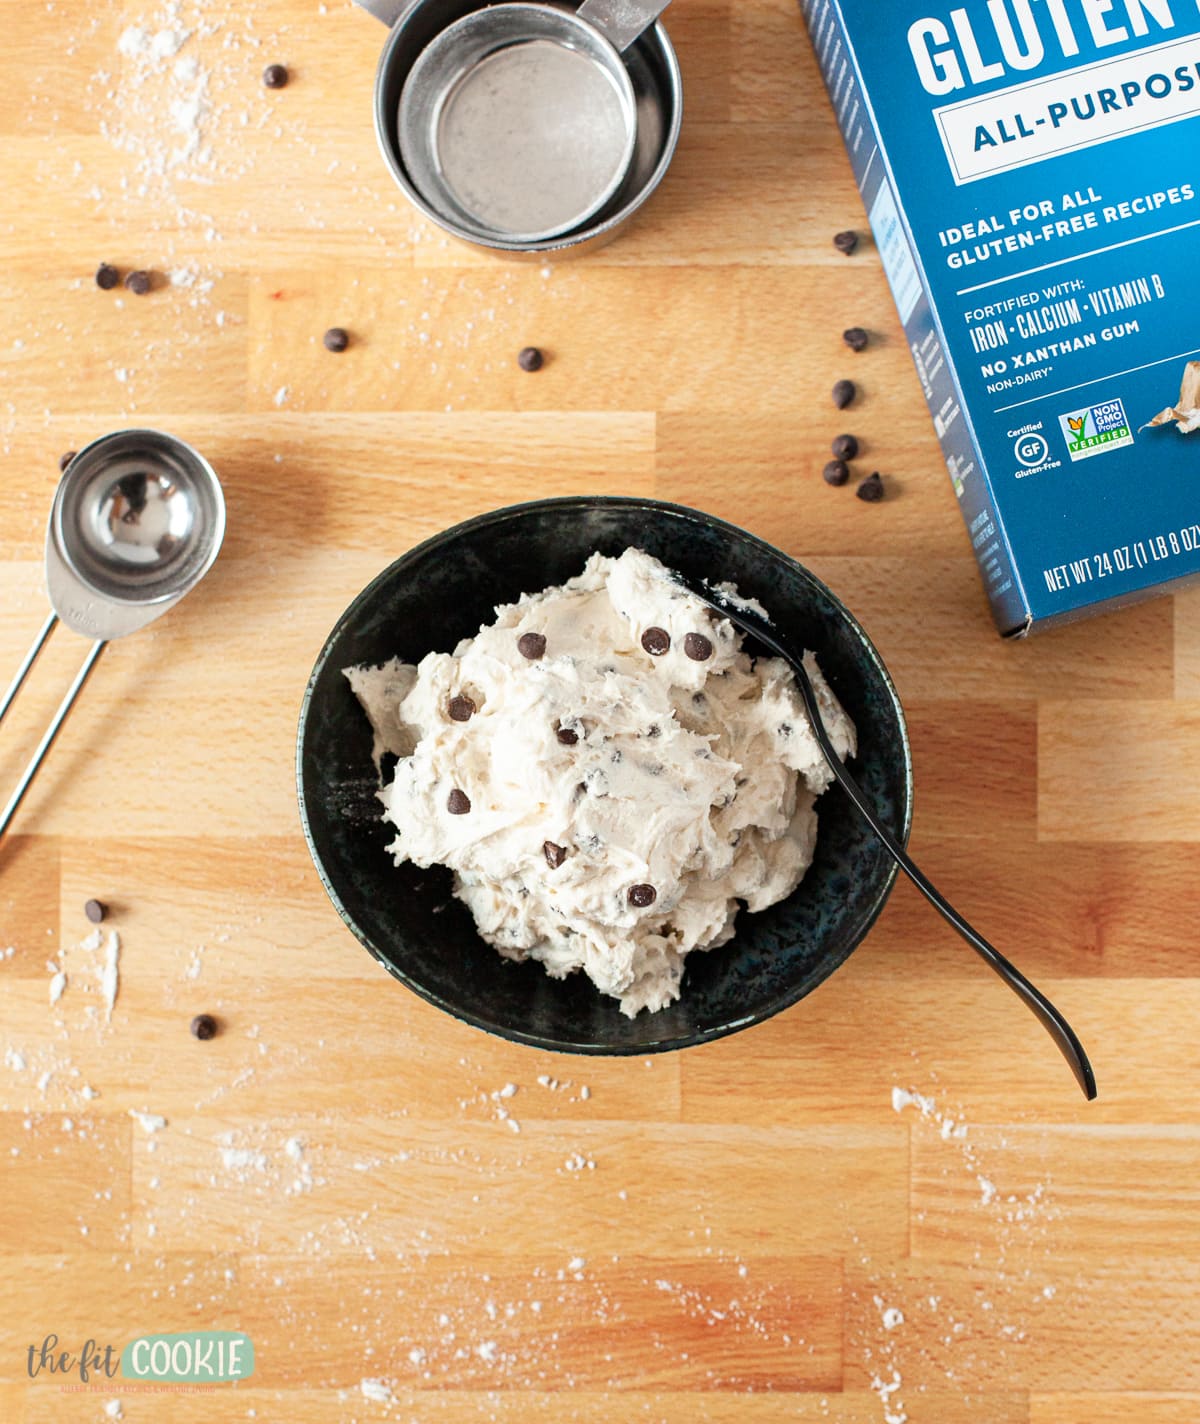
For the traditional version, you can use any kind of gluten free 1-to-1 flour, I recommend using a flour that isn’t gritty. We use the King Arthur Flour gluten free all purpose flour but the Bob’s Red Mill 1-to-1 all purpose flour should work here, too.
Note that the King Arthur all purpose gluten free flour isn’t the same thing as their all purpose gluten free baking mix, which has additional ingredients in it, like baking soda, salt, xanthan gum.
The King Arthur Flour all purpose gluten free baking mix would probably work in this recipe, but you’ll need to omit the salt if you use that since the baking mix already has it.
For the healthier cookie dough version, we used an ultrafine whole grain sorghum flour from Authentic Foods (we use this a lot). You can replace this with a finely ground brown rice flour if you want to instead of sorghum flour.
What’s the difference between cookie dough and edible cookie dough?
Regular cookie dough that you are going to bake typically has things like eggs, baking powder, and baking soda in them for holding the cookie together (the eggs) and leavening (baking powder and soda).
Edible cookie dough doesn’t have the eggs or leavening agents in them because they aren’t needed. And often edible cookie dough is made with heat treated/pasteurized flour to make it safe to eat raw.
Why you should heat treat your flour (and how to do it)
Heat treating flour is honestly something I don’t do very often (oops), but it is something you should do if you are making a flour-based treat that is meant to be eaten raw or unbaked.
The reason you should heat treat your flour before using in raw recipes or edible cookie dough is that flour can actually contain bacteria that could potentially make you sick. There have even been recalls on flour over salmonella contamination.
It is pretty rare that people actually get sick from contaminated flour (I’ve eaten so much cookie dough over the years!), but flours get handled so much between the field and the consumer. Even though manufacturing has food safety guardrails, it’s still not a bad idea to cook your flour first!
When I first heat treated my sorghum flour, I slightly overcooked it, so I looked online to check some times and temperatures since I clearly overcooked mine initially.
There are a couple of ways to heat treat your flour: in the microwave, and in the oven. I used the oven method but I’ll give you a rundown of the different methods and where to get the details on how to do it yourself.
Heat treating flour in the microwave
I didn’t really know that heat treating flour in the microwave was a thing! But it is, and it’s faster than using and oven, too.
You’re supposed to put your flour in a bowl and heat it in the microwave for 30 second increments until a thermometer inserted into the flour reads 165º degrees F.
I haven’t tried this method yet, so I have no idea how long that would take, but I assume it depends on how much flour you have in your bowl. I’ll try this out soon and report back!
Heat treating flour in the oven
If you want to toast your flour in the oven, Cooking Light suggests heating your flour on a cookie sheet for 5 minutes in a 350º F oven (their article is no longer online).
They recommend using a silicone baking mat, but if you don’t have one of those I’d use parchment paper. This is nice to have so it doesn’t stick to any possible oily spots that might be lurking in your pan (you’ll quickly discover those spots if you put your flour in an unlined cookie sheet like I did…).
When I cooked my flour, I baked it for 7 minutes and that was too long, it started to get golden brown around the edges of the pan. So I’d stick with the 5 minutes that Cooking Light recommends if you don’t want burnt flour!
Can I bake this dough to make cookies?
This cookie dough is not suitable for baking into cookies, sorry!
We made this recipe to be a creamy and less dense version of traditional cookie dough, so it spreads out a lot if you try to bake it since it’s not as thick and there’s no egg replacer in this recipe.
I tried this to see how it would bake up and ended up with pretty much lace cookies they spread so much!
If you want a great recipe for dairy free, egg free, and gluten free chocolate chip cookies that are baked, make our Best Gluten Free Chocolate Chip Cookies. They really are the best!
Can I roll this edible cookie dough balls?
Since we made our cookie dough soft, creamy, and spoonable, this recipe won’t be very easy to roll into cookie dough balls unless you add additional flour to the recipe.
If you’d like to add this cookie dough to things like ice cream or make portioned cookie dough balls, try adding an additional 2 Tablespoons to 1/4 cup of flour to the recipe to make it thicker for rolling into big or little balls.
For adding to ice cream, make sure that you chill or freeze the cookie dough balls before adding to your ice cream of they will break apart while you stir them into your ice cream.
Why doesn’t this recipe have brown sugar in it?
One of the things I love about chocolate chip cookies is that they usually have that lovely rich taste from the brown sugar in it. But we didn’t include brown sugar in this recipe since it made the cookie dough rather gritty.
You’ll notice our cookie dough is more light/white in color because it doesn’t have the brown sugar in it, but the taste is still awesome.
If you’d like to have that nice brown sugar taste, you can replace some of the powdered sugar in the traditional recipe with some brown sugar, but be aware that the final result will be more gritty.
The healthier version has maple syrup in it so it has that natural slight brown color and caramel-y taste, so you won’t miss the brown sugar in the healthier version!
Check out our other gluten free and dairy free cookie recipes:
- Best Gluten Free Chocolate Chip Cookies
- Chocolate White Chocolate Chip Cookies
- Gluten Free SunButter Blossom Cookies
- Gluten Free No Chill Sugar Cookies
Gluten Free Edible Chocolate Chip Cookie Dough
Ingredients
Regular GF Version:
- ¼ cup dairy free butter, softened (we use Country Crock Plant Butter sticks*)
- ½ cup powdered sugar
- ½ cup + 3 to 4 Tablespoons gluten free all-purpose baking mix (we use King Arthur gluten free all-purpose baking mix)
- ¼ teaspoon salt
- 1 teaspoon vanilla extract
- 1 Tablespoon oat or rice milk (or other dairy free milk)
- ¼ cup mini allergy friendly chocolate chips
Healthier Version:
- ¼ cup softened dairy free butter (or soft coconut oil or sustainable palm oil)
- ⅓ cup pure maple syrup
- Liquid vanilla Stevia drops, to taste (we used about 1/4 teaspoon)
- 1 cup Authentic Foods superfine sorghum flour (or ultra fine brown rice flour)
- ¼ teaspoon salt
- 1 teaspoon vanilla extract
- ⅓ cup to 1/2 cup mini allergy friendly chocolate chips
Instructions
Heat treating your flour:
- Preheat oven to 350º F.
- Place the gluten free flour (or whole sorghum flour if making healthier version) on a baking sheet lined with parchment paper or a silicone baking mat and bake for about 5 minutes.
- Allow the flour to cool about 5-10 minutes before using in this recipe.
- If you want to heat treat your flour in the microwave instead, put your flour in a microwaveable bowl and heat at 30 second intervals until a thermometer inserted into the flour reads 165º F (about 1 minute).
Cookie dough (both versions use the same instructions):
- In a large bowl, beat the butter with a hand mixer until creamy.
- Add the powdered sugar (or maple syrup for healthier version), gluten free flour, salt, vanilla, dairy free milk, and mini chocolate chips, and beat again until blended and a soft and creamy cookie dough forms.
- Store in an airtight container for 3-4 days. Store at room temperature for the best texture, or store in the fridge so it lasts longer.
- This has the best texture when eaten at room temperature, but it will last longer if you store it in the fridge. So I recommend storing it in the fridge, but removing it from the fridge 15-20 minutes before eating your serving to let it warm up to room temperature for the best texture.
Notes
Nutrition

Sarah Jane Parker is the founder, recipe creator, and photographer behind The Fit Cookie which she founded in 2011. Sarah is based in Wyoming and has been managing food allergies for herself and her 2 children for over 20 years. Sarah was also a certified personal trainer for 12 years, as well as a group fitness instructor, health coach, running coach, and fitness nutrition specialist.