Summer is the perfect time for cool, creamy, and fruity peach ice cream! Our Dairy Free Roasted Peach Ice Cream is made with fresh seasonal peaches that are roasted to bring out their flavor. Our peach ice cream is so delicious, naturally sweetened, and made dairy free and gluten free.
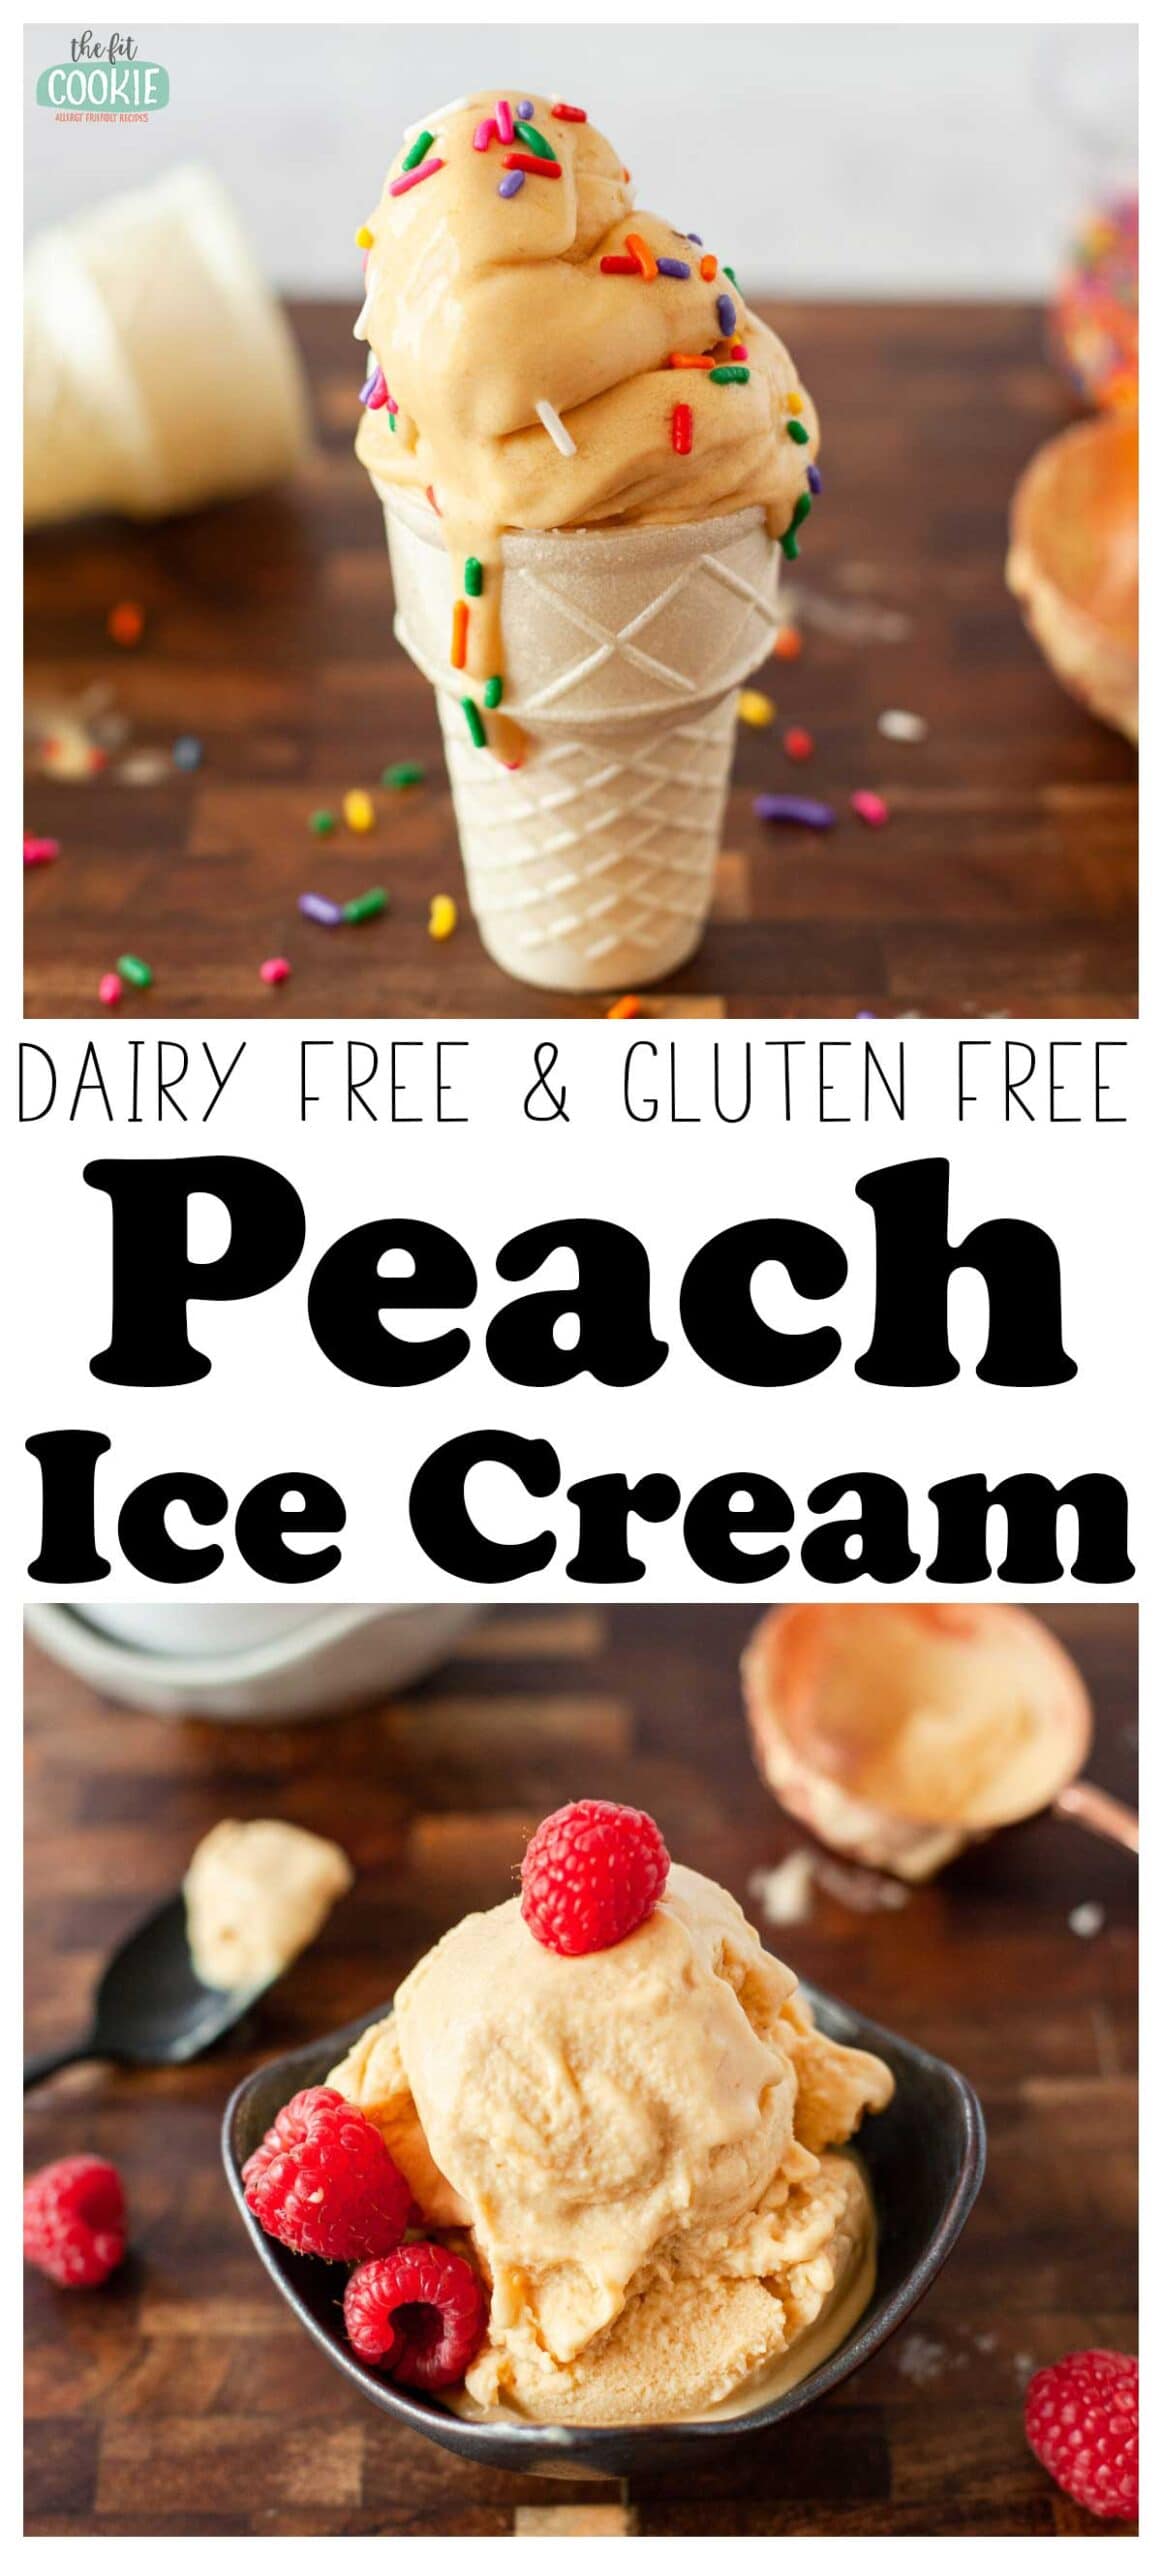
Raasted peach ice cream has the perfect fruity flavors for summer! It’s cool, creamy, and fruity, and is packed with delicious flavor when you use fresh and seasonal peaches.
We’ve made this recipe about 3 or 4 times in our house, playing with the ingredients a little each time. This recipe is pretty simple and made with natural ingredients, but is so delicious and has a lot of flavor!
Our roasted peach ice cream is:
- Dairy free
- Gluten free
- Naturally sweetened
- Tree nut free (except for coconut)
- Peanut free
- Paleo (if you leave out the vodka)
How to make dairy free roasted peach ice cream
Since the peaches are roasted in this recipe, there are a few extra steps, but it’s still a simple recipe (and so amazing!).
Here are the steps to make this peach ice cream recipe (the full recipe card is at the end of the post):

- Shake and chill your canned coconut milk ahead of time (this is optional but makes things faster).
- Preheat your oven to 400 degrees F.
- Line a cookie sheet with parchment paper. Pit the peaches and cut them into quarters and place them on the cookie sheet. You’ll need about 3-4 medium to large fresh peaches.
- Cook the peaches for 15 minutes.
- Cool the peaches for about 10 minutes, then peel the skin off the peaches. This will be really easy if the peaches were ripe to start with. Just use your fingers to remove the skin, it will slip right off the peaches.
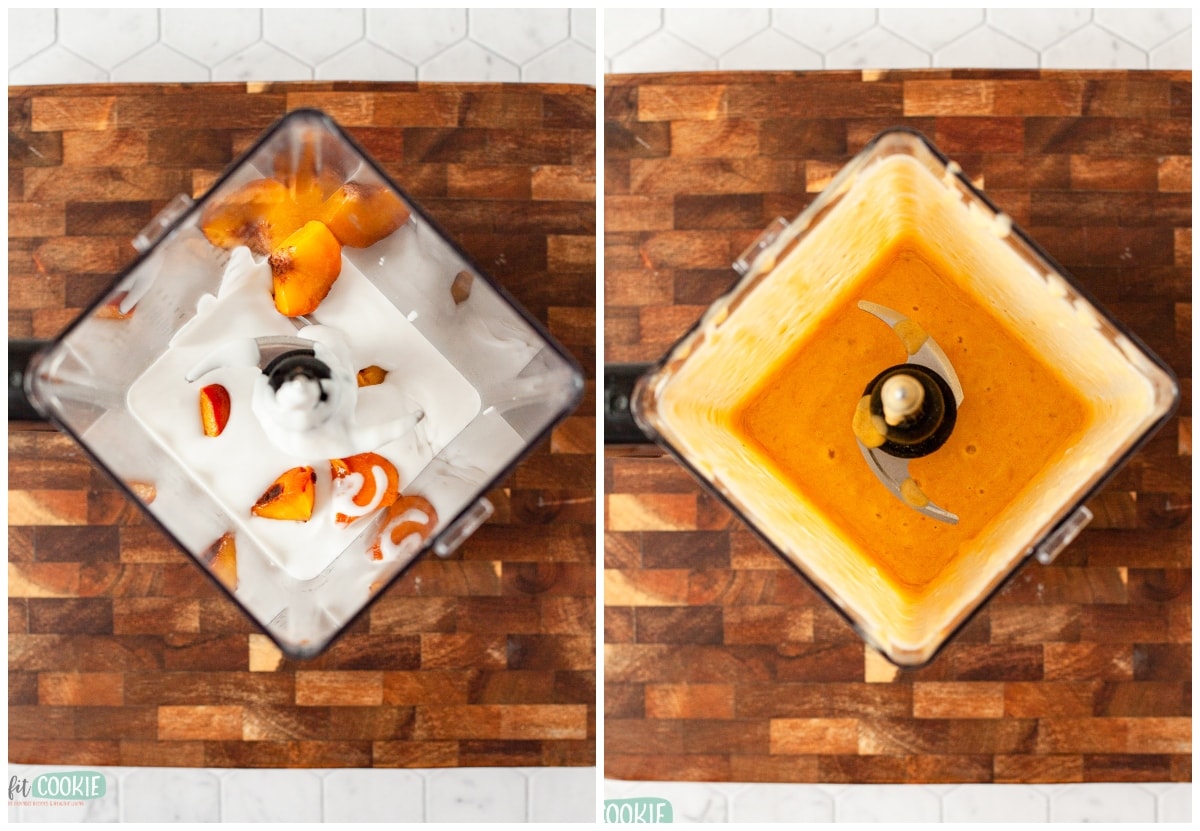
- Cut the peeled peaches and measure out 1-1/2 cups of cut peaches into a blender and add the canned coconut milk, maple syrup, dash salt, and vanilla.
- Blend until smooth (this is also where it’s important to use ripe peaches, if they are hard peaches, they will not blend up as smooth, even after roasting).
- Turn on your ice cream maker, then pour the peach mixture into your ice cream maker.
- Churn for about 20-30 minutes.
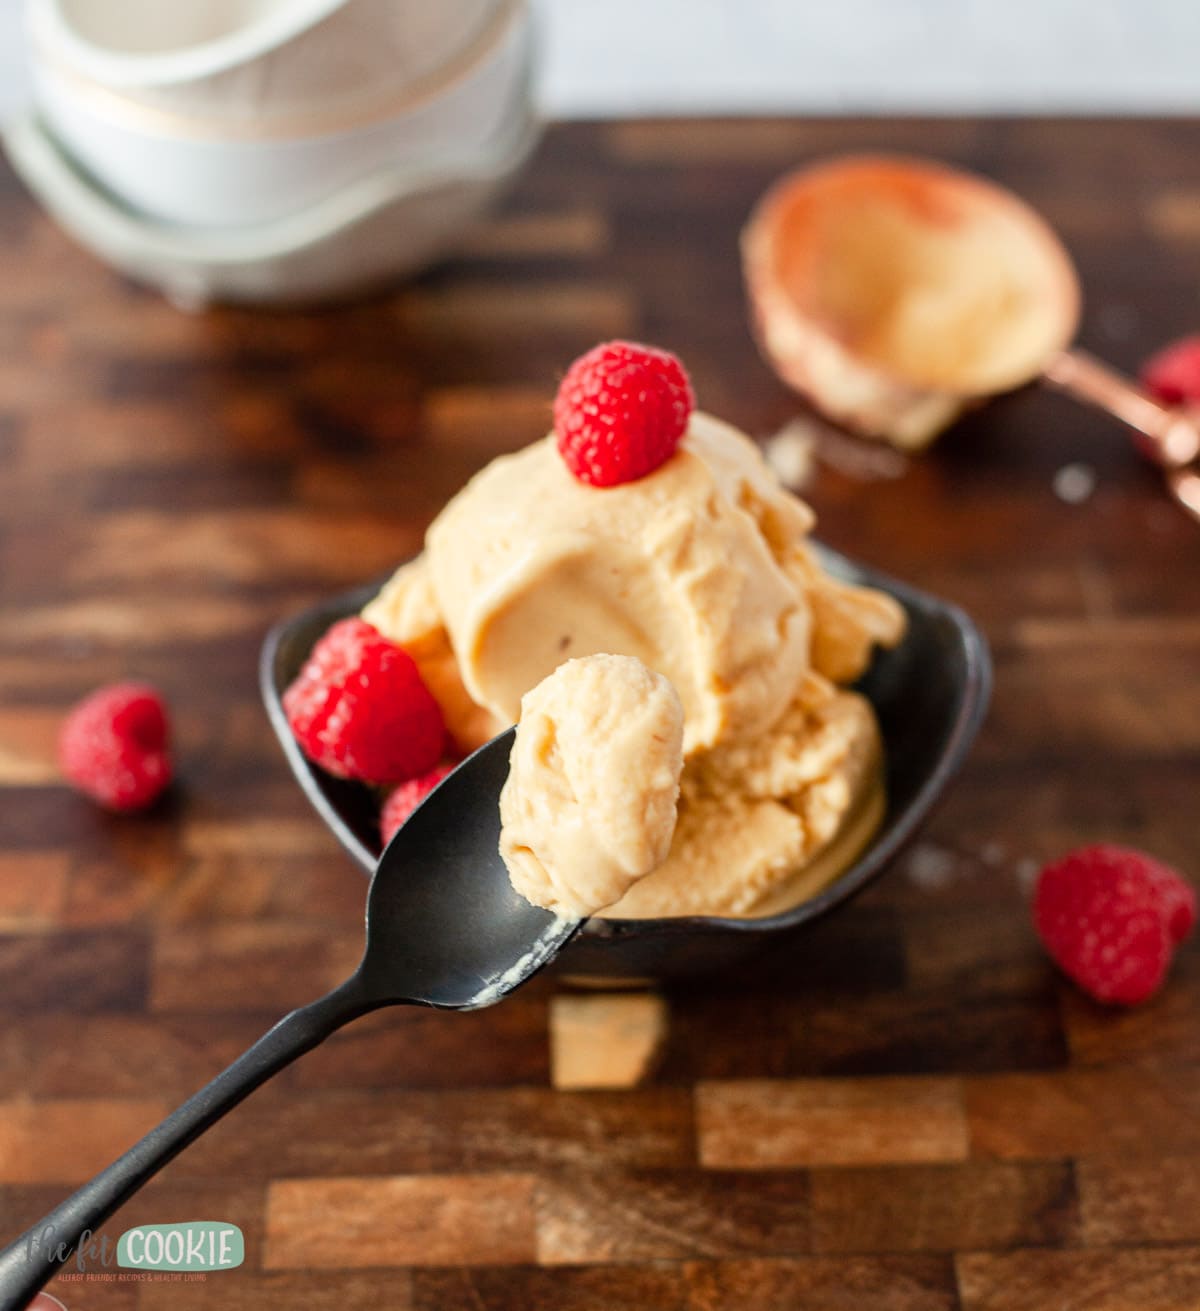
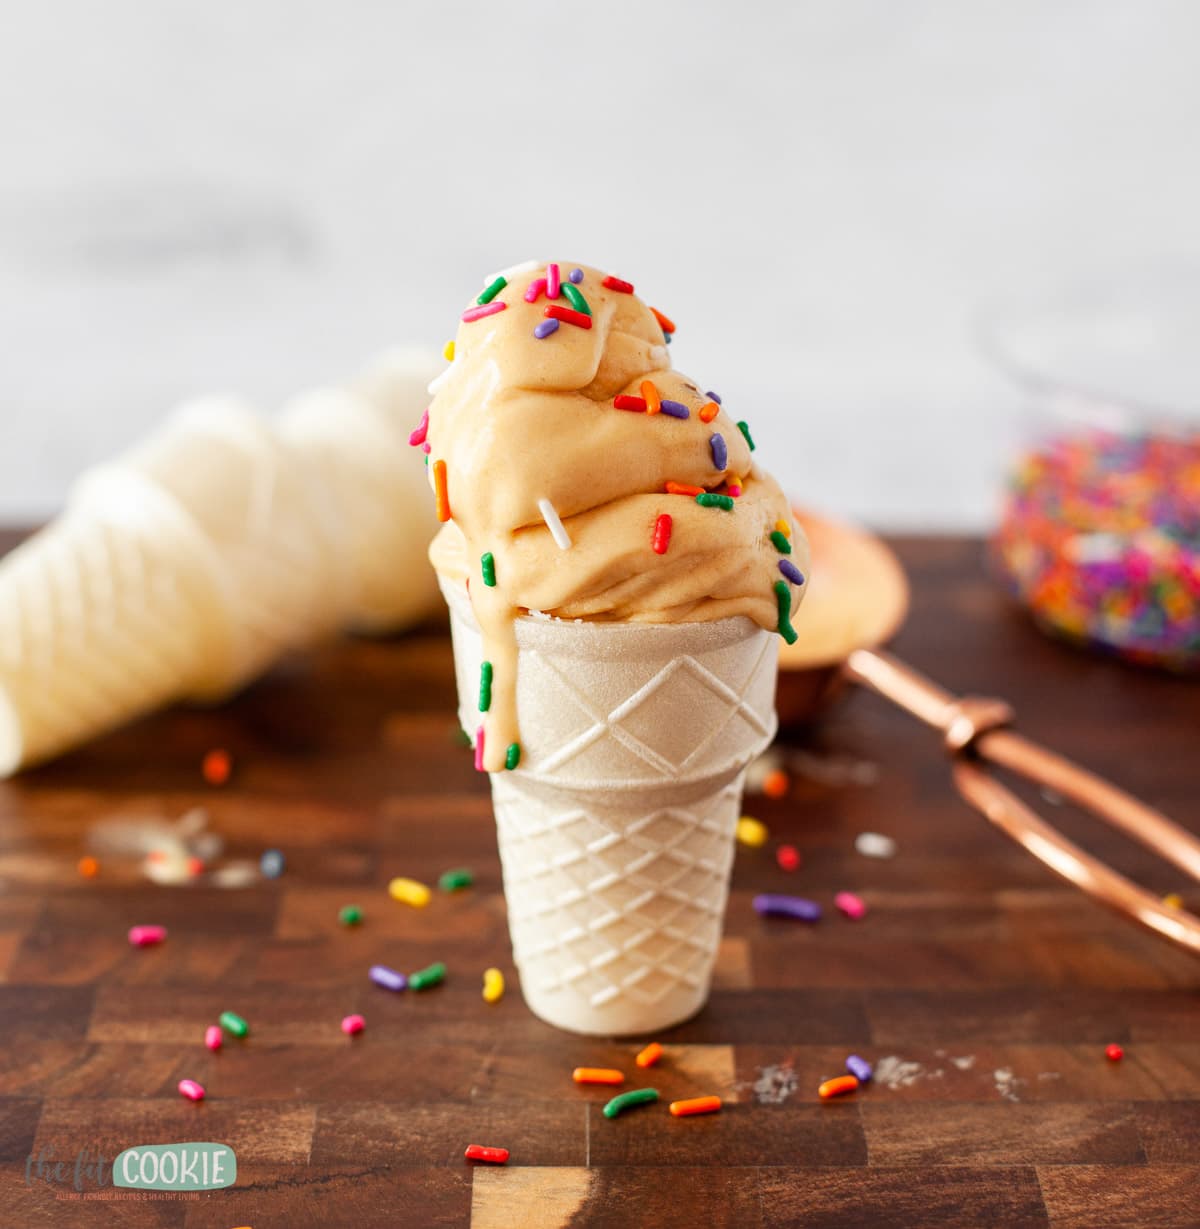
- Scoop and serve!
- If you don’t plan on eating all of it right away, mix in the little bit of vodka at the very end of churning to help keep your ice cream from freezing too hard in the freezer.
Can I skip roasting the peaches?
You can skip roasting the peaches if you are short on time, but I find that roasting the peaches brings out so much flavor in them! I highly recommend roasting the peaches to deepen the peach flavor in the ice cream.
If you opt to skip roasting the peaches, make sure that the peaches you are using are soft enough and ripe (but not over ripe or starting to get that fermented taste). You want them nicely ripe so they blend up smooth.
If your peaches are underripe, your ice cream won’t blend as smooth, even if you roast them. So whether you roast your peaches or not, opt for ripe peaches that are soft.

Why I use an ice cream maker (and the new one we’re using)
If you can, I highly recommend using an actual ice cream maker vs. just freezing this in a container and scooping it out once it’s slightly thawed. There are a lot of no churn recipes out there, but if you love homemade ice cream and make it regularly, invest in one of these!
Churning your ice cream helps to make it creamier and smoother for a much better ice cream texture! Especially if you’re making dairy free ice cream or using fruit in the ice cream as well, using an ice cream maker keeps the ice cream from forming big ice crystals.

Even the kind of ice cream maker has an impact. Normally I use my older Hamilton Beach ice cream maker, but for my birthday my kids bought me a Cuisinart soft serve maker and this made a huge difference in the quality of our homemade ice cream.
I found that using this new ice cream maker, I didn’t even need to add the little bit of vodka to keep the ice cream soft before putting leftover ice cream into the freezer!
The Cuisinart container stays frozen longer than the Hamilton Beach one I used to use (typically my HB container would almost completely thaw before the ice cream was even done). The Cuisinart also has a double churner/paddle that makes the ice cream extra smooth and creamy.
The soft serve part of the machine works pretty good, a little slower than a regular soft serve machine. But we can still use the machine without the soft serve dispenser when we want, so that’s awesome. My kids love the soft serve part of the machine!
I’m not sure if the other Cuisinart ice cream machines use the same double-churner that the soft serve machine uses, so if you want a plain machine, they have others you can get instead. But the double paddle is pretty awesome, it makes a big difference in texture!
I’m going to try and make a video of our soft serve machine and how it works. Once I have it made and uploaded to YouTube, I’ll link it here!
You can use the Let’s Do Gluten Free ice cream cones to serve the soft serve peach ice cream in gluten free cones. Click here to see the ingredient label for these cones.

Check out our other dairy free ice cream recipes!
- Gluten Free Dairy Free Chocolate Oreo Ice Cream
- Dairy Free and Gluten Free S’mores Ice Cream
- Roasted Peach Ice Cream (Paleo)
- 40+ Gluten Free and Dairy Free Ice Cream Recipes
- Dairy Free Caramel Cookie Dough Ice Cream Sandwiches
- Strawberry Ice Cream (Paleo)
- Peppermint Chocolate Chip Nice Cream

Dairy Free Roasted Peach Ice Cream
Ingredients
- 3 to 4 large ripe peaches
- 1 ½ cups canned coconut milk
- ¼ cup + 2 Tablespoons pure maple syrup
- 1 teaspoon vanilla extract
- Dash salt
- 2 teaspoons vodka* (optional, this helps the ice cream not to freeze too hard)
Instructions
- Preheat your oven to 400 degrees F. Line a baking sheet with parchment paper and set aside.
- Cut and quarter your peaches, then place them on the cookie sheet and bake them in the oven for 15 minutes. If your peaches are quite firm, they may need to roast for 20-25 minutes to soften them.
- Allow the peaches to cool for about 10-15 minutes, then peel the skin off (it's easy if they are ripe!), and cut them into smaller pieces. You'll need 1-1/2 cups of chopped peaches for the ice cream.
- Make sure the peaches are completely cooled before moving on to the next step.
- In a blender, add 1-1/2 cups of roasted and chopped peaches, the coconut milk, maple syrup, vanilla, and salt.
- Puree until smooth, then pour into your ice cream maker. Optionally you can chill this for 1-2 hours before churning to speed up the churning process. If you're using a freezer canister type like we have, turn on your ice cream maker before adding the peach mixture.
- Churn until the ice cream is mostly frozen and is soft serve consistency. This can take about 20-30 minutes. It doesn't take as long if your ingredients are chilled ahead of time.
- Towards the end of the churning (about the last 5-10 minutes), you can add the vodka if you're using it. If your churn doesn't mix it in well, you can mix it in by hand once it's done churning to make sure it is fully mixed in.
- You can serve this soft out of the container, or scoop it into a freezer proof container and freeze completely.
- Store in the freezer for up to 7 days, if it lasts that long!
Notes
Nutrition

Sarah Jane Parker is the founder, recipe creator, and photographer behind The Fit Cookie which she founded in 2011. Sarah is based in Wyoming and has been managing food allergies for herself and her 2 children for over 20 years. Sarah was also a certified personal trainer for 12 years, as well as a group fitness instructor, health coach, running coach, and fitness nutrition specialist.