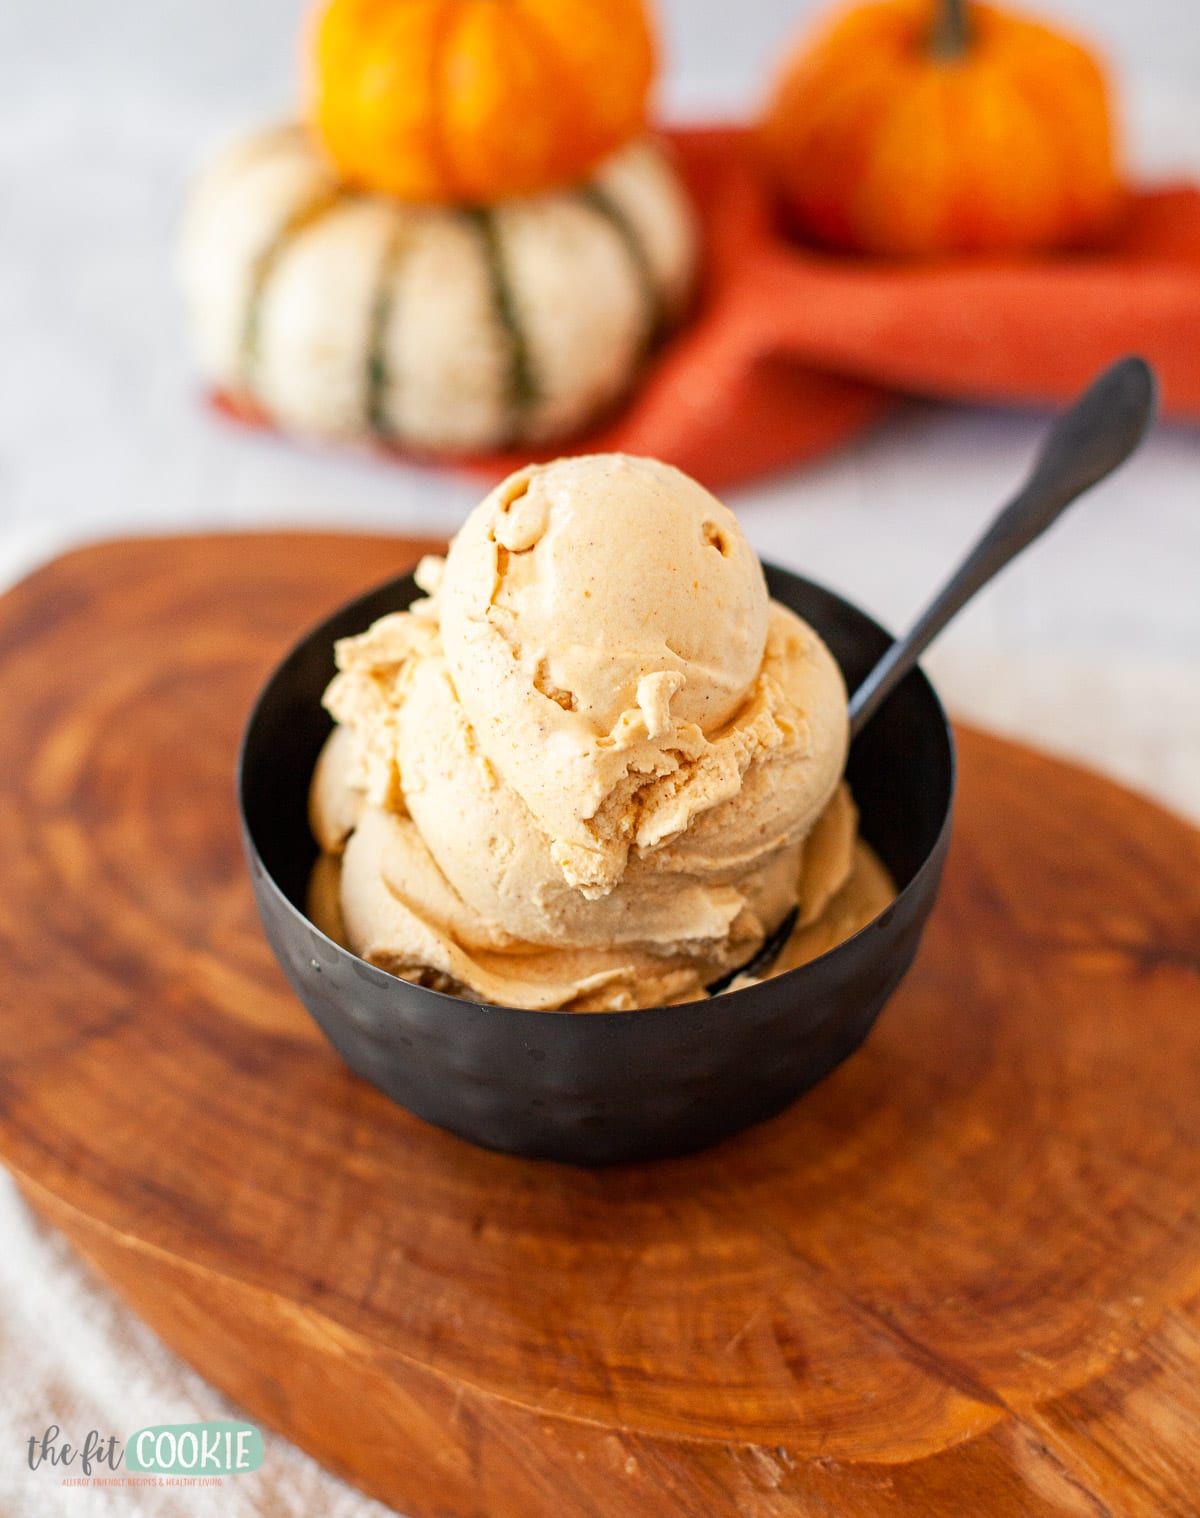
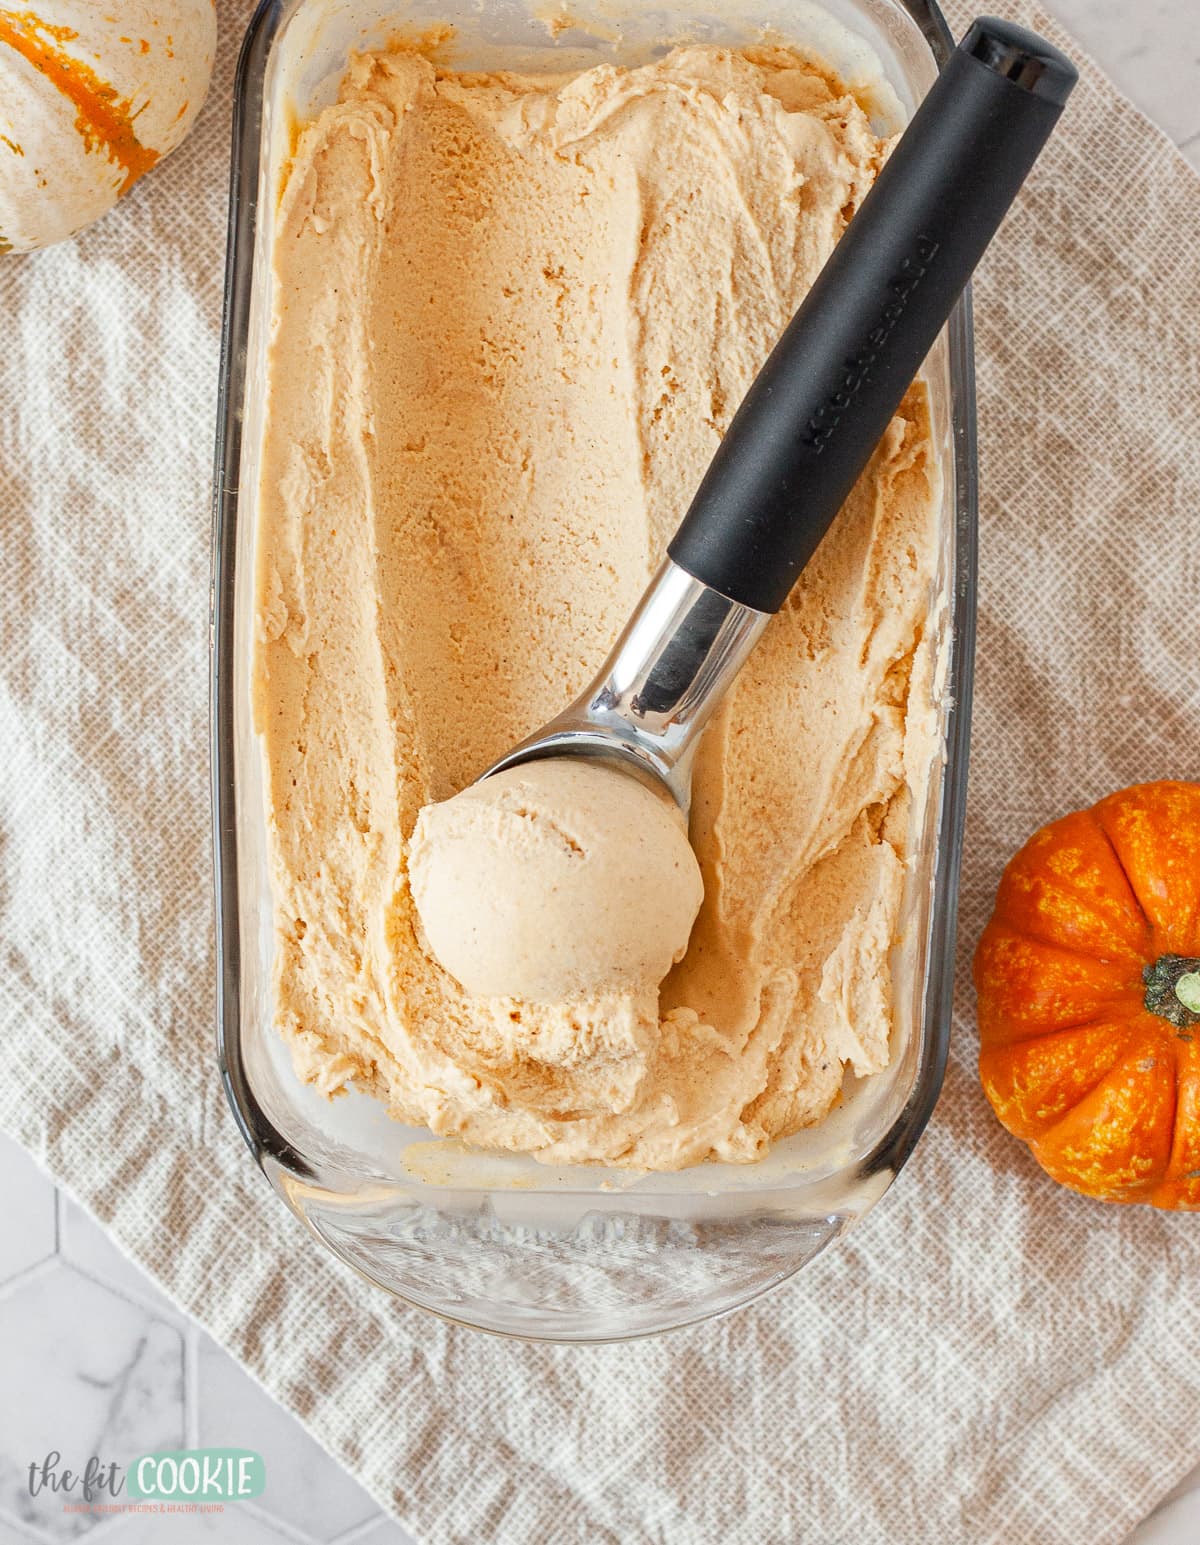
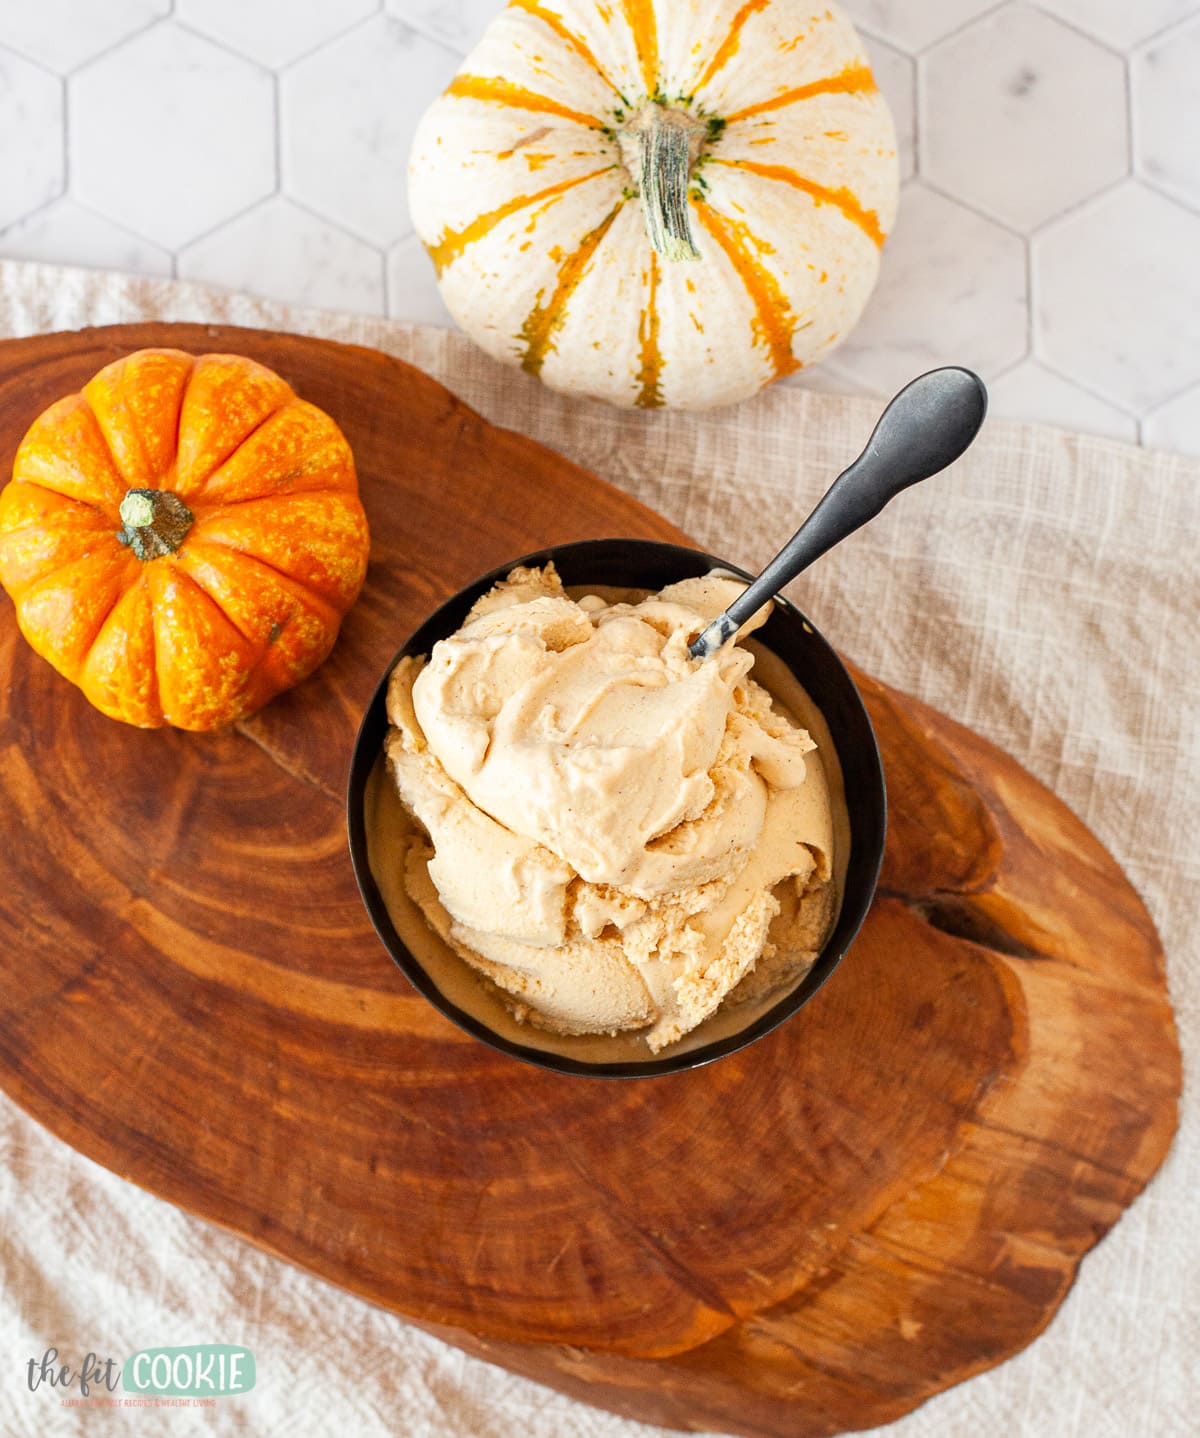
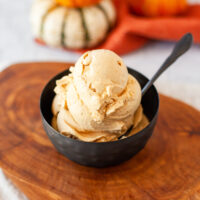
When it’s pumpkin season but you still want a cool treat, make some Dairy Free Pumpkin Ice Cream! Our recipe is creamy and smooth and delicious, your friends will never guess it’s allergy friendly and paleo.
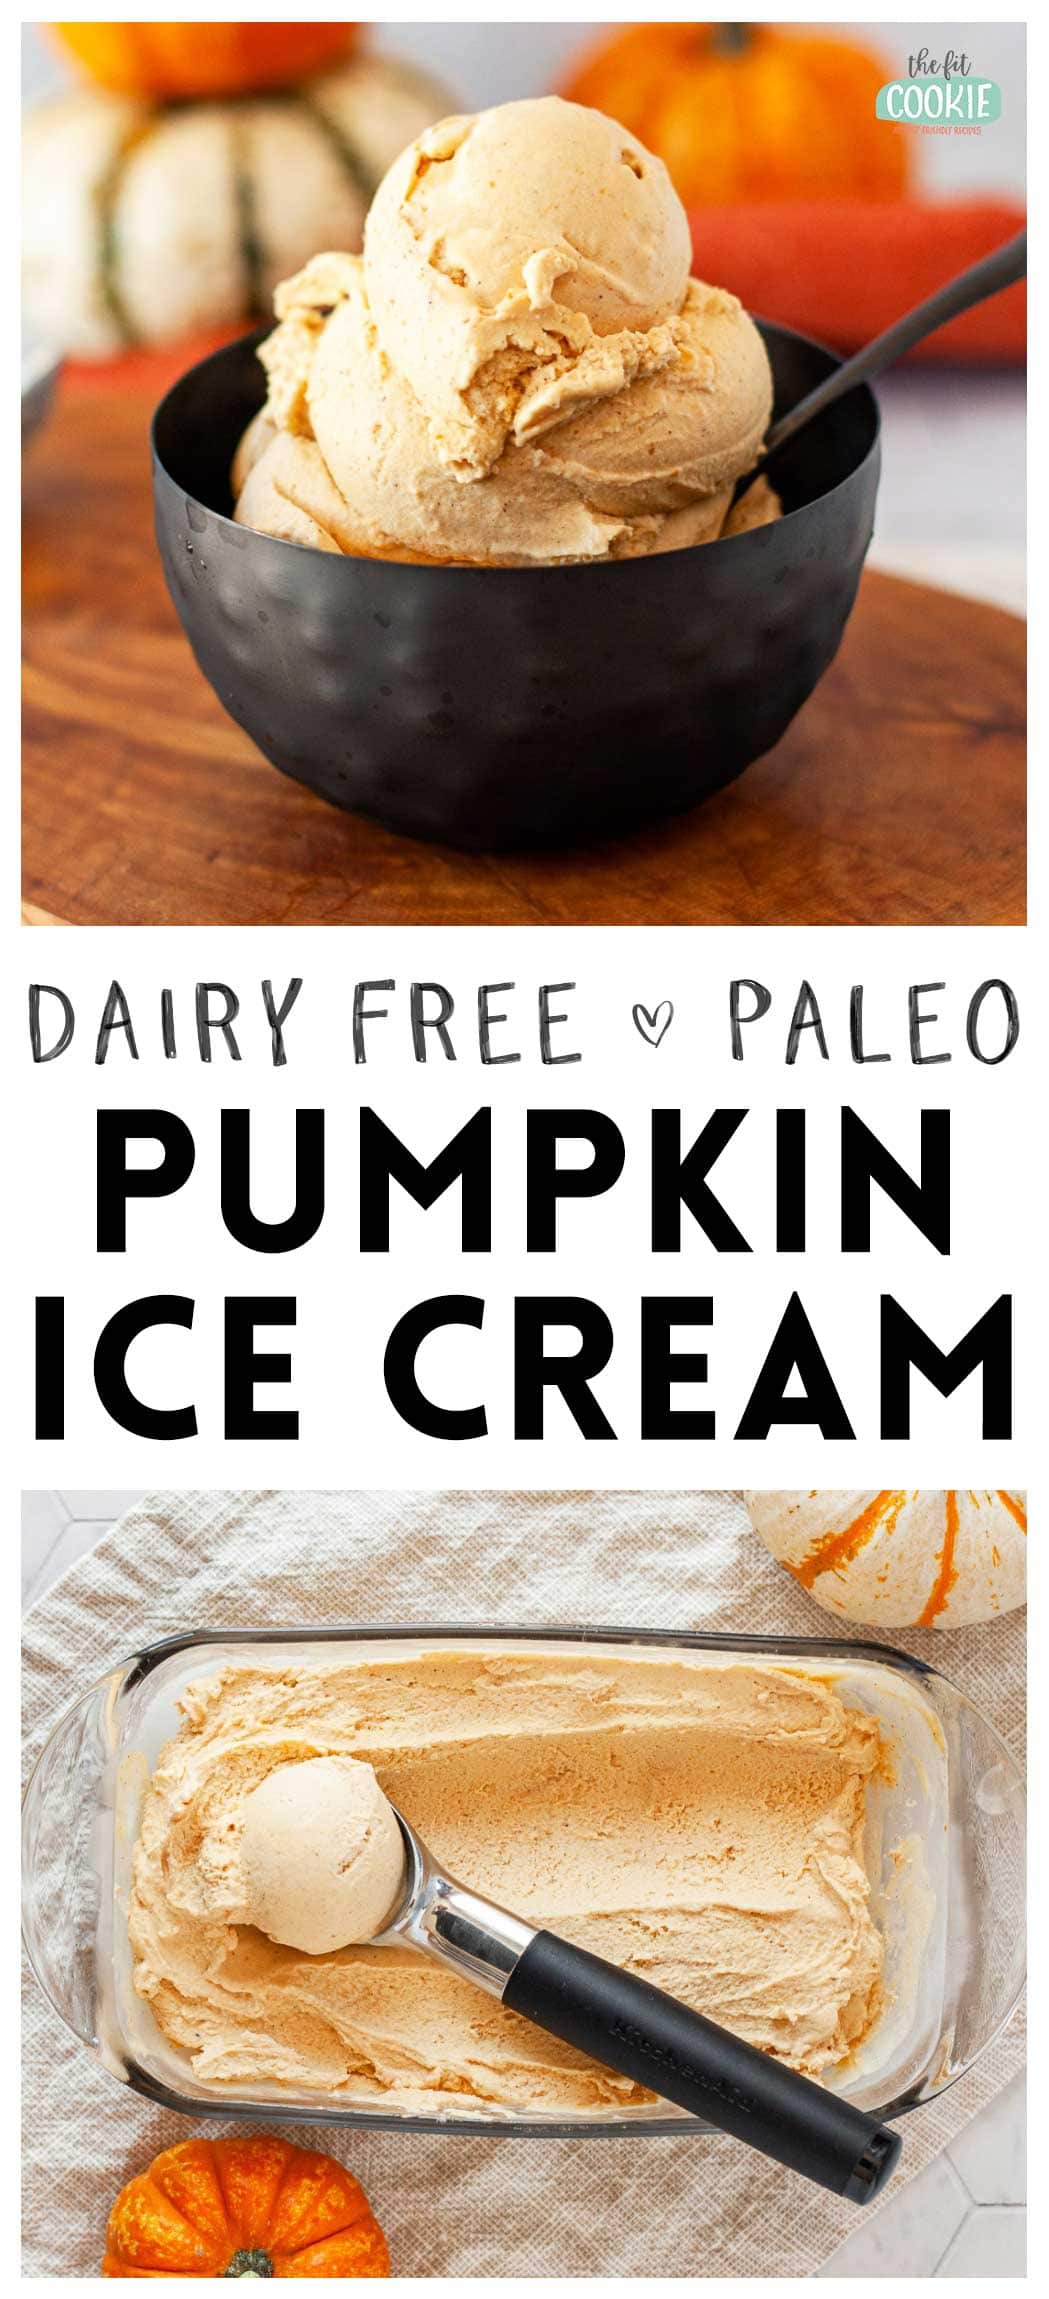
Hey friends! We’re in that early time of fall when it’s still warm outside during the day and cool in the mornings and evenings. If you’re craving all things pumpkin spice but still want a cool treat for warm days, we’ve got some Pumpkin Ice Cream for you!
Our pumpkin spice ice cream is perfectly spiced, smooth, and creamy. It’s also naturally sweetened, paleo, and vegan so it fits many special diets!
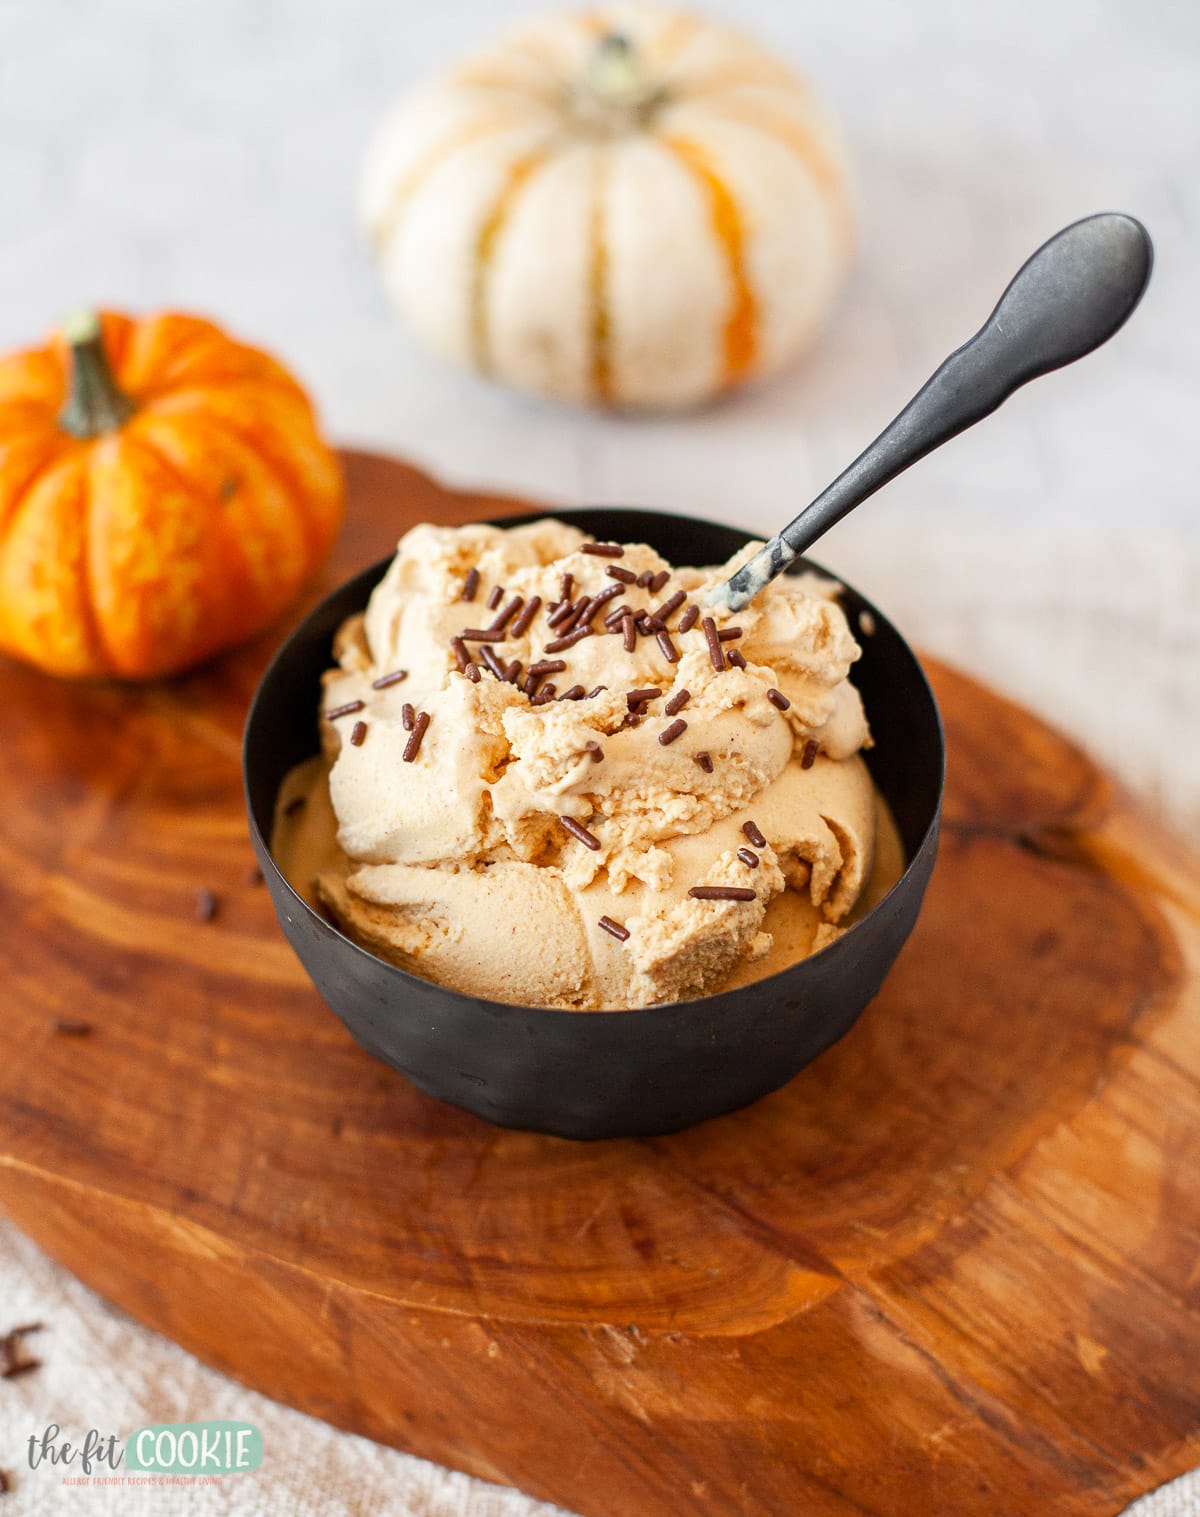
This ice cream tastes great by itself or topped with chocolate sprinkles or fudge sauce (our chocolate ganache would work great). You can also top this with some crumbled pumpkin snickerdoodles, too, for a fun twist!
This pumpkin ice cream recipe is:
- Paleo & grain free
- Dairy free
- Egg free
- Vegan
- Gluten free
- Peanut free
- Tree nut free (except coconut)
How to make pumpkin ice cream
Here are the steps for making our pumpkin spice ice cream (the full recipe card is at the bottom of the post):
- In a large bowl, whisk together the maple syrup, pumpkin puree, spices, salt, and vanilla.
- Add in the canned coconut milk, whisking as you add until everything is mixed and smooth (this helps the pumpkin blend in smoothly with the coconut milk).
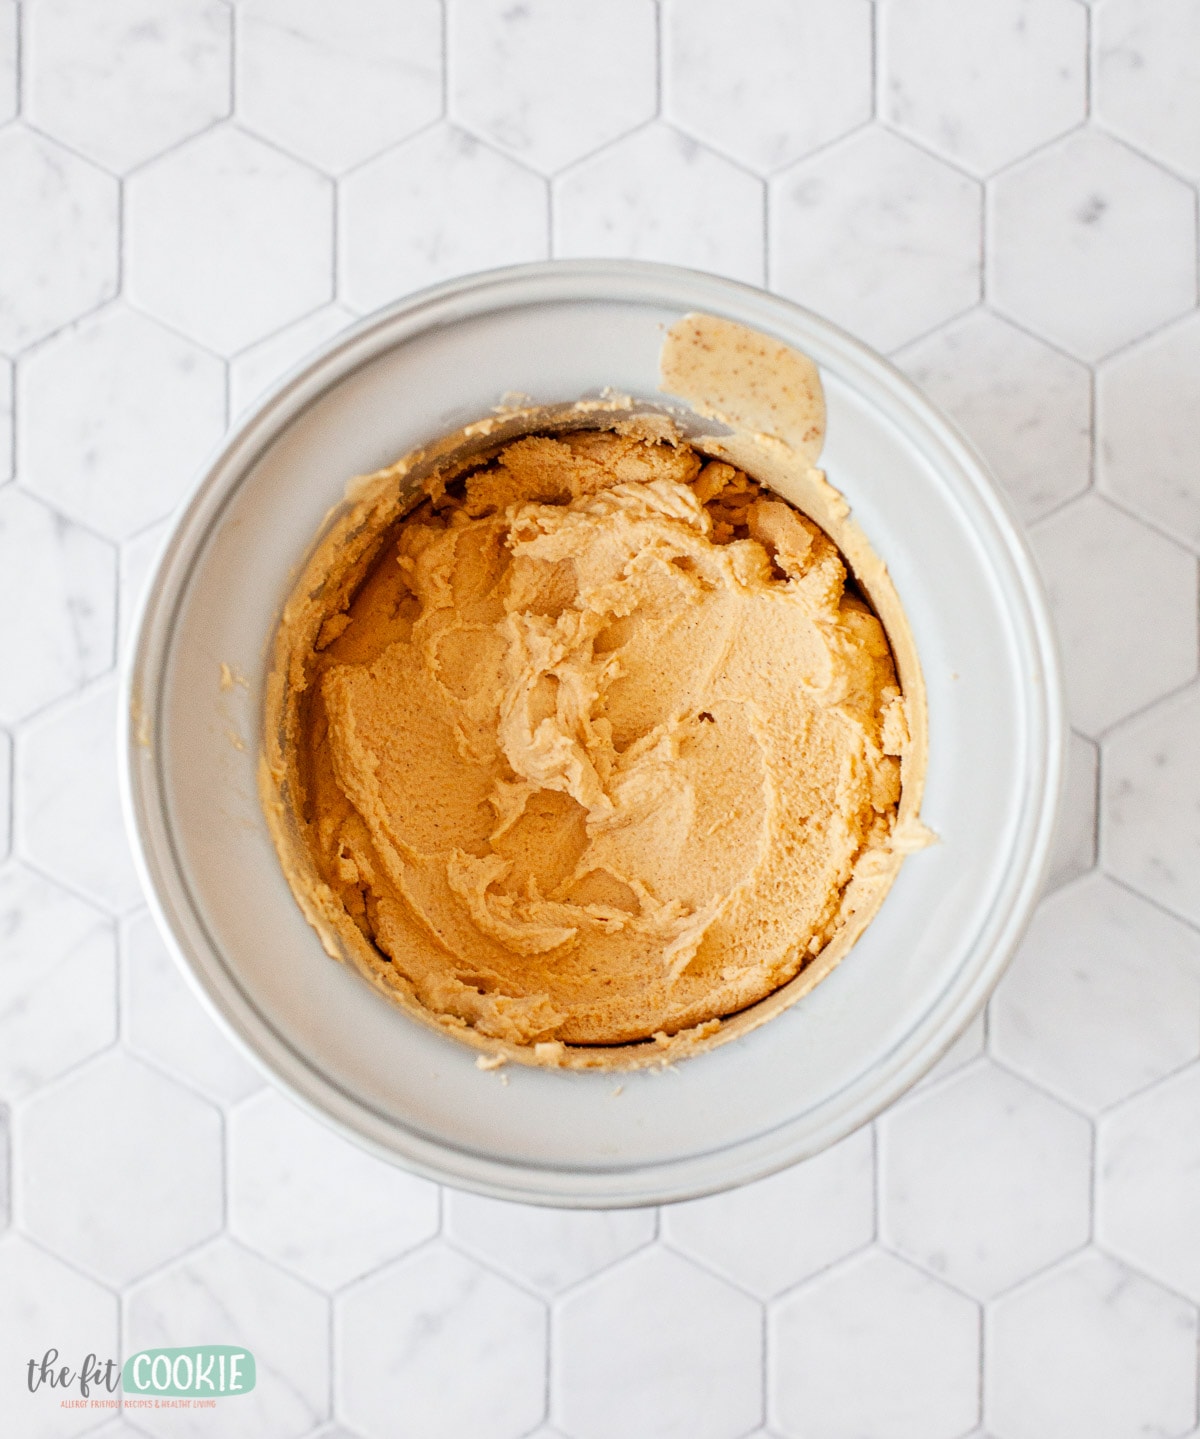
- Turn on your ice cream maker then add the pumpkin mixture to the ice cream maker (make sure the ice cream maker is turned on before you start adding the pumpkin cream!).
- Churn the ice cream for about 20 minutes until you reach the consistency of ice cream you want. If you started with room temperature ingredients, it’s about 20 minutes. It will take less time with chilled ingredients.
- Serve immediately or scoop into an airtight and freezer-proof container and freeze for later.
- If you freeze this for later, you can pop the container in the microwave to soften it a bit for scooping.
- Note that we don’t recommend storing your ice cream in the churning container (most brands of ice cream makers don’t recommend doing this either).
Tips for making our dairy free pumpkin ice cream
Chilling the ingredients beforehand is optional and not required (we usually don’t chill the ingredients beforehand), but it does make the churning go faster. Also if you have an older ice cream maker that doesn’t freeze as well, it helps to chill the ingredients ahead of time to make the churning more efficient.
We don’t have to do this with our new ice cream maker, but our old Hamilton Beach ice cream churn couldn’t seem to freeze a full batch of ice cream at all so we usually had to pre-chill the ingredients.
To prevent the ice cream from freezing very hard, you can also add 1 Tablespoon of vodka to the ice cream at the end of churning to help prevent the ice cream from getting too hard in the freezer.
We have a double-churn soft serve machine that creates creamy ice cream and we don’t have to add vodka to our batches anymore, but we did in the past with our older ice cream maker (which was a Hamilton Beach one).
I used canned pumpkin puree in this recipe, but you can use a homemade pumpkin puree if you want. Just make sure that your homemade puree is strained so it’s nice and thick like the canned puree for the smoothest ice cream.
Can I replace the coconut milk in this recipe with something else?
If you can’t have coconut and want to try something different in this recipe instead, you can try using a thick and creamy oat milk or a thick dairy free creamer (like almond creamer if you can have that) instead of the canned coconut milk.
The full fat coconut milk gives this recipe enough fat to create a creamy ice cream, so using a lower fat milk alternative in place of coconut milk might result in a slightly less creamy pumpkin ice cream.
But you can still make that swap if you need to and have great ice cream, just make sure to use an ice cream maker to get a creamy result.
The Silk heavy cream and Silk half and half both work great in ice cream recipes (we used them in our chocolate Oreo ice cream), but they do contain coconut, so it’s not a good swap if you have coconut allergies.
If you don’t have coconut allergies, those products are fantastic in ice cream recipes and have less of a coconut taste to them!
Can I make this ice cream sugar free?
Yes! You can make this pumpkin ice cream sugar free and keto by swapping the maple syrup for a liquid sweetener that is sugar free. Here are some more natural options you can try (please note that we haven’t tested these in our recipe but they should work fine in this pumpkin ice cream):
- Stevia drops (taste test for the amount you’ll need, the overall volume of ice cream will be reduced slightly if you replace the maple syrup with Stevia drops)
- Allulose syrup
- Lakanto simple syrup
- Torani natural sugar free syrups.
Just watch the type of liquid sweetener you use if you have IBS since sugar alcohols can be problematic, like erythritol in the Lakanto syrup. Allulose is supposed to be safe for people with IBS so it’s worth a try if you can’t have sugar alcohols.
Check out our other pumpkin spice recipes:
- Gluten Free Pumpkin Snickerdoodles
- Instant Pot Pumpkin Chili
- Pumpkin Spice Pancakes
- 60+ Gluten Free Dairy Free Pumpkin Recipes
Dairy Free Pumpkin Ice Cream (Paleo)
Ingredients
- ½ cup pure maple syrup
- ½ cup pumpkin puree (canned or homemade puree that's strained)
- 1 teaspoon ground cinnamon
- ½ teaspoon pumpkin pie spice
- Dash ground cloves
- Dash salt
- 1 teaspoon vanilla extract
- 2 cups canned coconut milk (full fat)
Instructions
- In a large bowl, whisk together the maple syrup, pumpkin puree, spices, salt, and vanilla. Chilling the ingredients beforehand is optional and not required, but it makes the churning go faster if they are chilled ahead of time.
- Add in the canned coconut milk, whisking as you add until everything is mixed and smooth.
- Turn on your ice cream maker then add the pumpkin mixture to the ice cream maker (make sure the ice cream maker is turned on before you start adding the pumpkin cream!).
- Churn the ice cream for about 20 minutes until you reach the consistency of ice cream you want. If you started with room temperature ingredients, it's about 20 minutes. It will take less time with chilled ingredients.
- Serve immediately or scoop into an airtight and freezer-proof container and freeze for later.
- If you freeze this for later, we usually microwave the dish we store the ice cream in to soften it a bit for scooping (it's not recommended to store your ice cream in the churn container).
Notes
Nutrition

Sarah Jane Parker is the founder, recipe creator, and photographer behind The Fit Cookie which she founded in 2011. Sarah is based in Wyoming and has been managing food allergies for herself and her 2 children for over 20 years. Sarah was also a certified personal trainer for 12 years, as well as a group fitness instructor, health coach, running coach, and fitness nutrition specialist.
I’m excited to try this recipe, but there is another version I also would like to try in the Amazon link to the coconut milk:
Pumpkin Spice Ice Cream
Ingredients:
1 15oz. can pumpkin puree
2 cups Native Forest coconut milk
1 cup pitted medjool dates ((about 12))
1 tbsp pumpkin pie spice
Instructions: Combine all the ingredients in a blender. Blend on high until smooth and creamy. Pour into a shallow pan or dish.
Freeze overnight. Remove from the freezer 10-15 minutes to soften before scooping. Alternatively, break apart the pan of ice cream into chunks and re-blend for an even creamier texture. Serve and enjoy!
I don’t have an ice cream maker. can I make this without one?
You can try making this without an ice cream maker by putting it in a freezer container and then scooping it once it’s partially frozen (or frozen and partially thawed), it won’t be as creamy. One other option is if you have a good blender is freezing half to 3/4 of this in cubes and chilling the rest, then blending it all together to make something like a soft serve. We did something similar with our orange sherbet recipe (https://thefitcookie.com/easy-dairy-free-orange-sherbet/) so that would probably work with this one if you have a good blender.
Can I make this in my ninja creami?
I bet you could make this using a Ninja Creami, I’d make the base and follow the directions for your machine.
Could you make this with oat milk instead of coconut?
Hi Kiley, you can use extra creamy oatmilk to make this recipe and it should turn out well. It may not be quite as creamy as the coconut milk since the coconut milk has a lot of fat in it, but extra creamy oatmilk should still work great in this!
Do you use the thick cream and milk in the can?
For this recipe, I use the whole can (everything), so if your can of coconut milk is separated, try to shake it up to mix it all together or put it in a blender to mix it so the whole can is thick coconut milk. That will help prevent lumps in the ice cream as well if the separated coconut cream is really firm.
Incredible recipe! Out of 10 ice creams I’ve made this past month with our new Breville ice cream machine, this is at the top of the list. My young daughter said, this will be great for thanksgiving!! Thanks for sharing!
Thank you Monica, so glad to hear this!