If you have multiple food allergies, you can celebrate Easter safely with a homemade chocolate bunny! These are easy to make and are dairy free, gluten free, and top 8 free depending on the chocolate you choose.
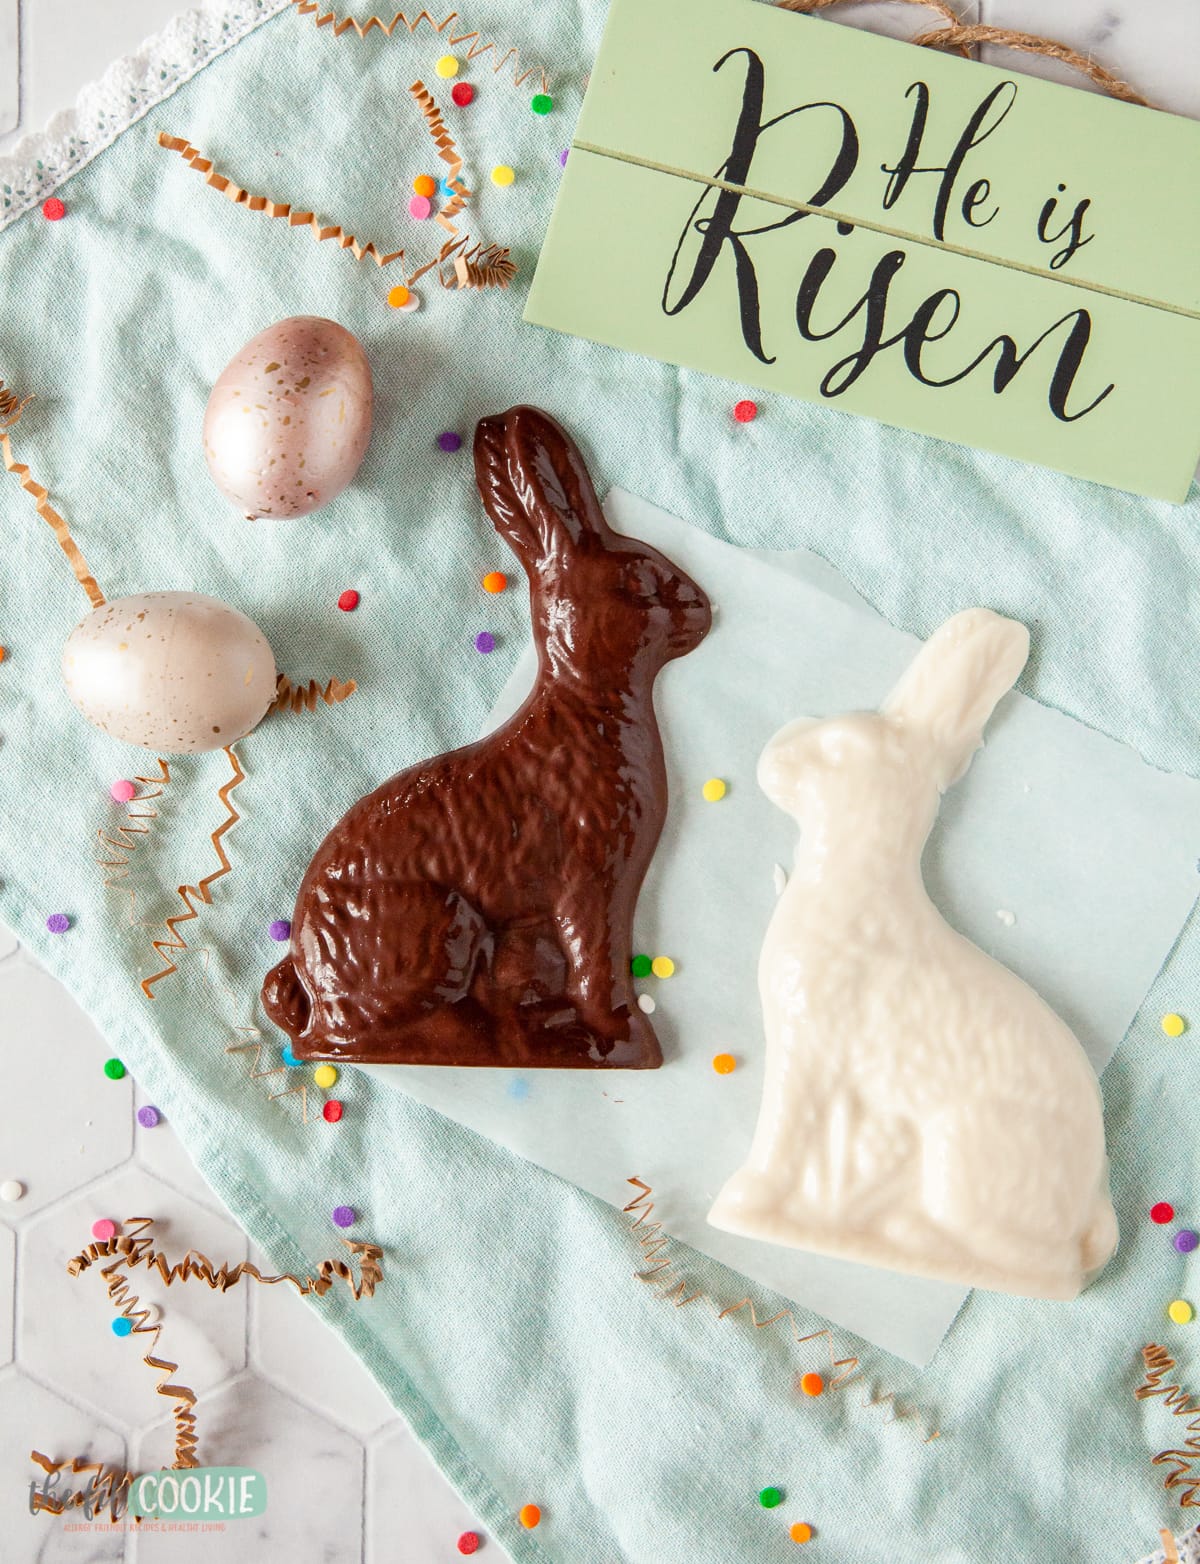
Hey all! I have a really fun recipe/tutorial for you today on how to make your own allergy friendly chocolate bunny for Easter!
This is pretty simple, not too many steps, and we even made a video to show you how easy it is to make your own Easter bunnies.
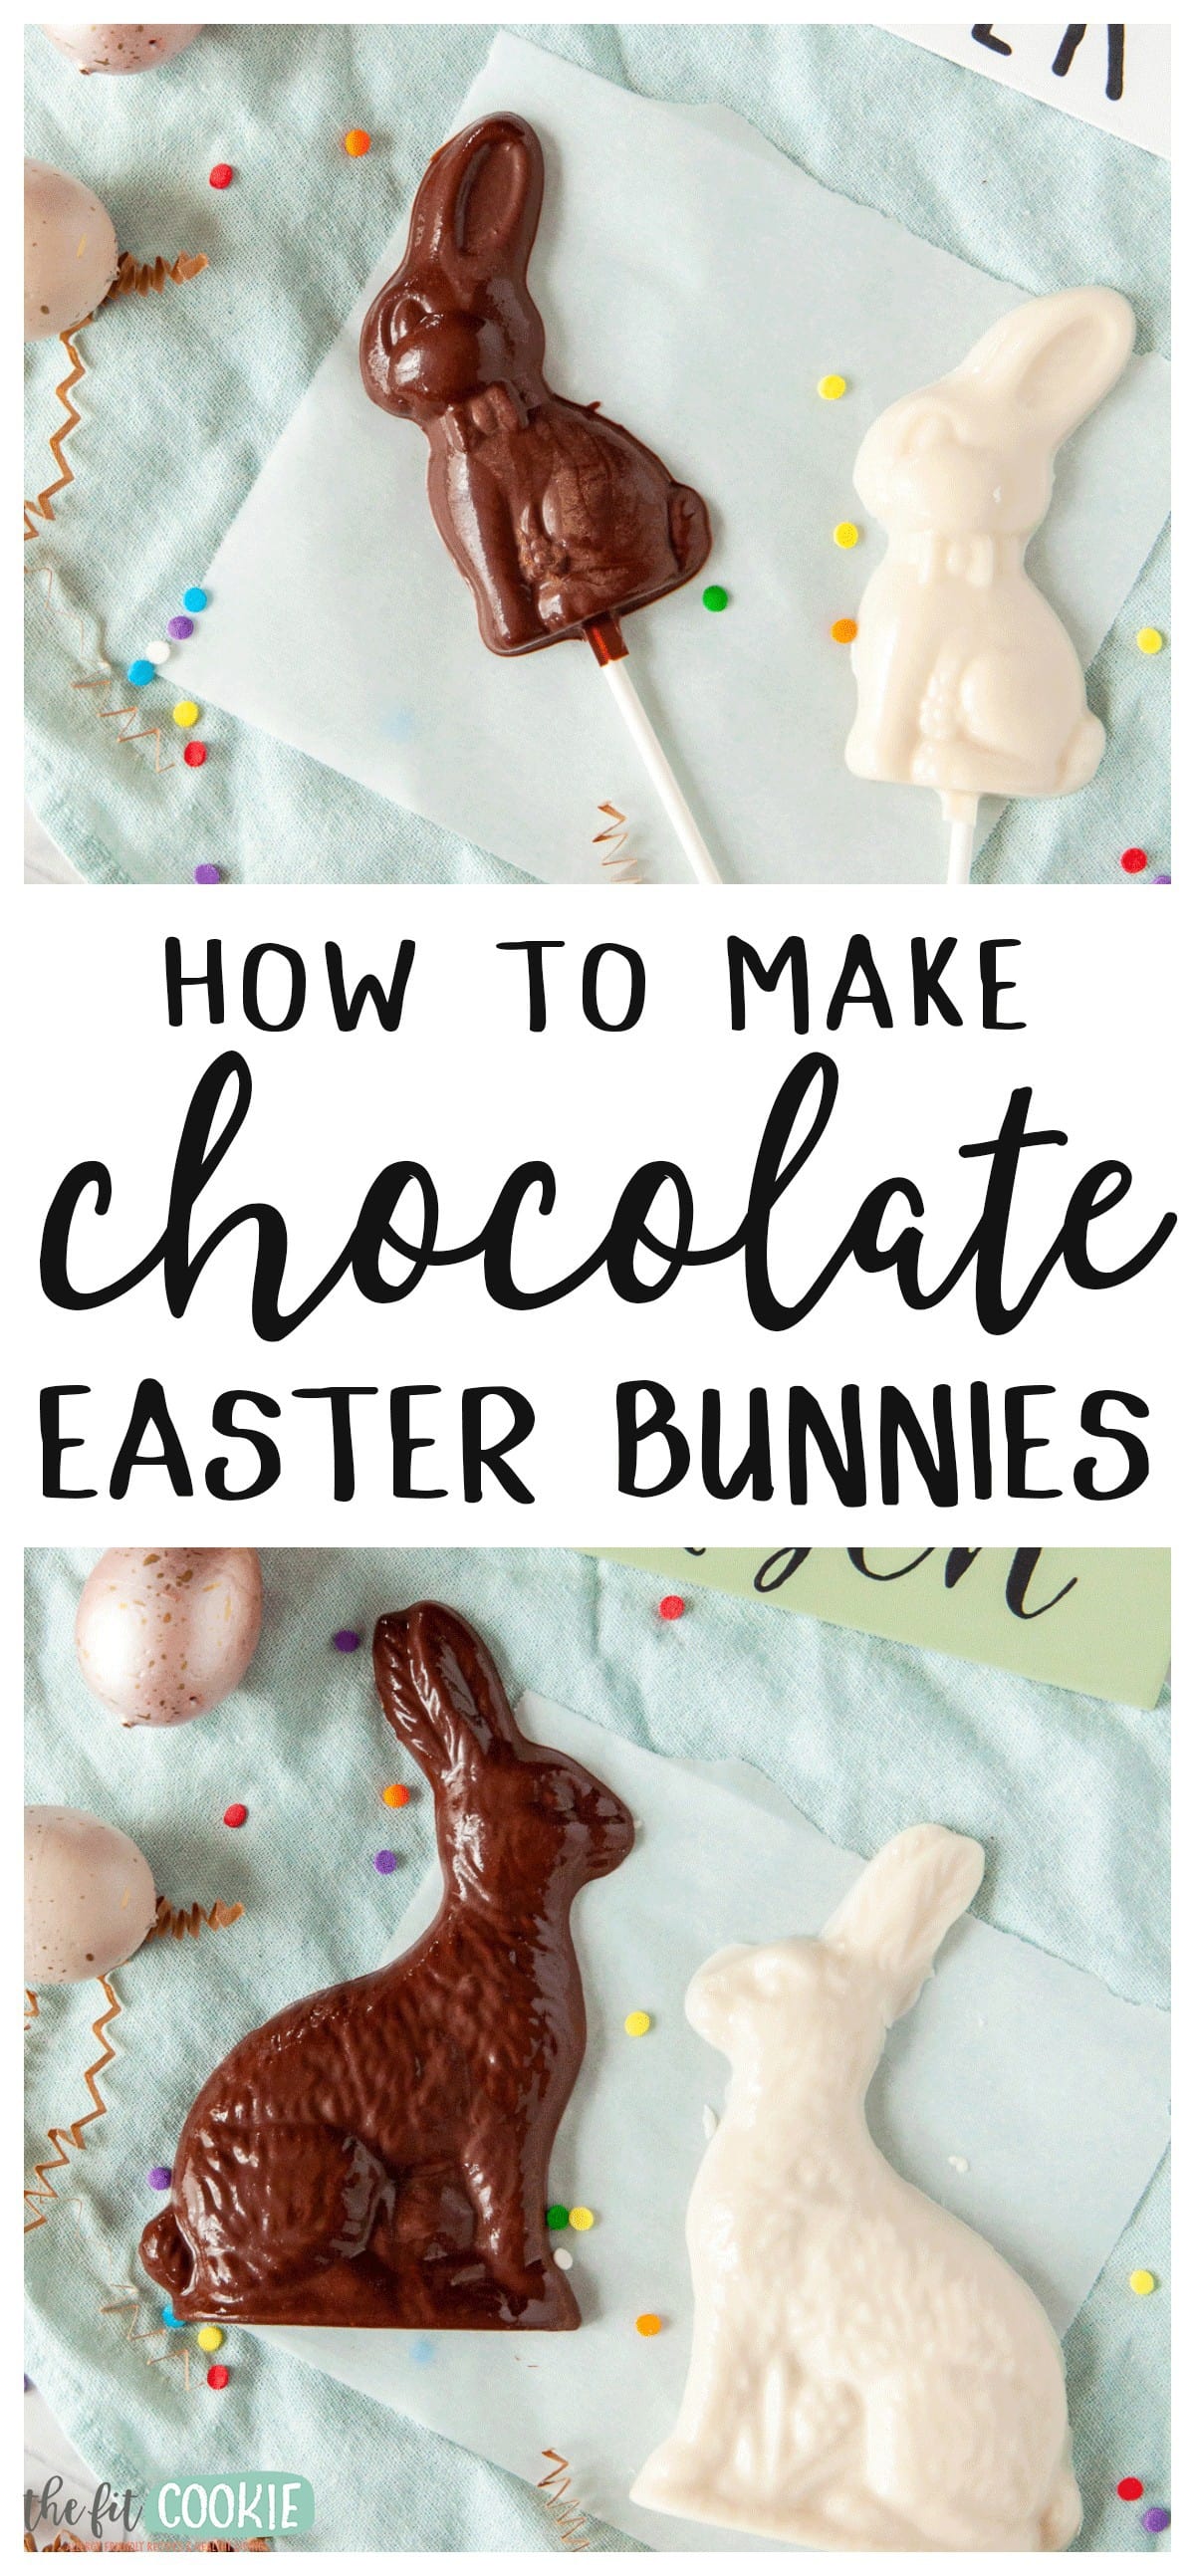
In our video, we actually show you how to make 3 different kinds of chocolate Easter bunnies:
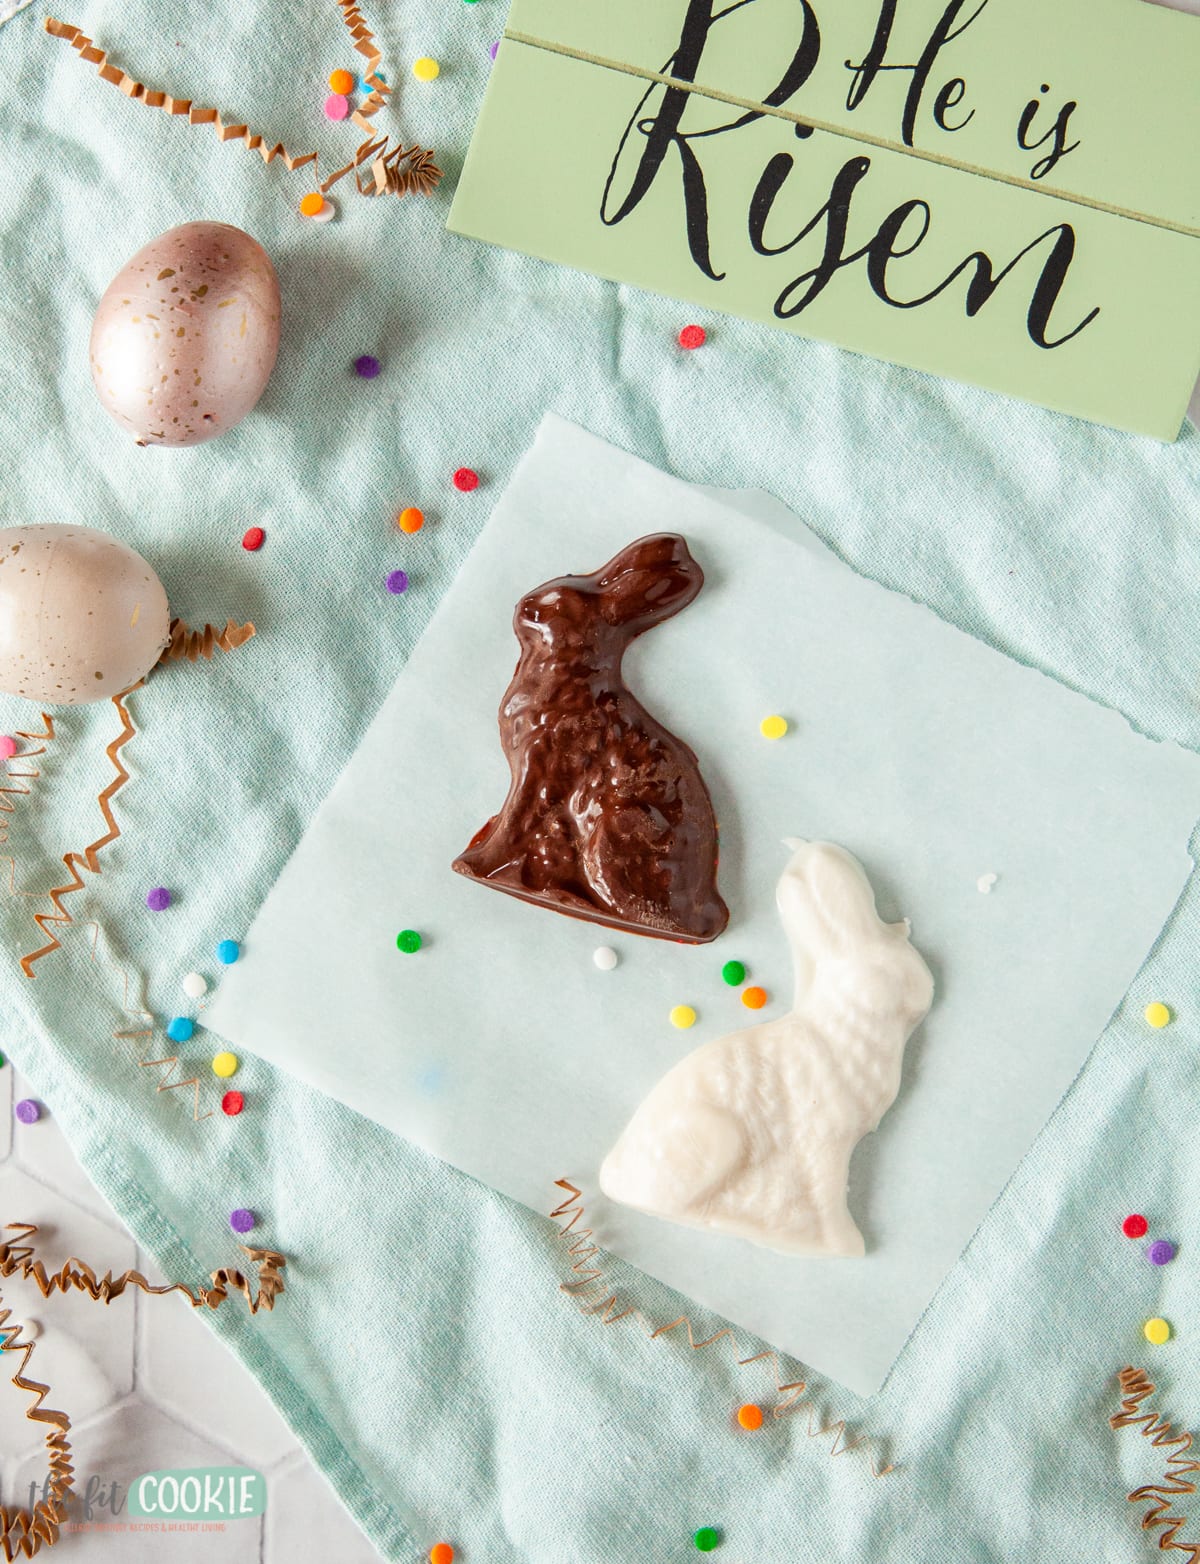
- Large chocolate bunnies: these are solid but can stand on their own.
- Small chocolate bunnies: perfect size for when you don’t want to eat a ton of chocolate.
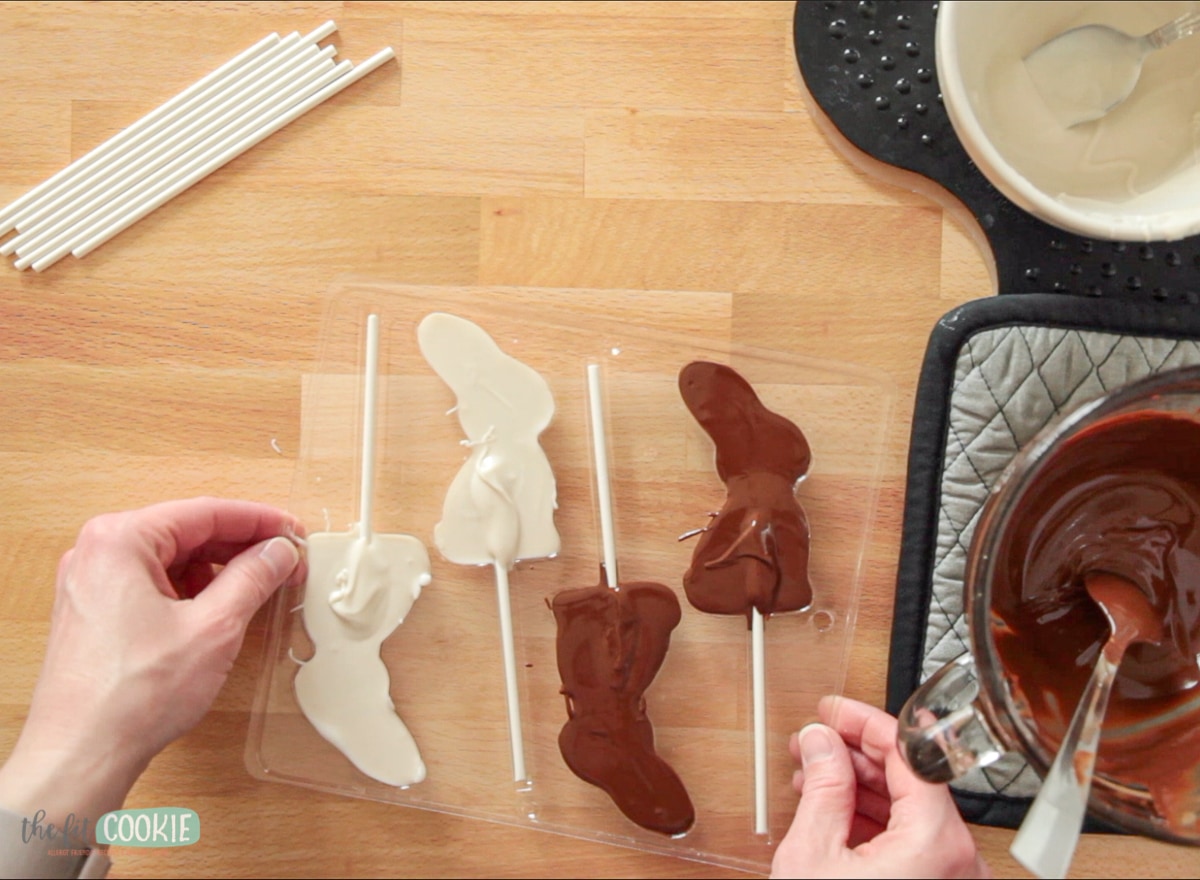
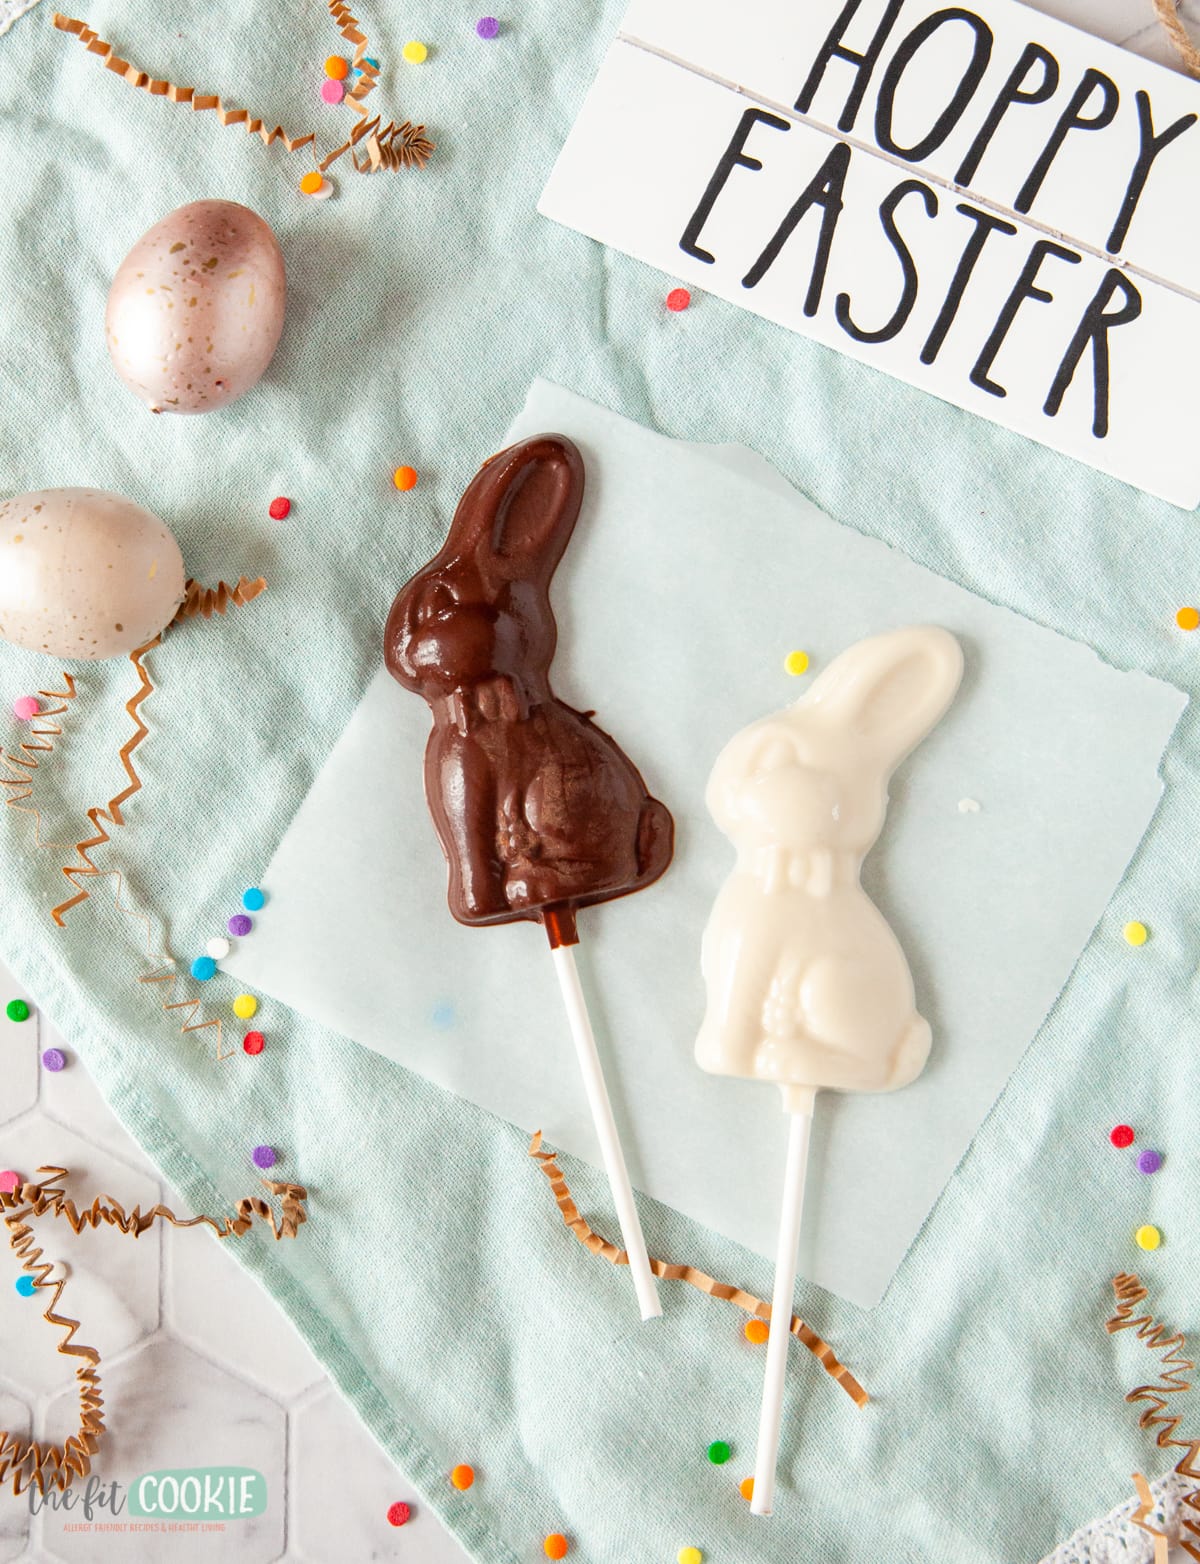
- Chocolate bunny lollipops: awesome for keeping little hands from getting covered in melted chocolate!
Let’s dive in! Be sure to check out the video first to get an overview of how to make your Easter bunny.
How to make a chocolate bunny at home
It’s super easy to make your own Easter bunny chocolates, you’ll just need your favorite chocolate and the bunny molds.
Here are the steps for making your own chocolate bunnies (the printable recipe card is at the end of the post):
- In a double boiler, melt your white chocolate chips over medium low heat.
- I’ve found that the white chocolate chips melt best in a double boiler vs the microwave.
- Once your white chocolate is melted, melt your regular chocolate in a microwaveable bowl for 1 minute, then 30 seconds each time after if more time is needed, stirring after each heating segment in the microwave. OR you can melt your chocolate in a double boiler as well.
- Pour the chocolate by spoonfuls into the chocolate bunny molds and just fill them. Don’t overfill them or they will not have a nice outline.
- Tap the mold onto the table several times to settle the chocolate and remove air bubbles in the chocolate.
- Chill the chocolate until it is completely set. These will not release easily from the molds if the chocolate is not fully set up.
- Once they are fully set, gently move and twist the chocolate molds to release the chocolate bunnies. They should release easily if you have a good mold.
- Put the chocolate bunnies in food gift bags for Easter baskets. Store in airtight containers at room temperature for as long as you’d store regular chocolate chips (there is nothing added to the chocolate so it should store as long as regular chocolate will).
Where to buy chocolate Easter bunny molds
Most places like Hobby Lobby, Walmart, or Joanne’s don’t have chocolate bunny molds in stock ready to buy, but local small shops might have them.
If you can’t find any locally, here are the exact chocolate molds I used from Amazon. Since I couldn’t find any locally, I ordered these on Amazon and they worked great:
- 6 inch chocolate bunny mold (for our large bunnies): you can make 2 bunnies per mold so if you’d like to make more than 2 at once, you can buy 2-3 molds
- Small chocolate bunny mold (3 inch bunnies)
- Chocolate bunny lollipop mold
- Lollipop sticks: I originally used Wilton 6-inch lollipop sticks but I had to cut off about an inch for them to fit the mold, so go with the 4 inch sticks.
The molds I used were slick plastic that didn’t need any non-stick coating added at all. The chocolate bunnies came out of the molds very well once they were fully set!

What chocolate should I use?
For our chocolate bunnies, we used the Nestle Simply Delicious semi-sweet chocolate chips and the Great Value brand allergy friendly white chocolate chips.
Both of these brands worked great in our Easter bunnies!
If you’d like to make sugar free chocolate bunnies, check out the Bake Believe sugar free semi sweet chocolate chips that don’t have dairy in them (our local Walmart carries them).
Lily’s dark chocolate chips don’t have dairy in them, but they do have cross contamination warnings for dairy, peanuts, and tree nuts.
Allergy friendly chocolate options
Here are some of the chocolate chips we like that are allergy friendly (always remember to check labels!).
- Nestle Simply Delicious semi-sweet chocolate chips (we prefer the taste and texture of these ones)
- Enjoy Life Foods semi-sweet chocolate chips (also available in dark chocolate)
- Pascha semi-sweet chocolate chips (also available in bittersweet chocolate)
Allergy friendly white chocolate options:
There are a few other dairy free white chocolate brands out there, but these are the ones I have actually tried myself. You can check out our post on how to replace dairy to see a larger list of dairy free white chocolate brands.
Out of all of these options, we prefer the taste and texture of the Great Value allergy friendly white chocolate chips, which are the ones we used in these chocolate bunnies.
If you make white chocolate bunnies, I’d use the Great Value allergy friendly white chocolate chips rather than the Nestle Simply Delicious white chocolate since the Great Value white chocolate is much more crisp/firm and comes out of the mold well (plus the taste and texture is better).
The Nestle Simply Delicious white chocolate is somewhat soft and I’m not sure that it would set up well enough for the chocolate molds. But if that’s all you have, just make sure to chill it very well before removing from the mold!
Check out our other Easter posts!
- Chocolate SunButter Eggs
- Gluten Free Cookie Dough Eggs
- 50 Gluten Free Dairy Free Easter Treats
- 35 Allergy Friendly Easter Basket Ideas
- Gluten Free Lemon Cookies

Homemade Dairy Free Chocolate Bunny for Easter (3 Ways)
Ingredients
- 1 bag (10 ounces) allergy friendly chocolate chips (we use Nestle Simply Delicious semi sweet chocolate chips)
- 1 bag (10 ounces) allergy friendly white chocolate chips
- Various bunny molds
- Lollipop sticks (if making bunny lollipops)
Instructions
- In a double boiler, melt your white chocolate chips over medium low heat (I've found that the white chocolate chips melt best in a double boiler vs the microwave).
- Once your white chocolate is melted, melt your regular chocolate in a microwaveable bowl for 1 minute, then 30 seconds each time after if more time is needed, stirring after each heating segment in the microwave. OR you can melt your chocolate in a double boiler as well.
- Pour the chocolate by spoonfuls into the chocolate bunny molds and just fill them. Don't overfill them or they will not have a nice defined outline.
- Tap the mold onto the table several times to settle the chocolate and remove air bubbles in the chocolate.
- Chill the chocolate until it is completely set. They will not release easily from the molds if the chocolate is not fully set up.
- Gently move and twist the chocolate molds to release the chocolate bunnies.
- Put the chocolate bunnies in food gift bags for Easter baskets. Store in airtight containers at room temperature for as long as you'd store regular chocolate chips (there is nothing added to the chocolate so it should store as long as regular chocolate will).
For chocolate bunny lollipops:
- Add your chocolate to the lollipop mold, place your lollipop sticks in the chocolate and cover the top of the stick with more chocolate.
- Tap the mold on the table to settle the chocolate and remove any air bubbles.
- Follow the same steps as above.
Video
Nutrition
Pin for later!

Sarah Jane Parker is the founder, recipe creator, and photographer behind The Fit Cookie which she founded in 2011. Sarah is based in Wyoming and has been managing food allergies for herself and her 2 children for over 20 years. Sarah was also a certified personal trainer for 12 years, as well as a group fitness instructor, health coach, running coach, and fitness nutrition specialist.